


-
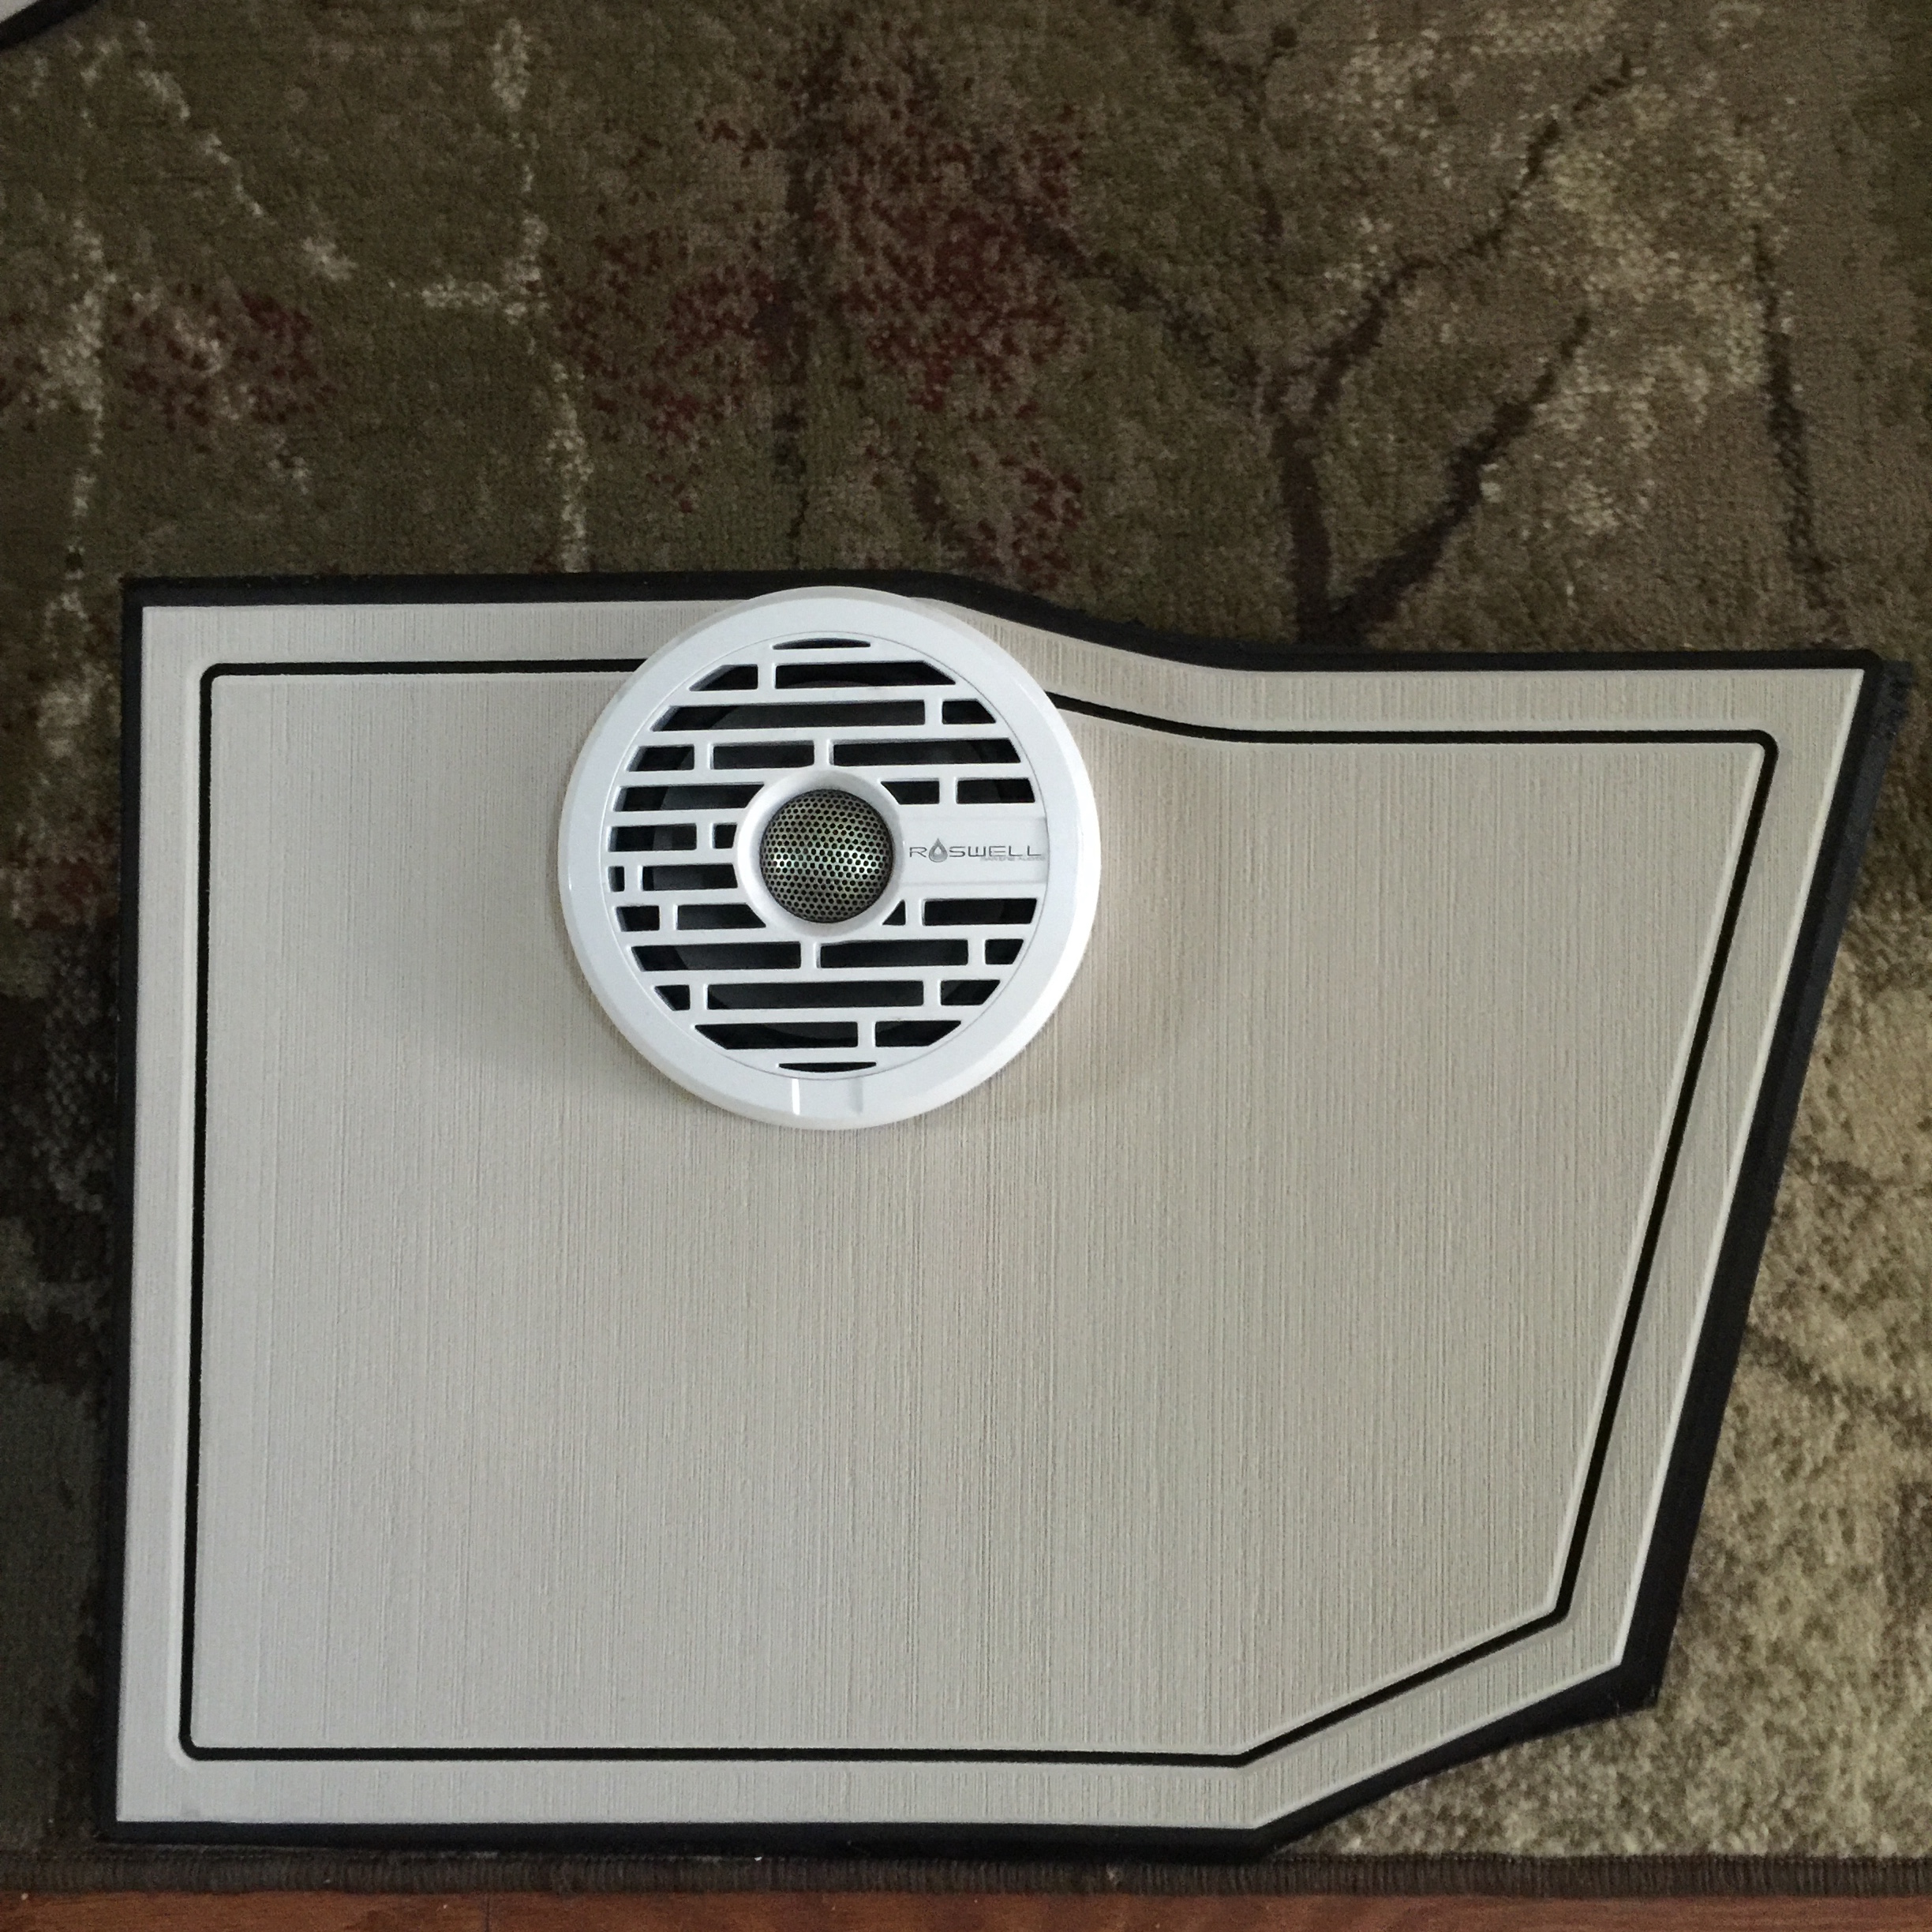
So close to being finished! All SeaDek is applied except for the final piece (top of glove box).
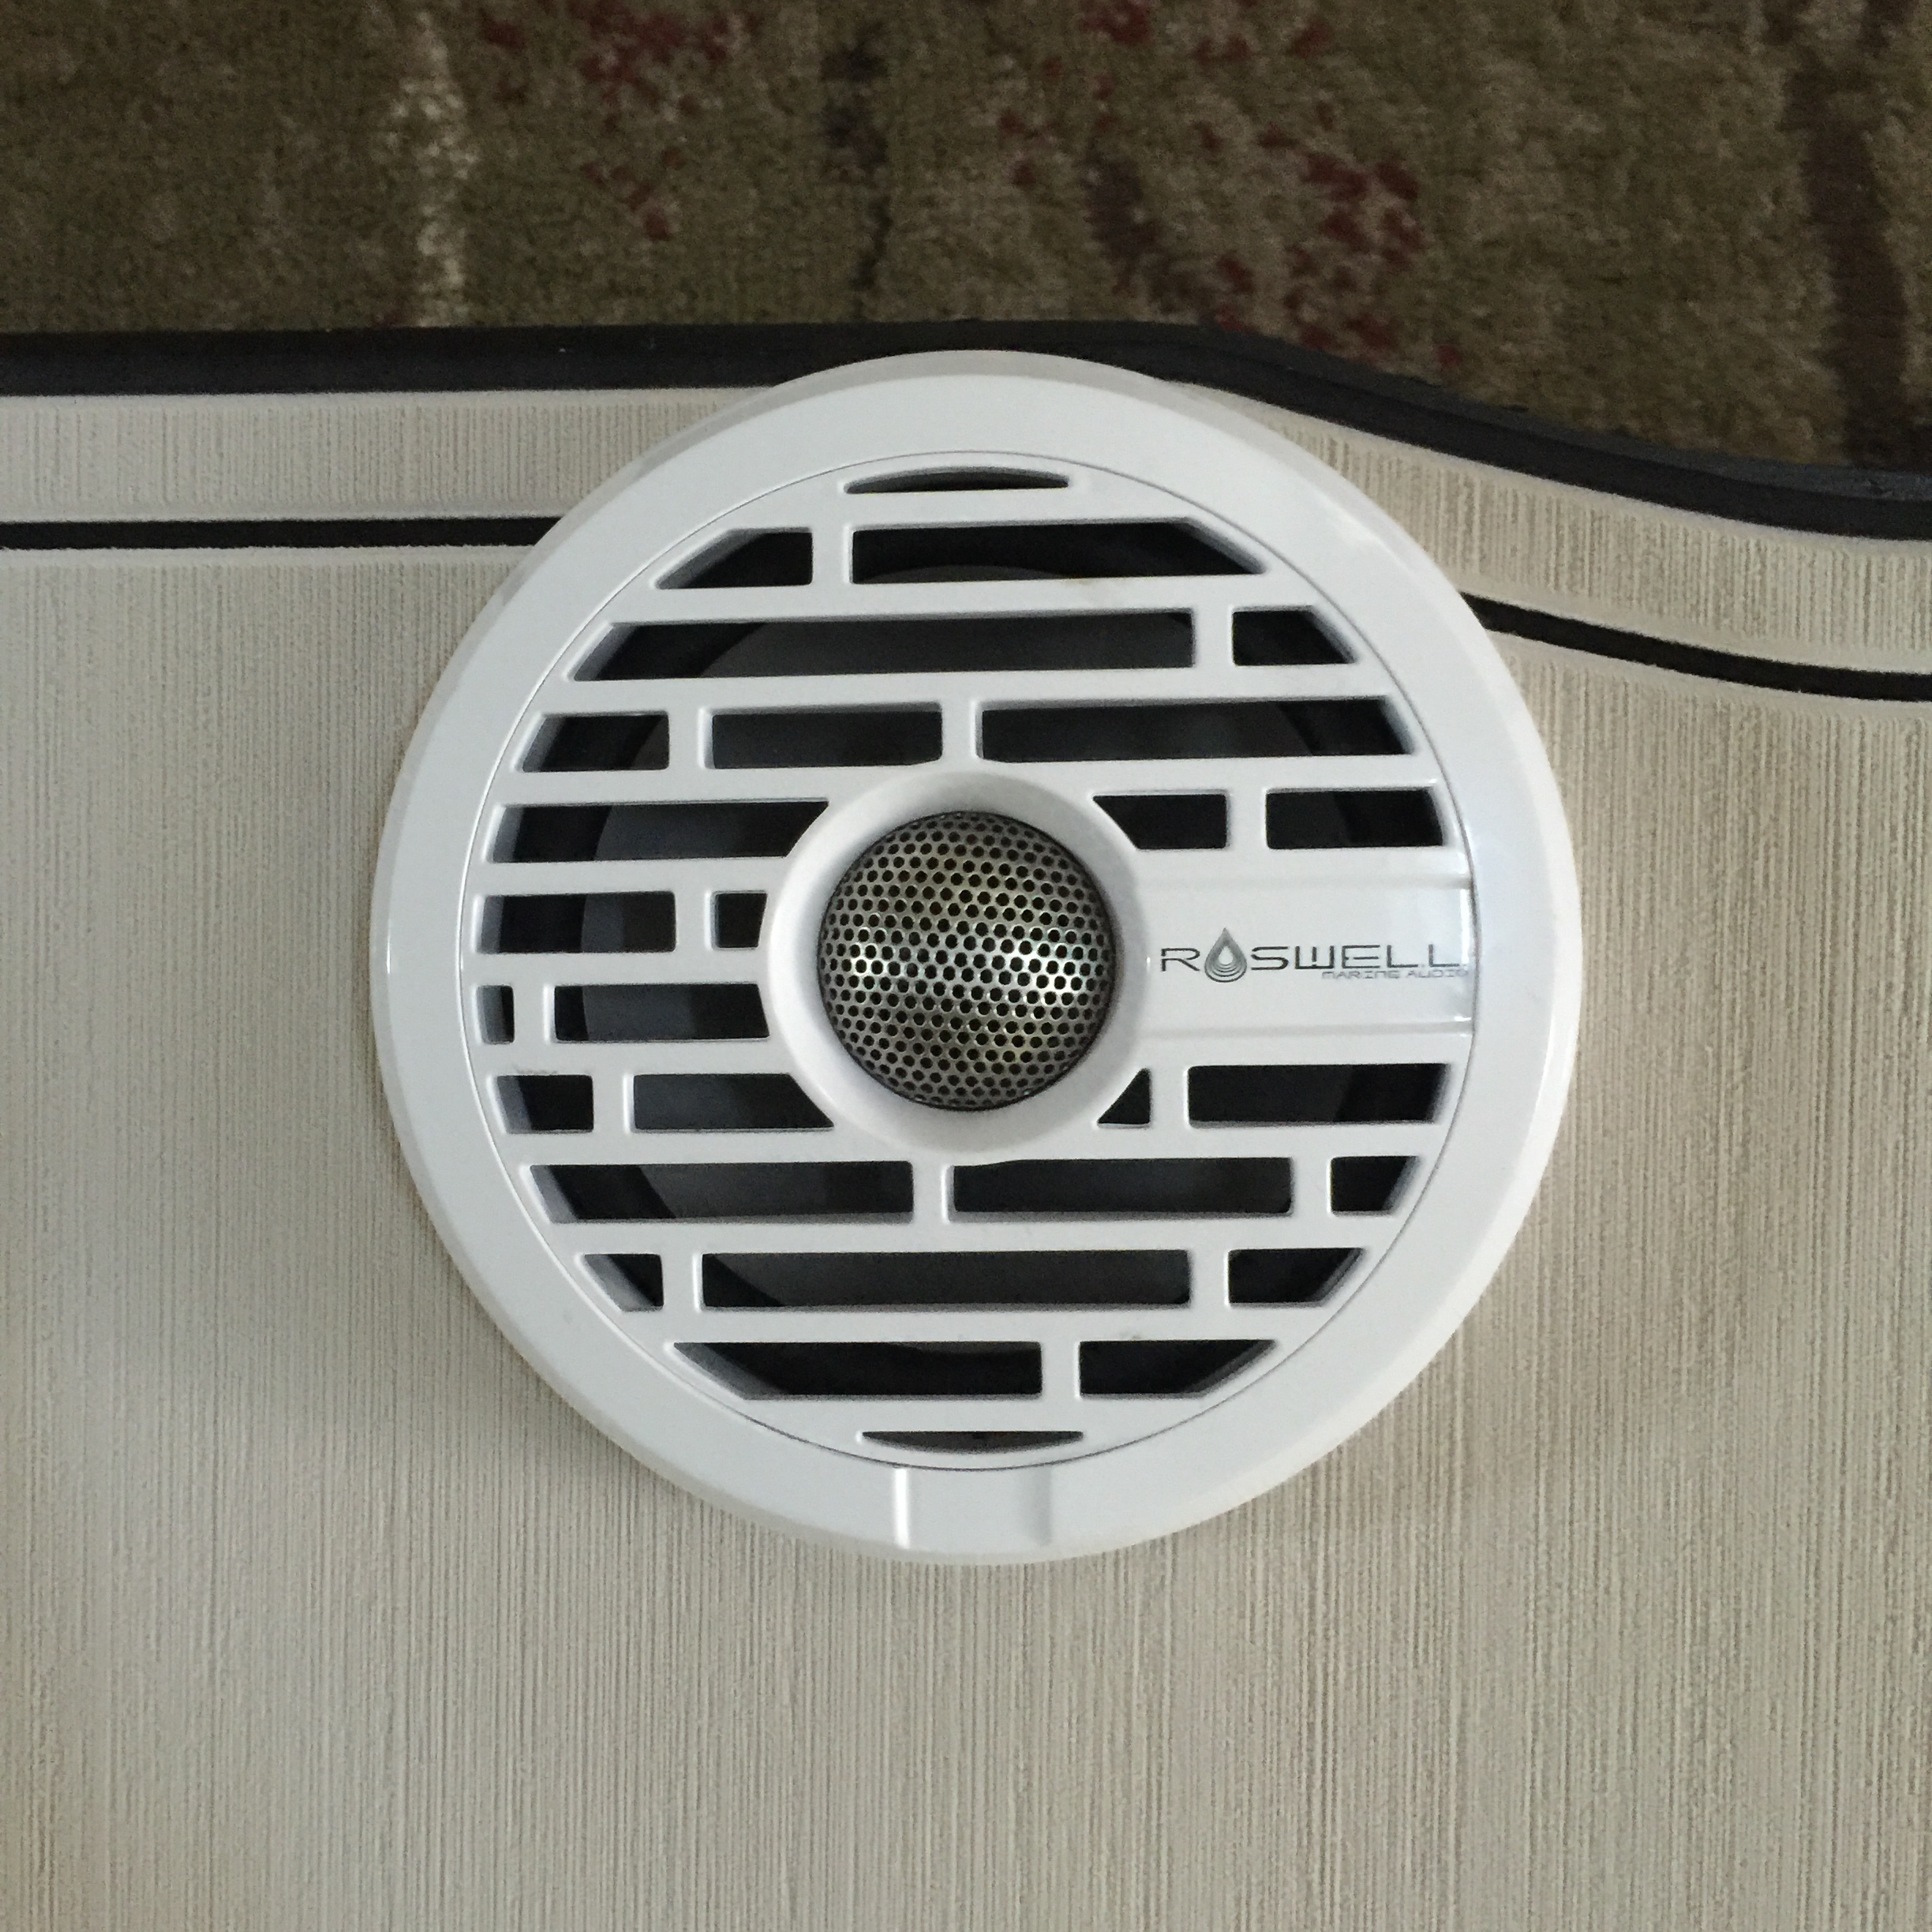
The first piece of Roswell Marine Audio gear is installed!
Those bottom three panels in the top picture were covered in carpet this morning. Removing the carpet is a real pain. It is glued (heavily) and stapled. It took me several hours just to get the carpet and staples off and remove the adhesive residue. Then I painted the panels black (they were white), and installed the SeaDek.
Now if the upholstery would just get done.......

Leave a comment:
-
The dash is next-to-impossible to recover. I did get a few quotes locally, and they were all over $1,000 due to the complexity of the dash. I'm just not willing to pay that much.
The dash is down at Nautique right now. They are building some custom parts for it (I'll show you all soon). Maybe they'll surprise me and recover it (I doubt it though).
I went ahead and had SeaDek do a template of the top of the dash, and if nothing else, I will put black SeaDek on top of the dash, and I think that will look pretty good.Leave a comment:
-
This is the best example of seadeck done right... Gotta feel good to be putting this thing back together after all the work put into the restoration process. Hard to tell from pics but did you ever figure out how to recover the dash pod?Leave a comment:
-
Got the engine cover base and the observer's seat base back from gelcoat on Friday, and I installed the SeaDek on those pieces today.


Leave a comment:
-
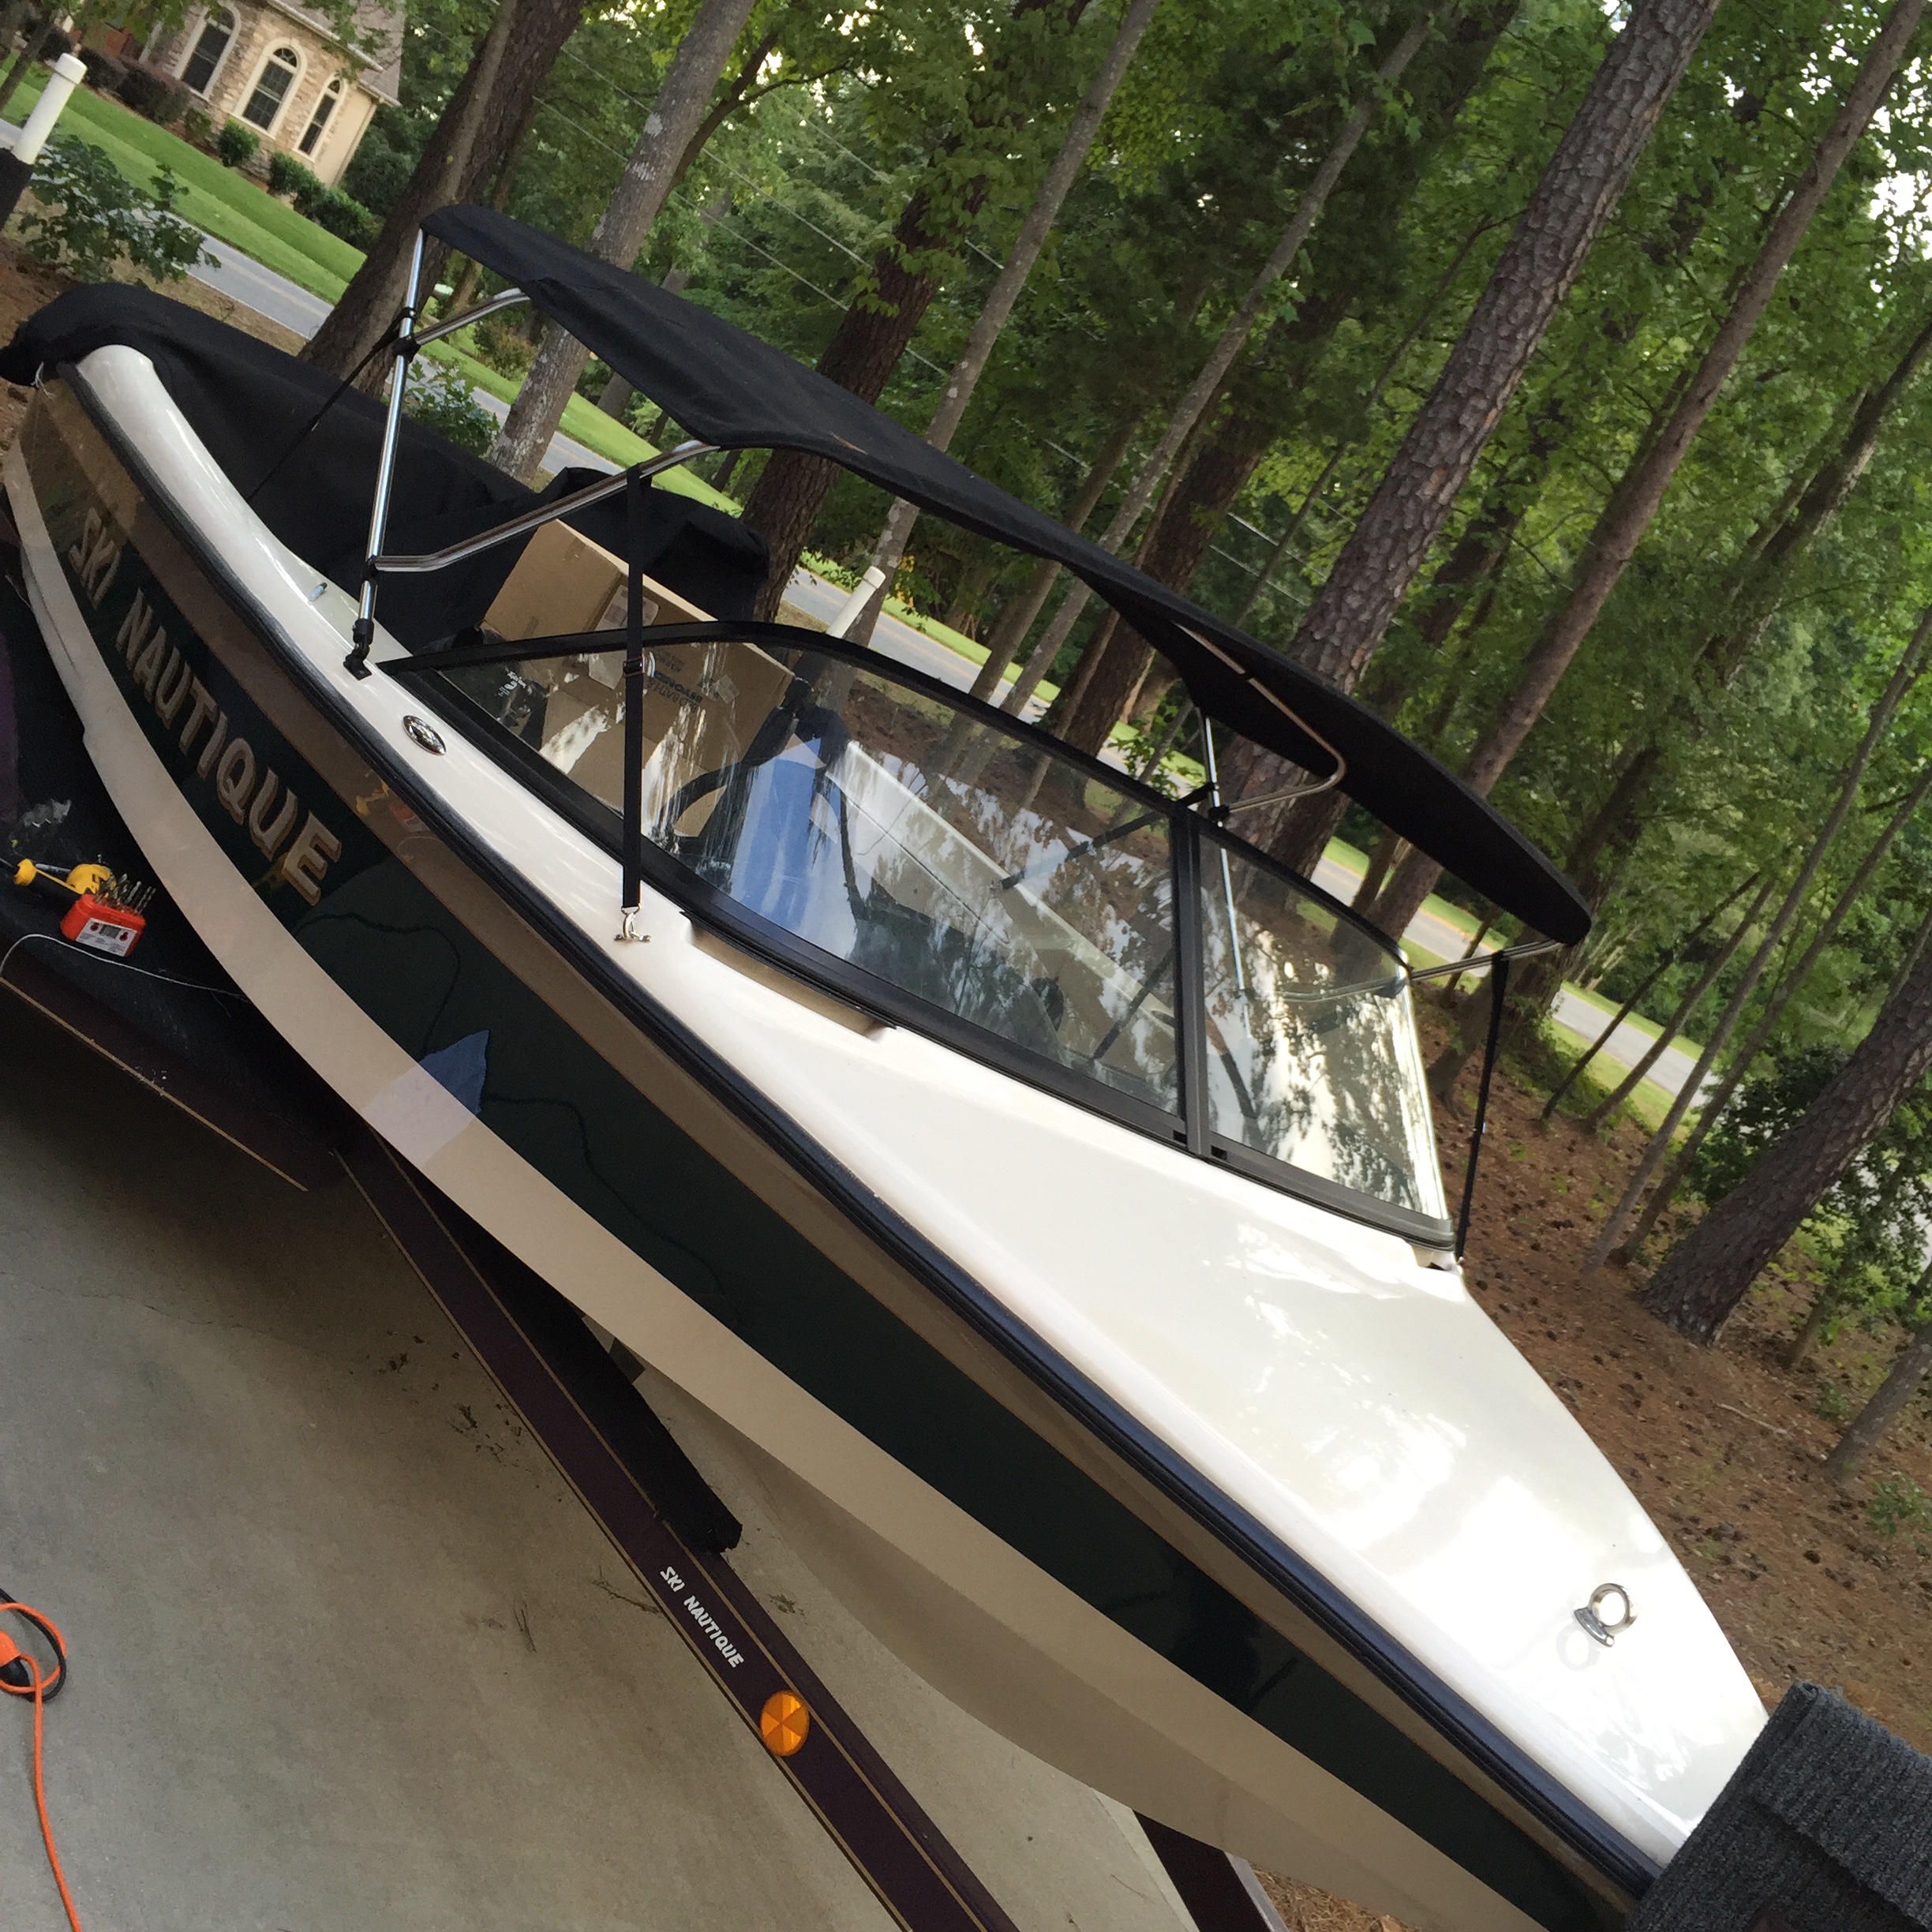
Still waiting on the upholstery to be installed.....
I did get the bimini top installed today though. Still needs a little adjustment (I was racing a thunderstorm), but I am pretty happy with it.

Leave a comment:
-
No, not yet... Should have them very soon, I hope. There were some issues with the skins not fitting quite right. Not sure if it was deteriorated foam or what, but my upholstery shop should have it all wrapped up very soon. Hopefully this coming week!Leave a comment:
-
Got a new cover today from Angola Canvas. Pretty happy with the way it fits. It is super tight. I hope it stretches out a little. I'm sure it will.
Side skirts are detachable with velcro. There is a zip-on swim platform cover, too. Great design!

Leave a comment:
-
Water can get past those brass cylinders. Ideally it shouldn't, but it can. That's one reason that it is important to disconnect the lines from the speedometers and blow them out at winterization.Leave a comment:
-
speaking of speedo being disconnected, Mine came disconnected at the back of the speedo itself and was pouring water like a mofo inside my dash and took out my radio which was a pos to start with lol. Anyway, I thought that the water pressure went into those cylinders and converted it to air pressure so why how was water making it up to the speedo? Does the speedo have to cap the line off to keep pressure on the hose so water doesnt come that far up? In other words, are those tubes filled with water al the way up to the speedo under normal operation?I also found the cause of one of the speedometers not functioning. The hose was disconnected behind the tank!Leave a comment:
-
Thanks man....by the way, be sure to post pics of the skins installed when you get them on. Im looking forward to seeing it! If you do it yourself a tutorial would be nice!Originally posted by NautiqueJeff View PostLeave a comment:
-
Looks great so far, NautiqueJeff you are a pinstripe savant! I would have thought the H6 in this boat would have made it a killer "restomod."Leave a comment:
-
Not sure why they did it. I assume with mine the wood shrank a little bit over time, and I also sanded mine quite a bit since it was so neglected by the previous owner.
I pulled out each screw and used a Dremel tool to cut off the tips of each screw, then reinserted them. It probably would have been easier to go to the store and just buy some shorter screws though.Leave a comment:

Leave a comment: