


So for a long time now I have wanted to install a white navigation light on top of the tower pull point of my 2003 SANTE like the newer boats have, mainly because technically mine came form the factory illegal according to Coast Guard regulations. First off I would like to thank Grant West (many of you know this name) for giving me the idea and knowledge to pull this off since he did this same install about 2 years ago. Here is his original thread: http://www.wakeworld.com/forum/showt...ght=innovative
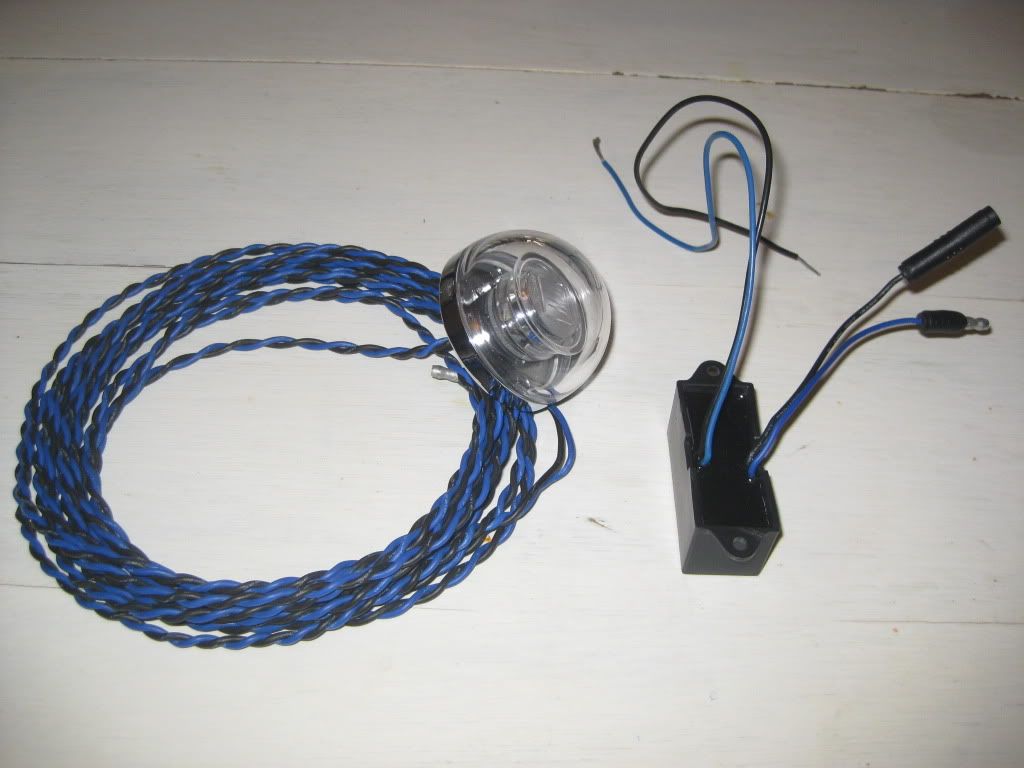
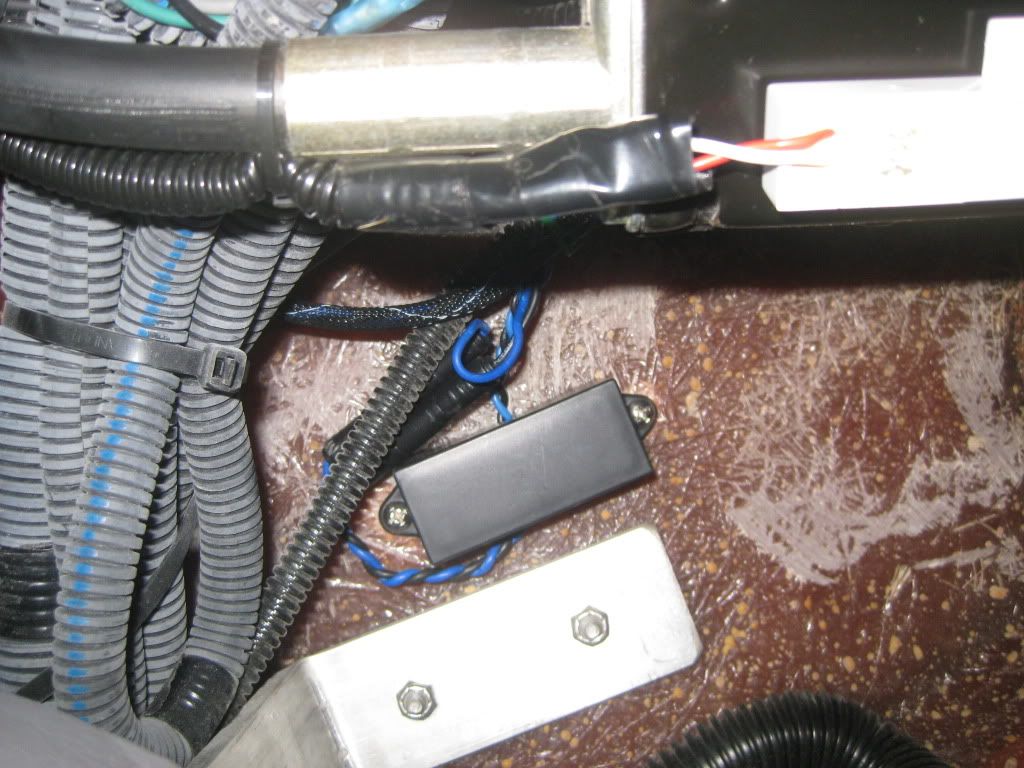
This is what you get... Innovative Lights part # 503-0100. I had to order it from West Marine. They don't keep it in stock so they will special order it from Innovative and have it shipped to you. Final cost was $82.50. ($58.99 for the light, $10.00 for breaking apart packing because they come in groups of 6, and shipping) This model has 2 pieces, the light and the transformer are separate. Part # 503-0000 has the transformer inside the light base but is about 1/2" taller.
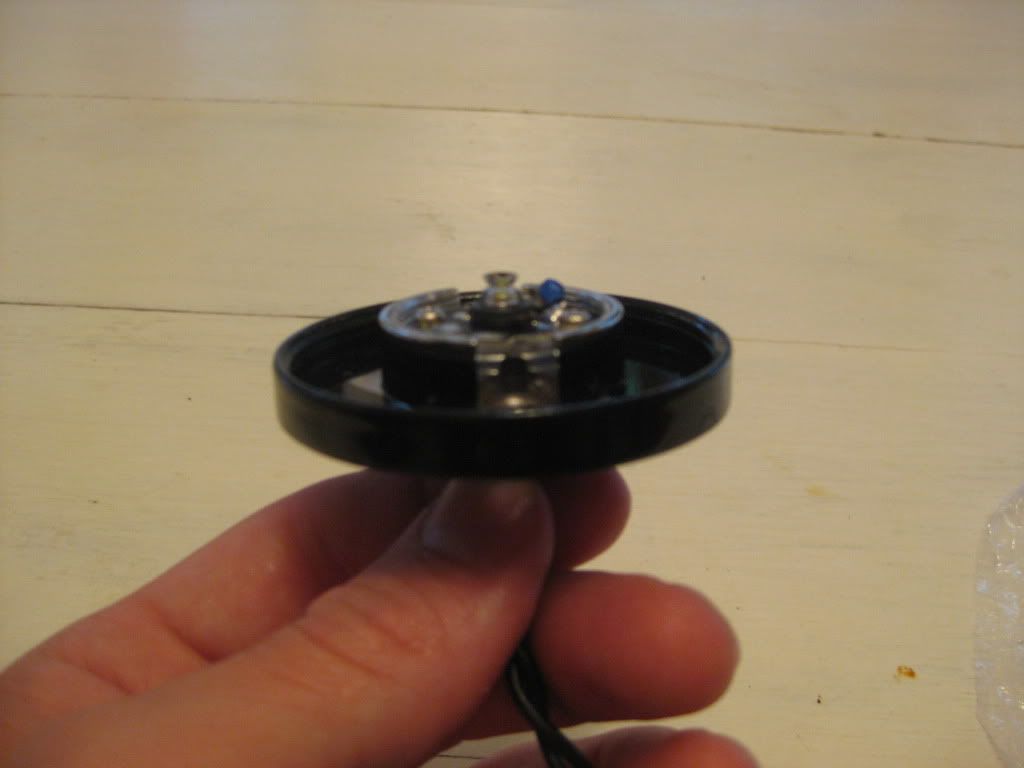
Here are some shots of the light base without the lens after I painted it to match the tower.

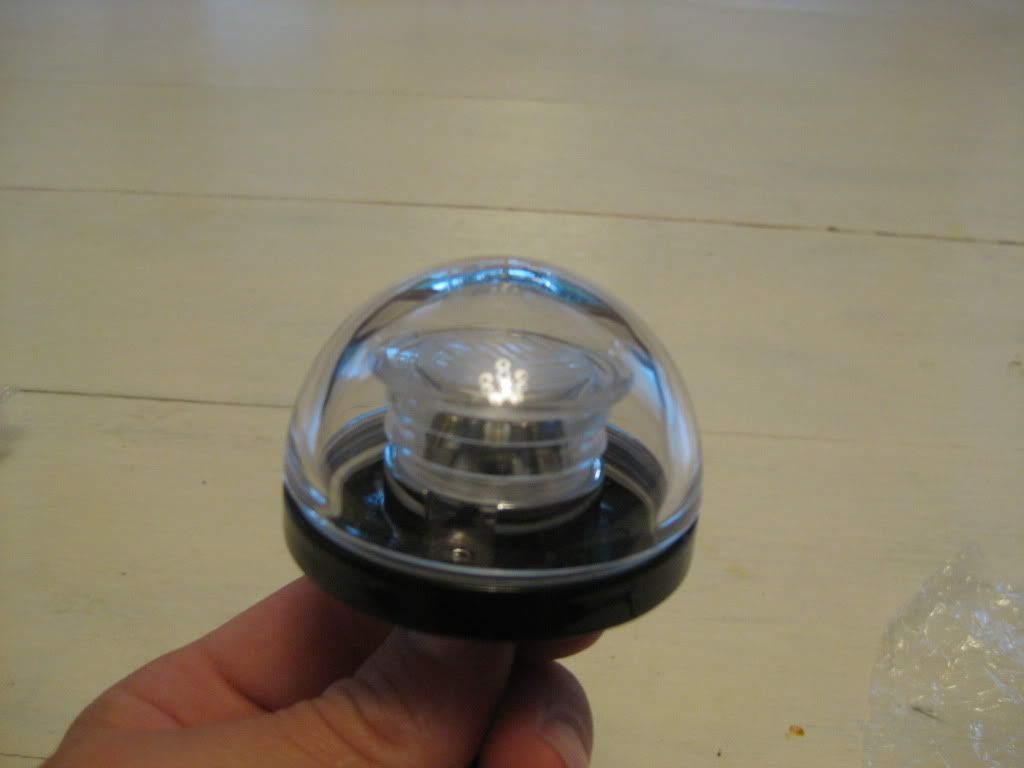
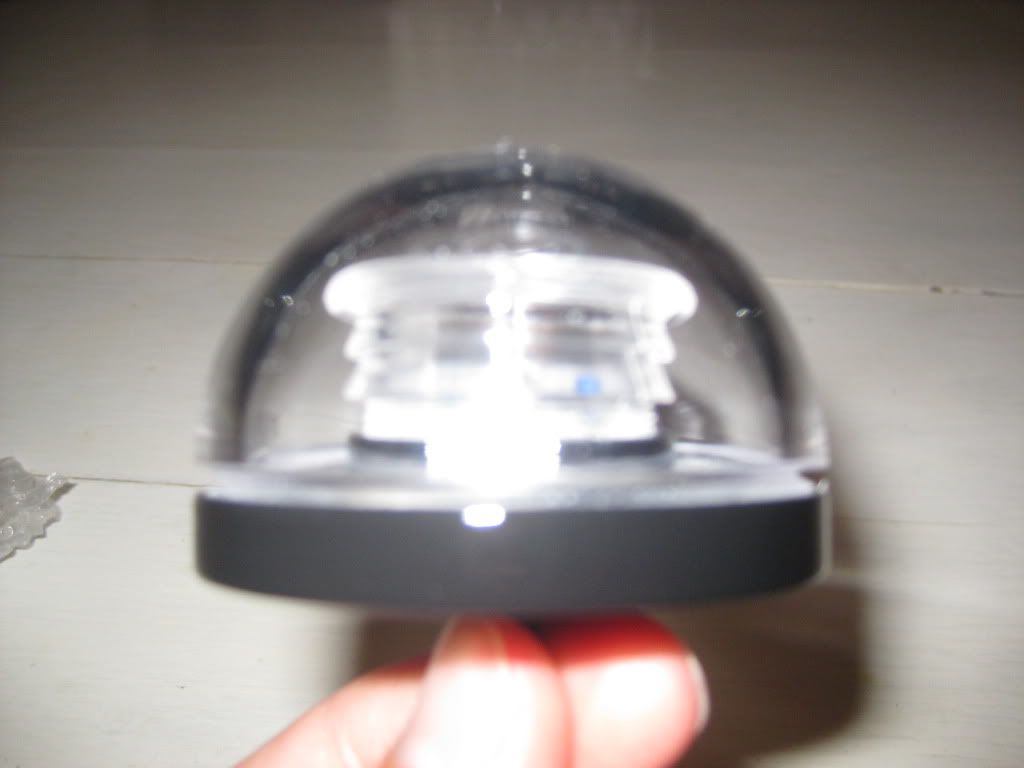
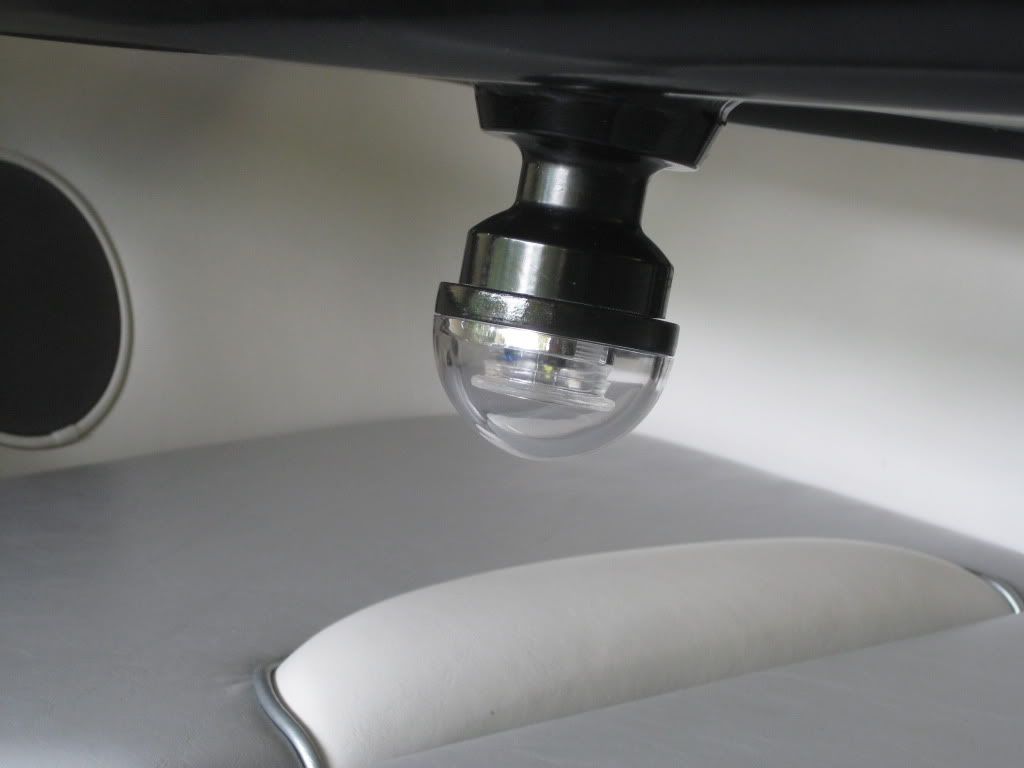
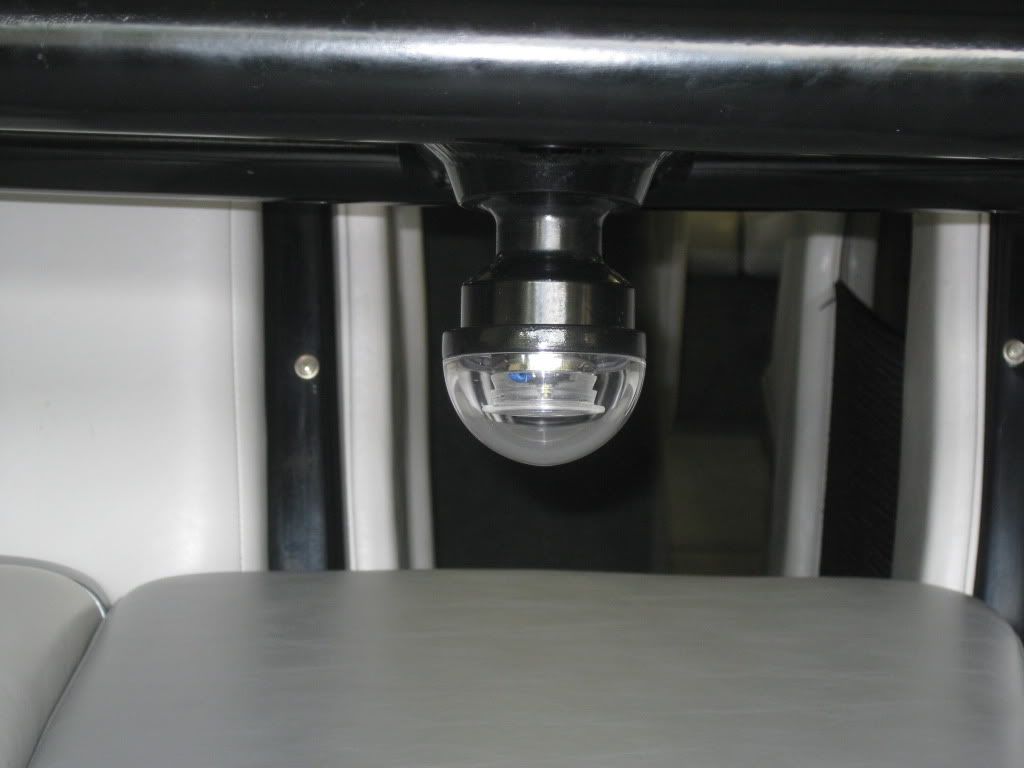
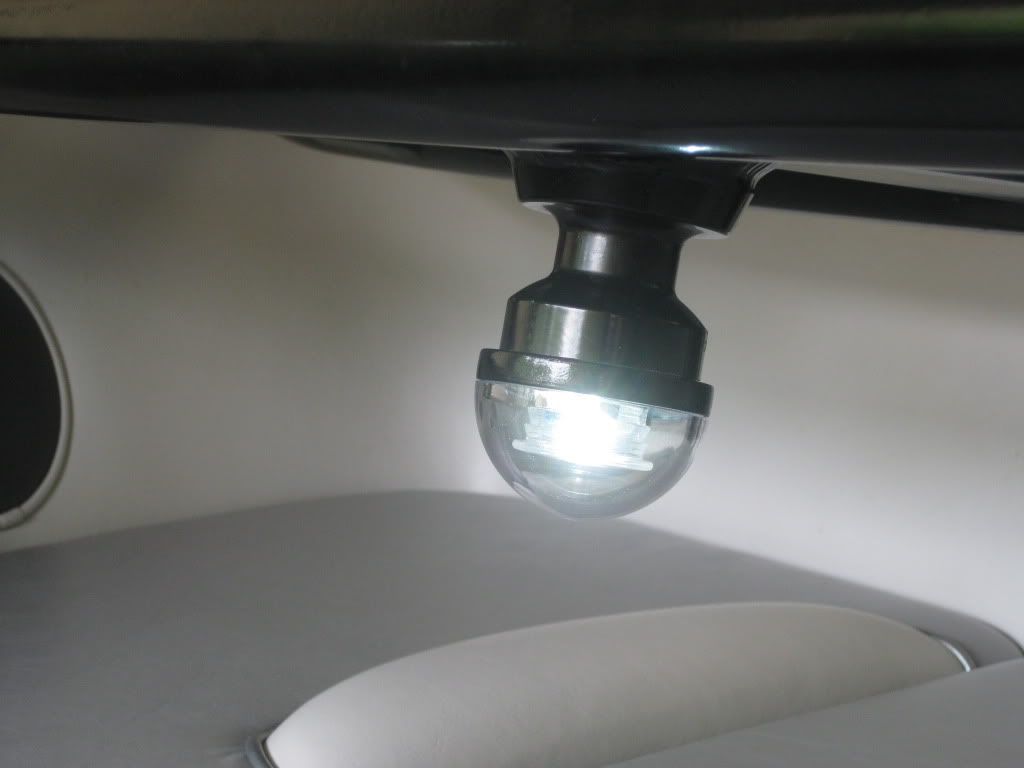
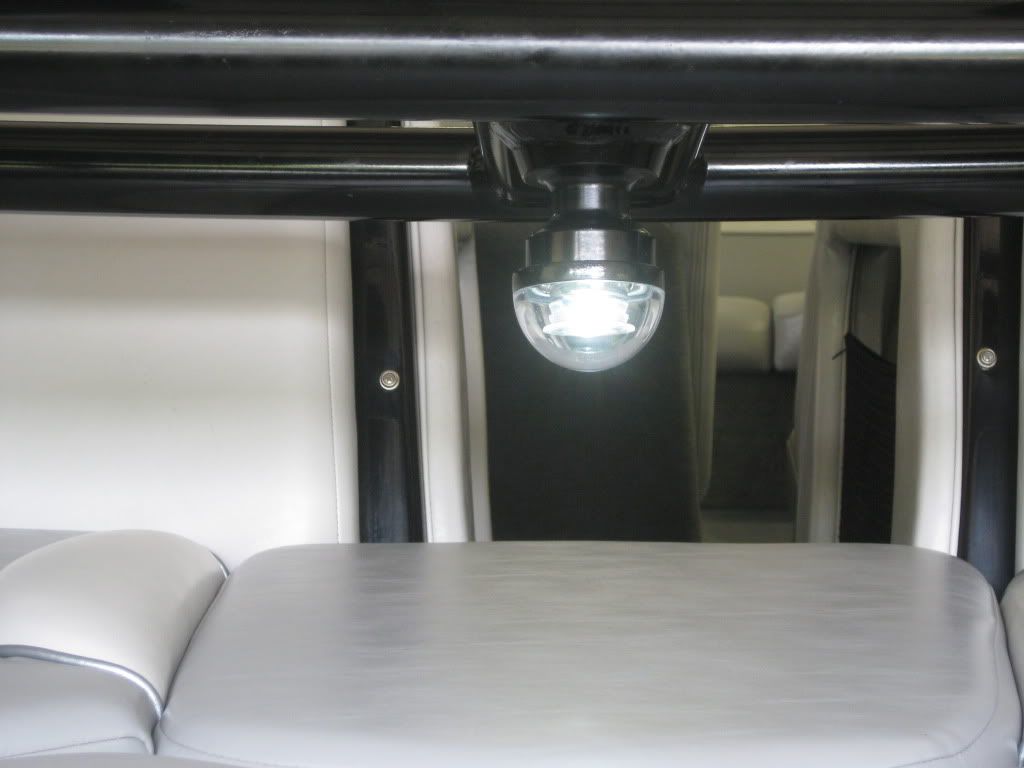
With the lens...
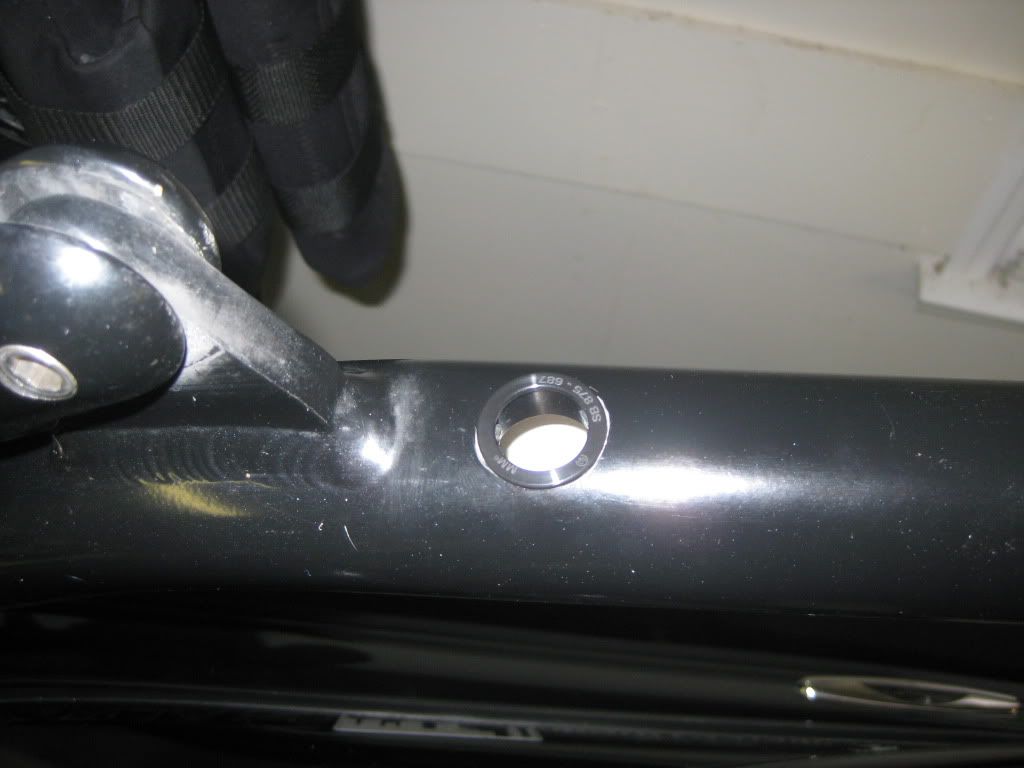
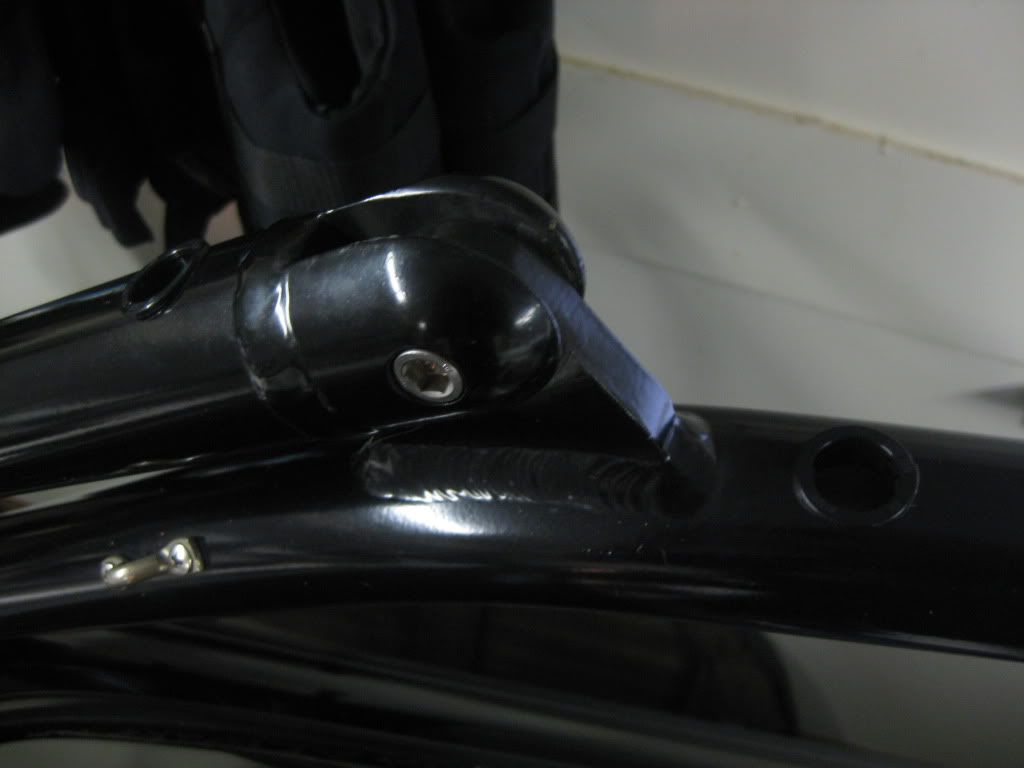
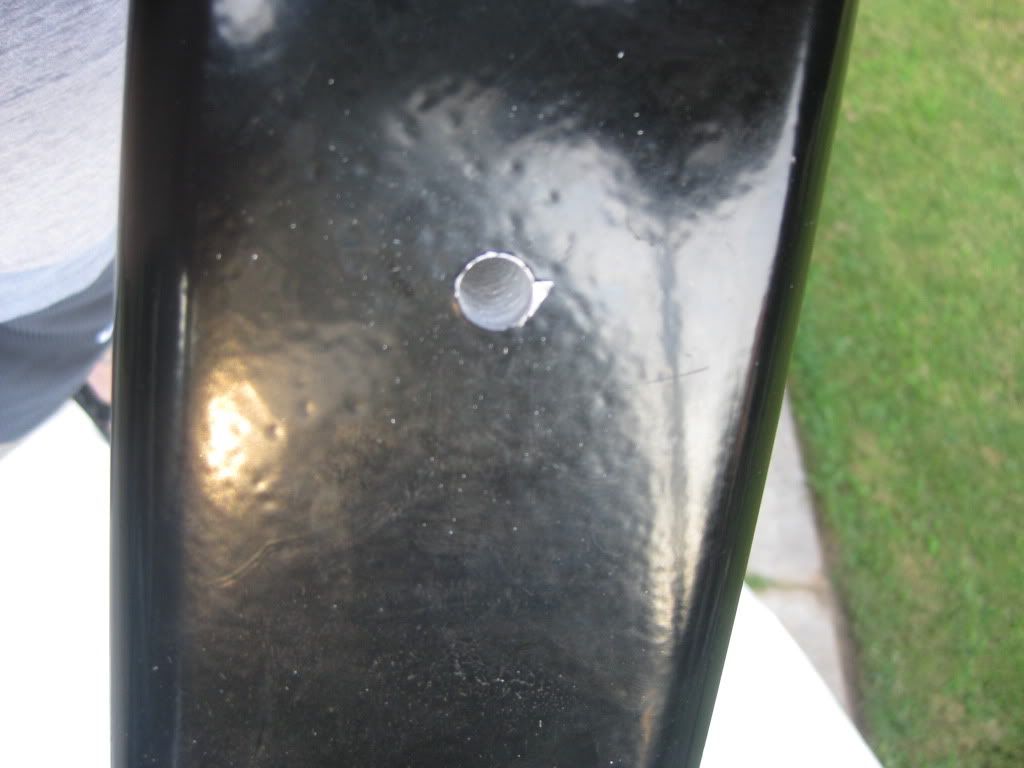
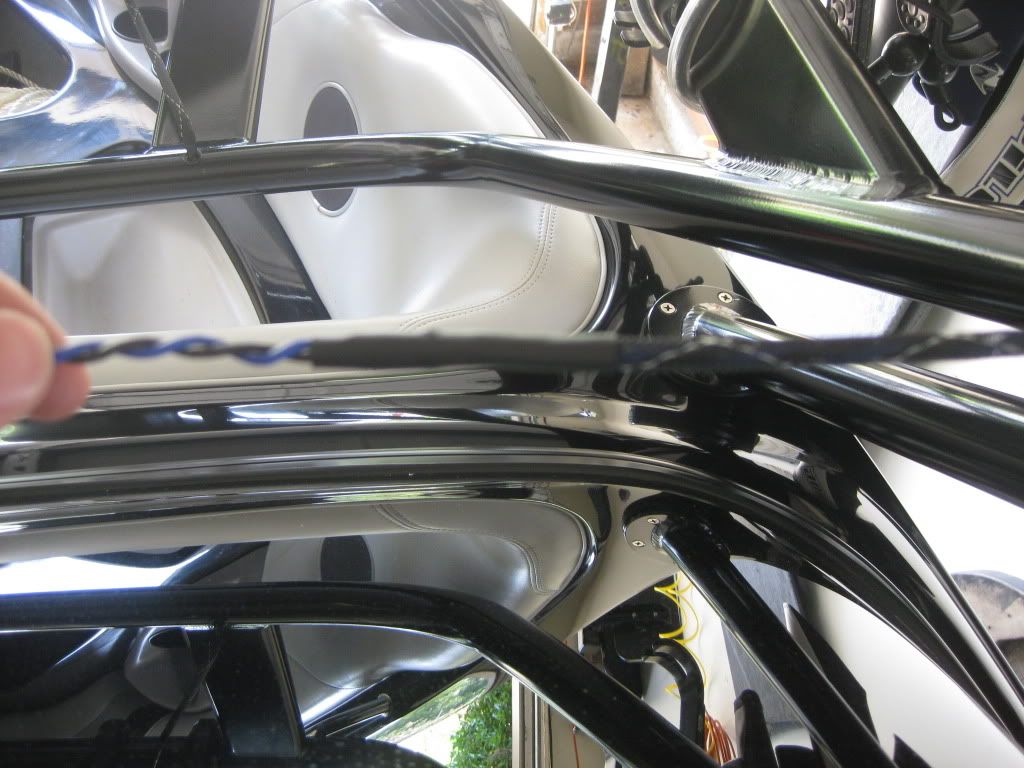
Now to the fun part of hacking up the tower. Here are the holes I drilled to allow the wiring to pass through the tower legs. I prefer to drill the holes in the inside of the tower legs instead of the outside... It just looks cleaner to me.
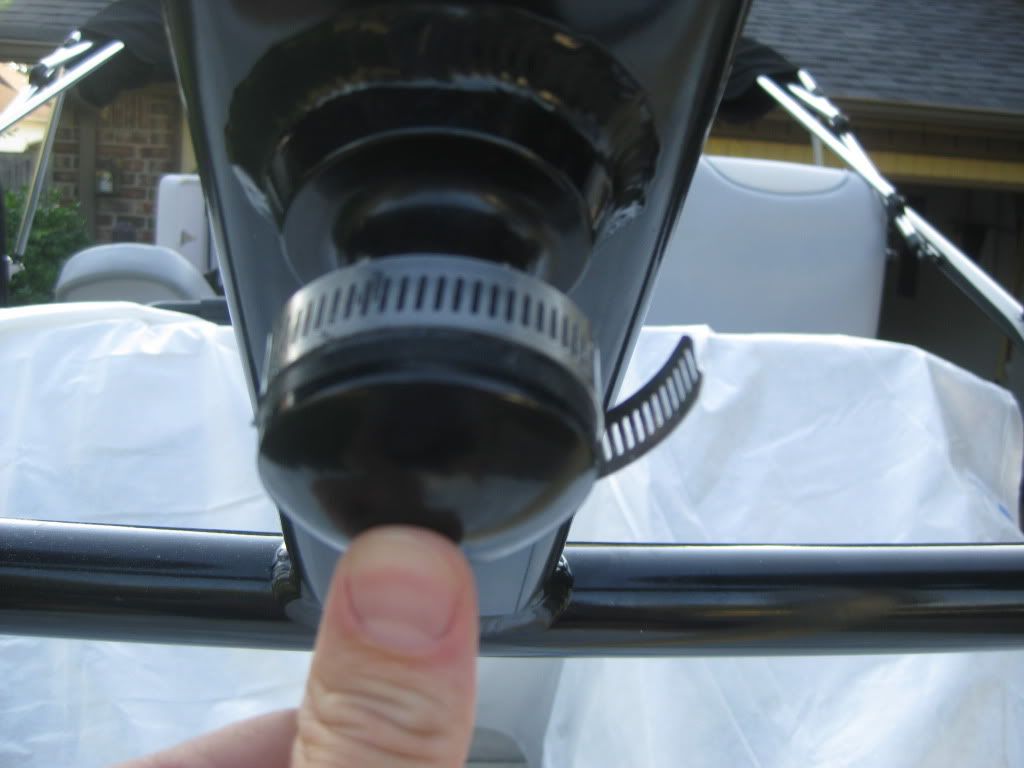
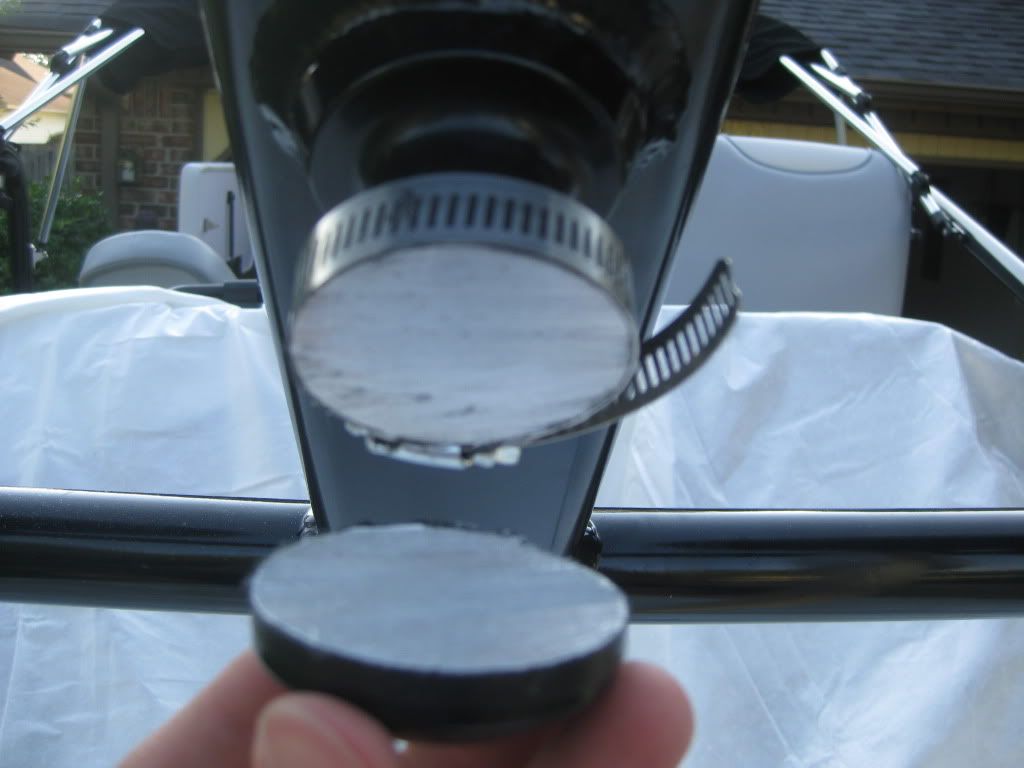
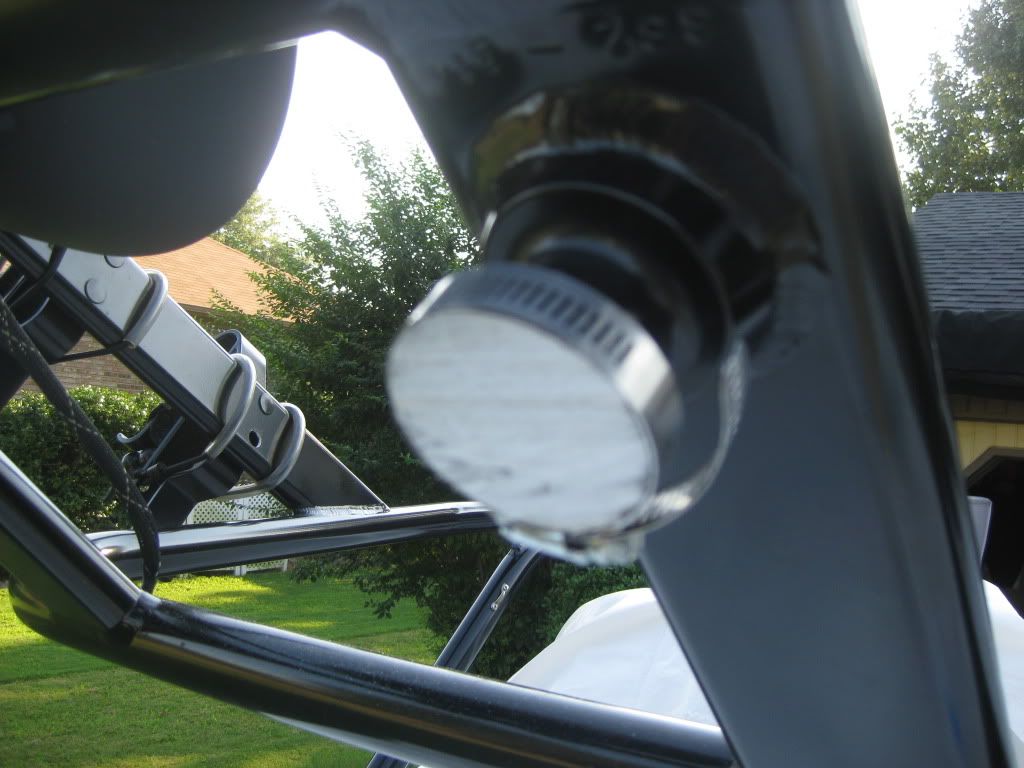
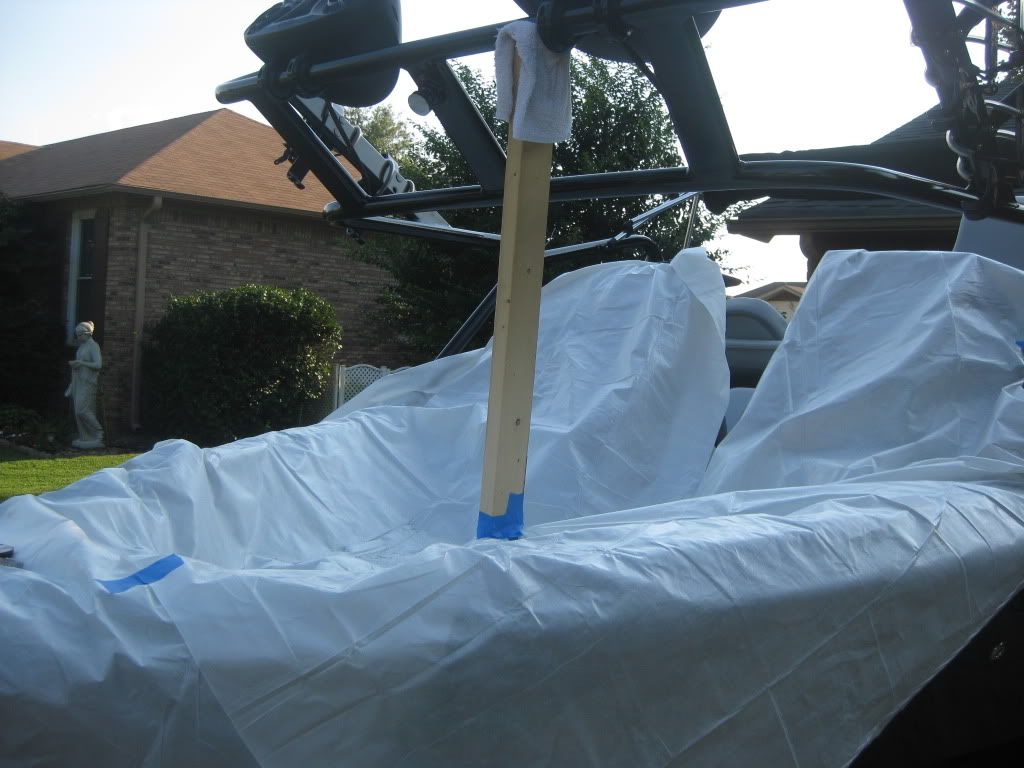
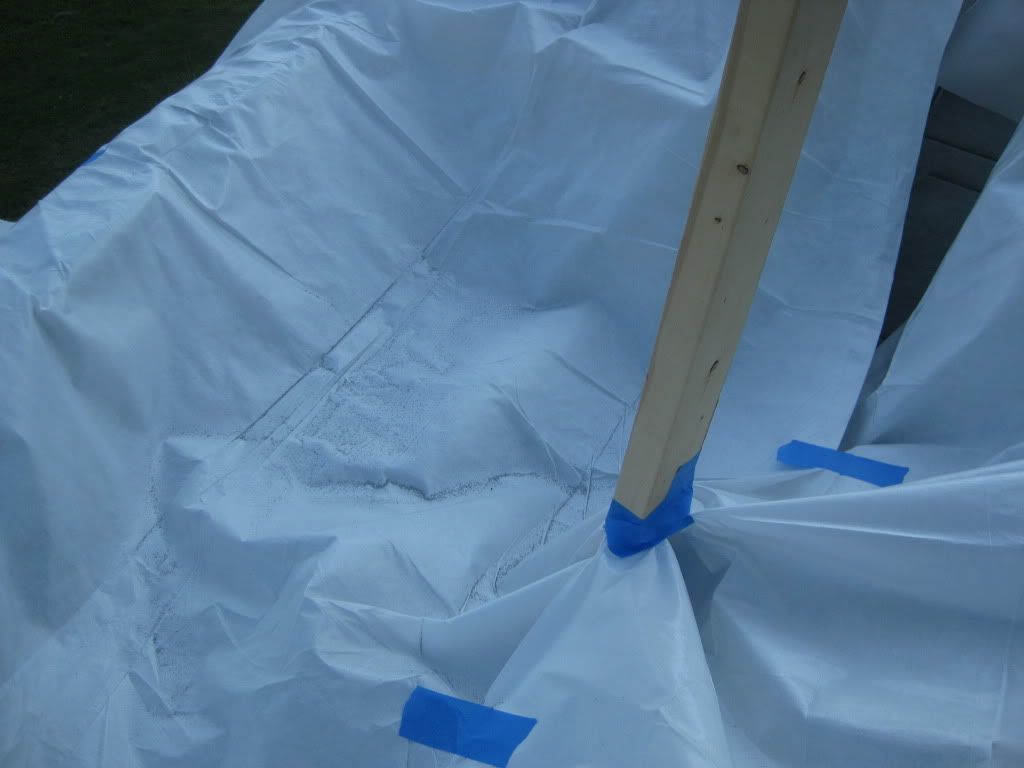
Now comes the REALLY fun part of cutting the top of the pull point off to give a flat place for the light to mount to. I followed Grant's lead here and first wrapped the tower in electrical tape to protect from scratches, then mounted a hose clamp in place as a cutting guild. I used a Porta-band to cut the top off. This was a bit tough given the angle I was cutting at and the weight of the tool, but it took 10 minutes (with 3 rest breaks to calm the nerves) instead of 2 hours it might have taken with a hacksaw. I then used a file to smooth out the bumps.
Before:
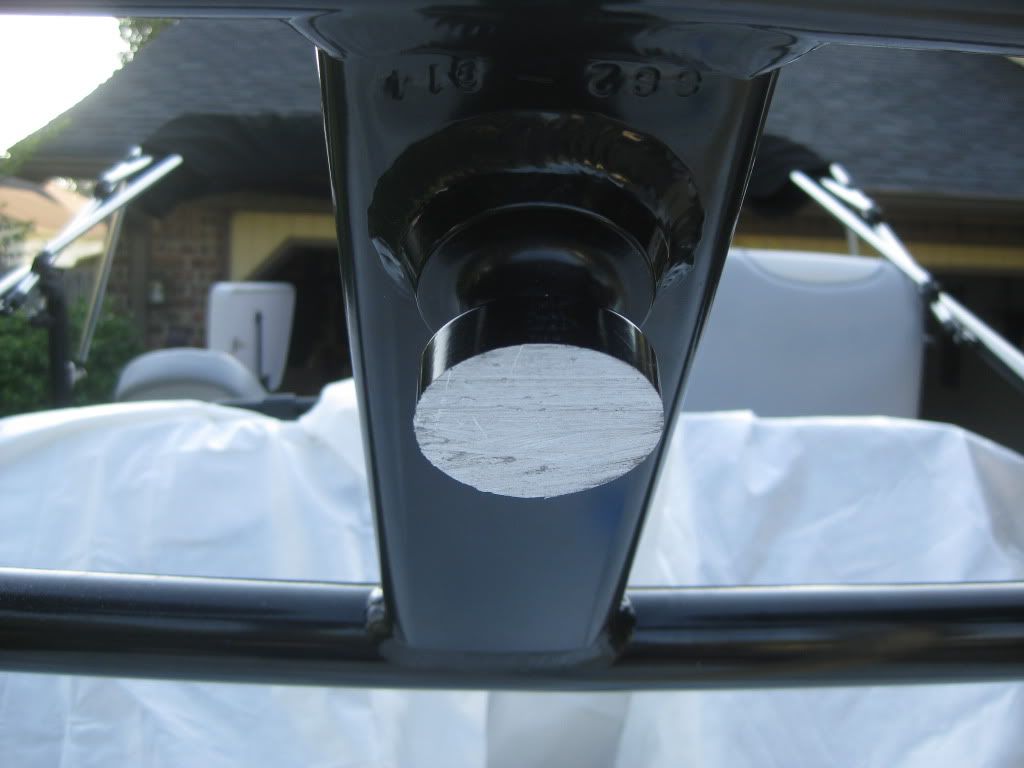
After:
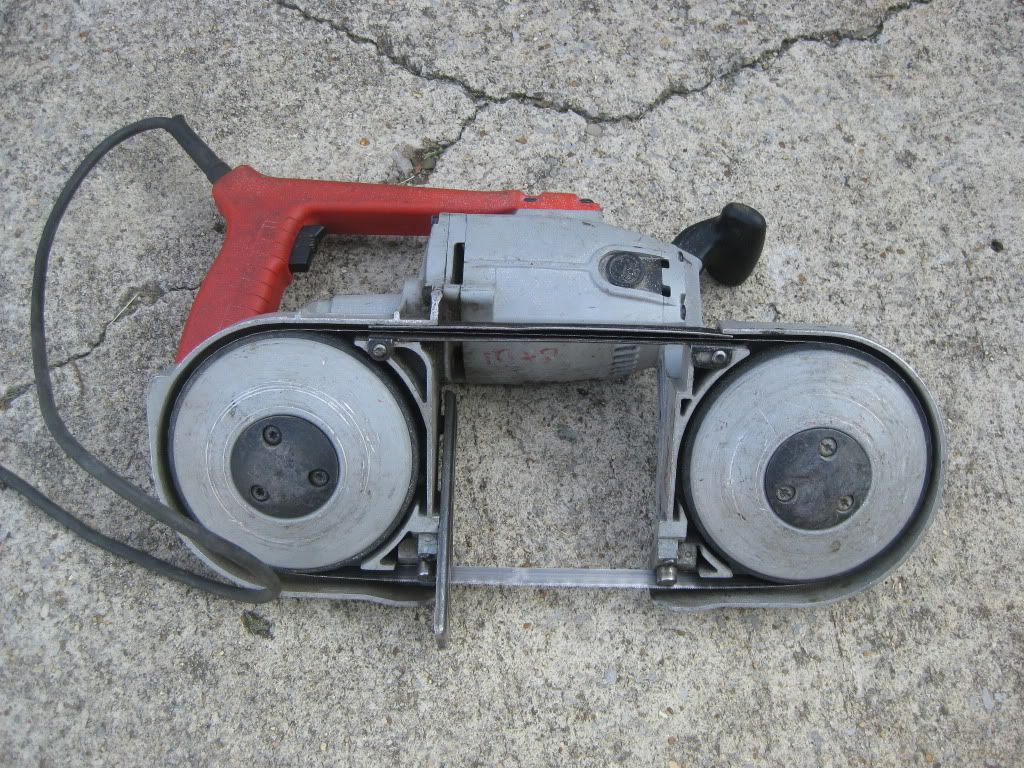
Tools of the trade:
Holes drilled and tapped:

Always use protection!!! There was lost of metal flying and I didn't feel like picking aluminum shavings out of my feet the rest of my life.
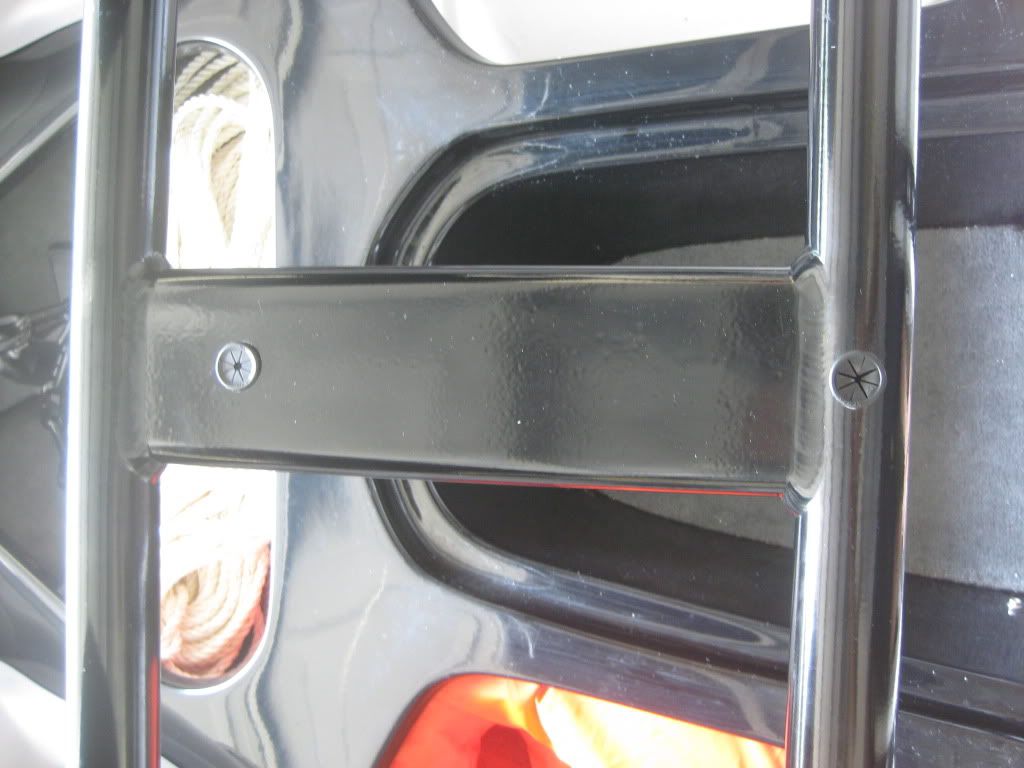
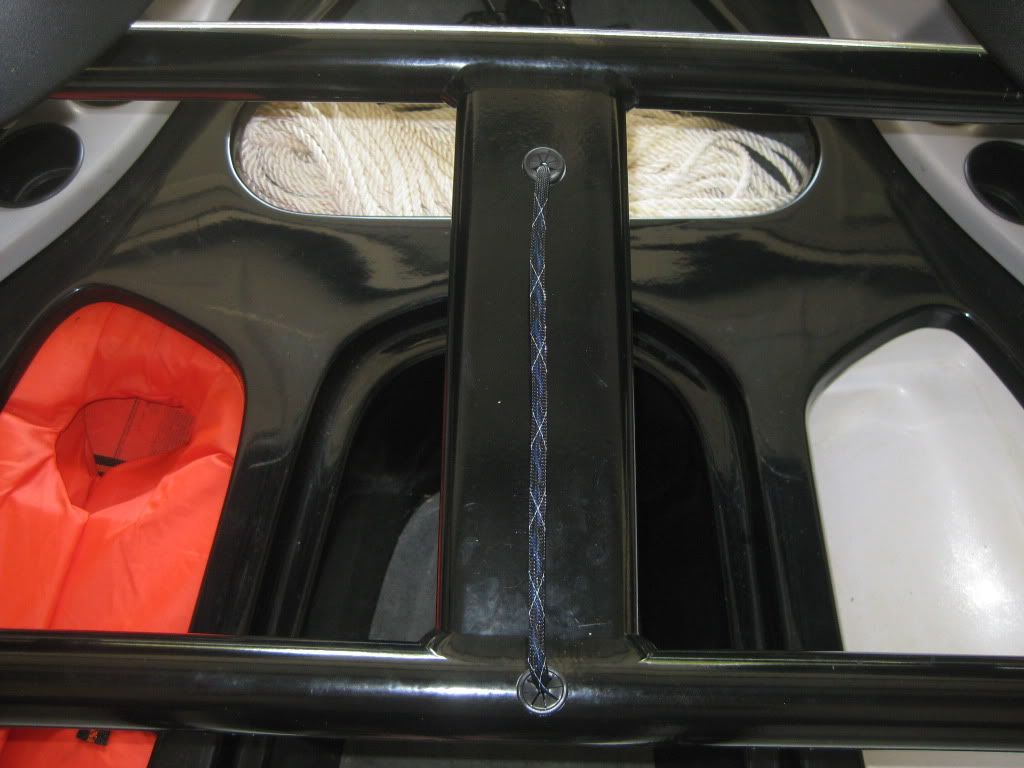
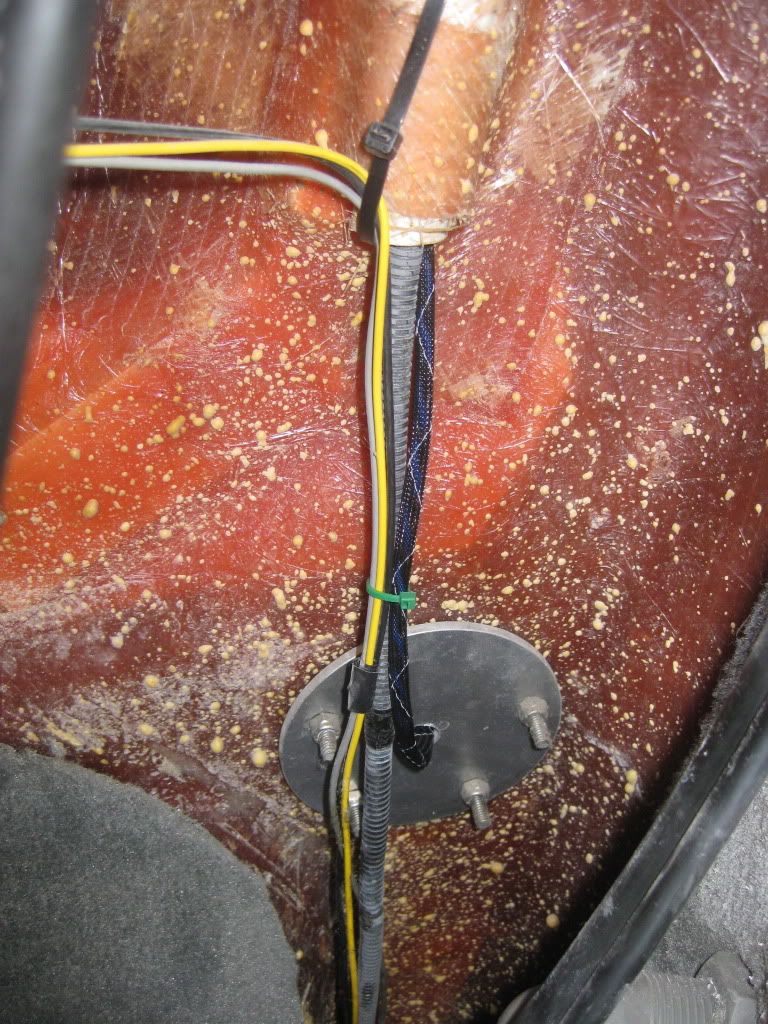
Now here is the interesting part.... The pull point actually goes all the way through the tower as one solid piece so you can't route the wiring inside the hollow rectangle from the front to rear like I had hoped to do. Grant had a nice speaker enclosure to hide the wiring in, but I don't so:
This is what you get... Innovative Lights part # 503-0100. I had to order it from West Marine. They don't keep it in stock so they will special order it from Innovative and have it shipped to you. Final cost was $82.50. ($58.99 for the light, $10.00 for breaking apart packing because they come in groups of 6, and shipping) This model has 2 pieces, the light and the transformer are separate. Part # 503-0000 has the transformer inside the light base but is about 1/2" taller.
Here are some shots of the light base without the lens after I painted it to match the tower.
With the lens...
Now to the fun part of hacking up the tower. Here are the holes I drilled to allow the wiring to pass through the tower legs. I prefer to drill the holes in the inside of the tower legs instead of the outside... It just looks cleaner to me.
Now comes the REALLY fun part of cutting the top of the pull point off to give a flat place for the light to mount to. I followed Grant's lead here and first wrapped the tower in electrical tape to protect from scratches, then mounted a hose clamp in place as a cutting guild. I used a Porta-band to cut the top off. This was a bit tough given the angle I was cutting at and the weight of the tool, but it took 10 minutes (with 3 rest breaks to calm the nerves) instead of 2 hours it might have taken with a hacksaw. I then used a file to smooth out the bumps.
Before:
After:
Tools of the trade:
Holes drilled and tapped:
Always use protection!!! There was lost of metal flying and I didn't feel like picking aluminum shavings out of my feet the rest of my life.
Now here is the interesting part.... The pull point actually goes all the way through the tower as one solid piece so you can't route the wiring inside the hollow rectangle from the front to rear like I had hoped to do. Grant had a nice speaker enclosure to hide the wiring in, but I don't so:


Comment