Welcome to PLANETNAUTIQUE! We're glad you're here. In order to participate in our discussions, you must register for a free account. With over 25,000 registered members already, we would love to have you as a member too! Click here to access our Registration Page. Registration is quick and easy, and we keep any information you give us completely confidential. Once registered, you may sign in using the drop-down Login or Sign Up window at the upper right corner of the site.
PLEASE STOP AND READ! The DIY section is for posting DIY articles only! These articles should be about some repair or project that YOU HAVE COMPLETED, and how others can also accomplish whatever you have done. The DIY section is NOT a place to start threads asking HOW to do something. Threads like that must be started in the Maint. / Tech. Discussion section. It is permissible to ask the original poster questions about his or her project in their thread here though.
How did you wire your HU so that it is powered from the distribution block, but still turns on and off with the key pad? Or do you just use your battery disconnect switch?
How did you wire your HU so that it is powered from the distribution block, but still turns on and off with the key pad? Or do you just use your battery disconnect switch?
Awesome work on your install!!
Thanks man! I was worried about that myself when I went to rewire it, but it doesn't seem to make any difference. I just cut the factory + & - wires before the disconnect harness and rewired them to my distribution block. I left the memory power wire in place though. I always turn the HU off via the remote after I'm done for the day. I just tried turning it on without punching in the code and it did nothing. I'm not really sure how it works, but it does!
Only some of the pics worked for me, using chrome on a macbook (with that photobucket fix extension). Either way, I'm inspired to do this to my '03 SANTE now. I couldn't really imagine how I'd cut cleanly into the floor, and then I had to buy one of those multitools for a bathroom renovation recently. I'm totally impressed with that tool, and can see how it would work perfectly for this. Maybe it's next winter's project...
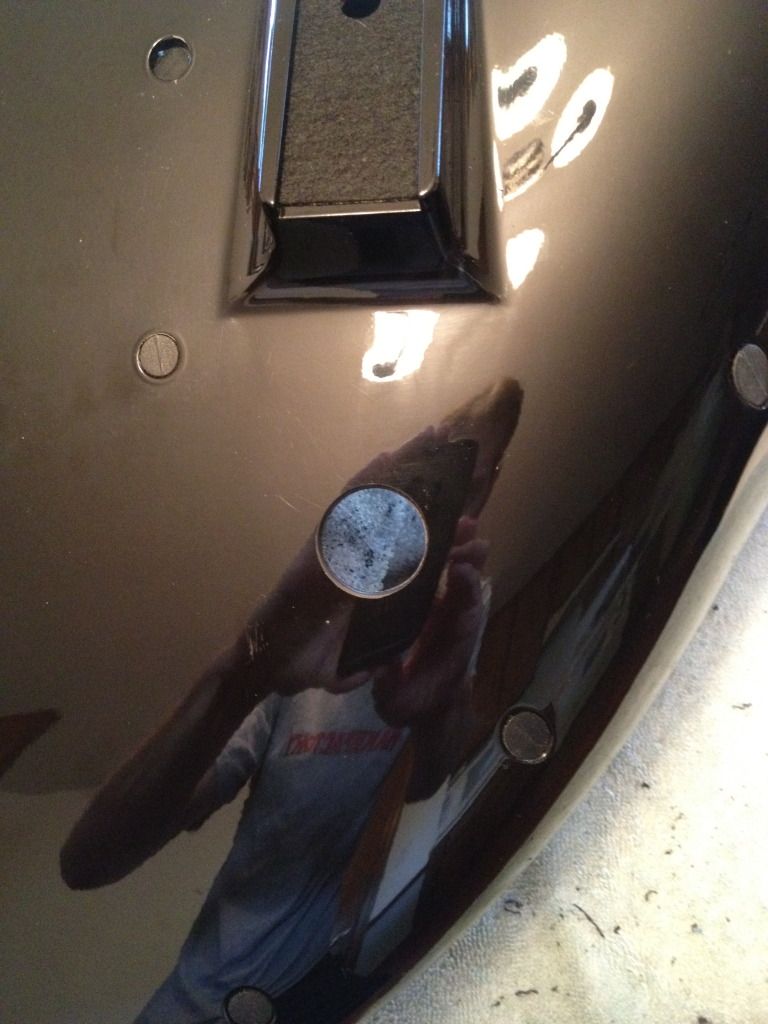
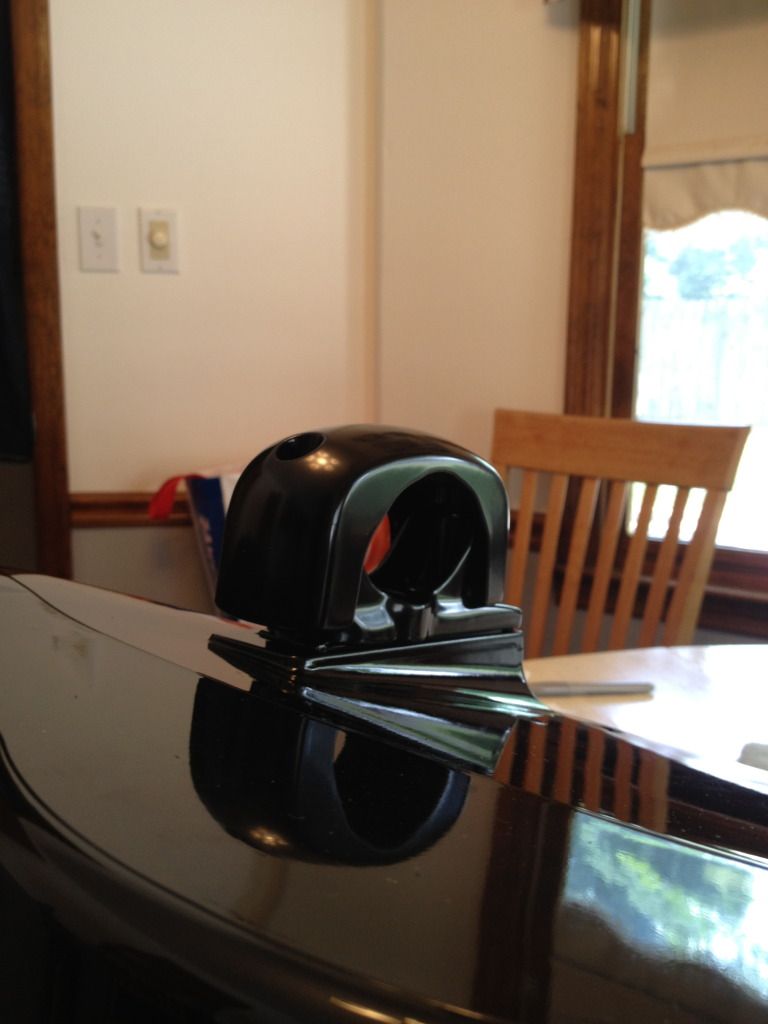
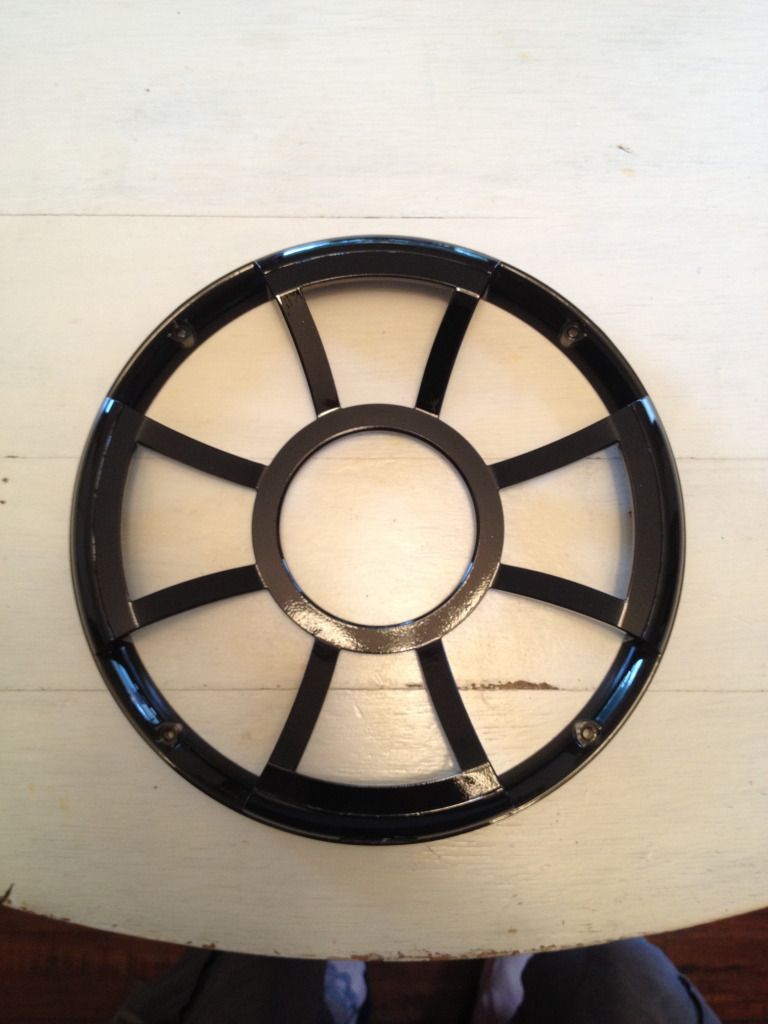
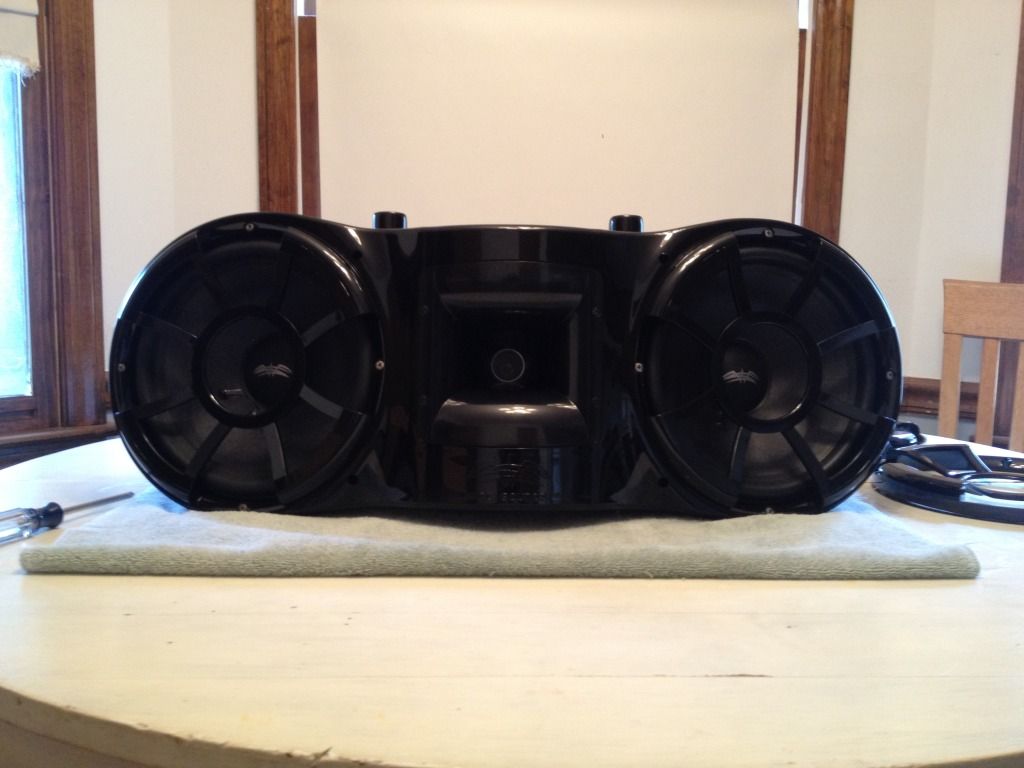
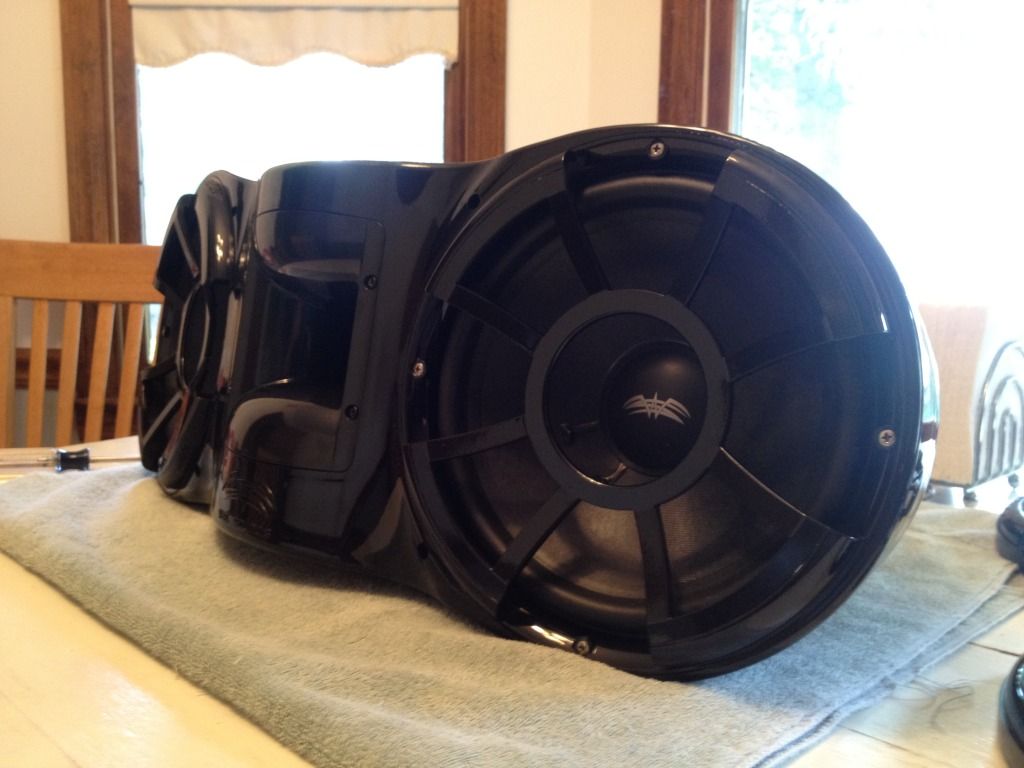
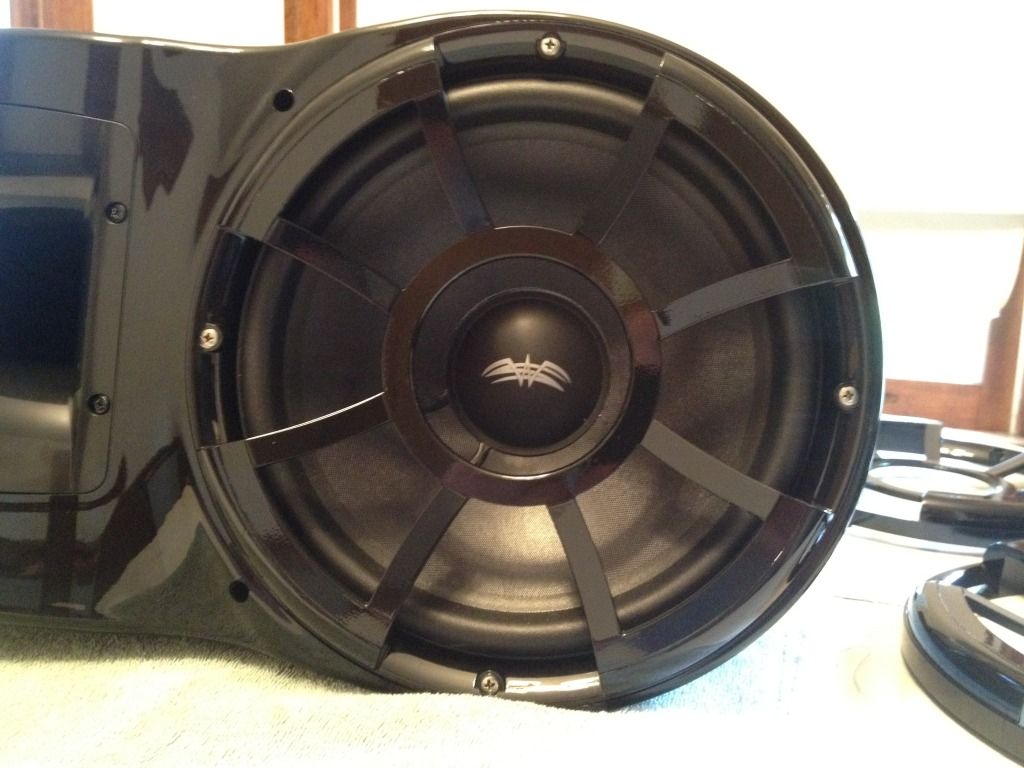
Got the modifications done to my Rev410's! Painted the grills black and rotated them 45 deg. (I'm not a big fan of the Maltese Cross look and the wifey came up with this idea which I think looks good), powder coated the mounts black, and installed Neutrik connectors like the Pro485 had because I can't use the though clamp wiring design. Now I just have to re-pull the wires in the tower (upgrading to 12 gauge wire) and mount the pods.
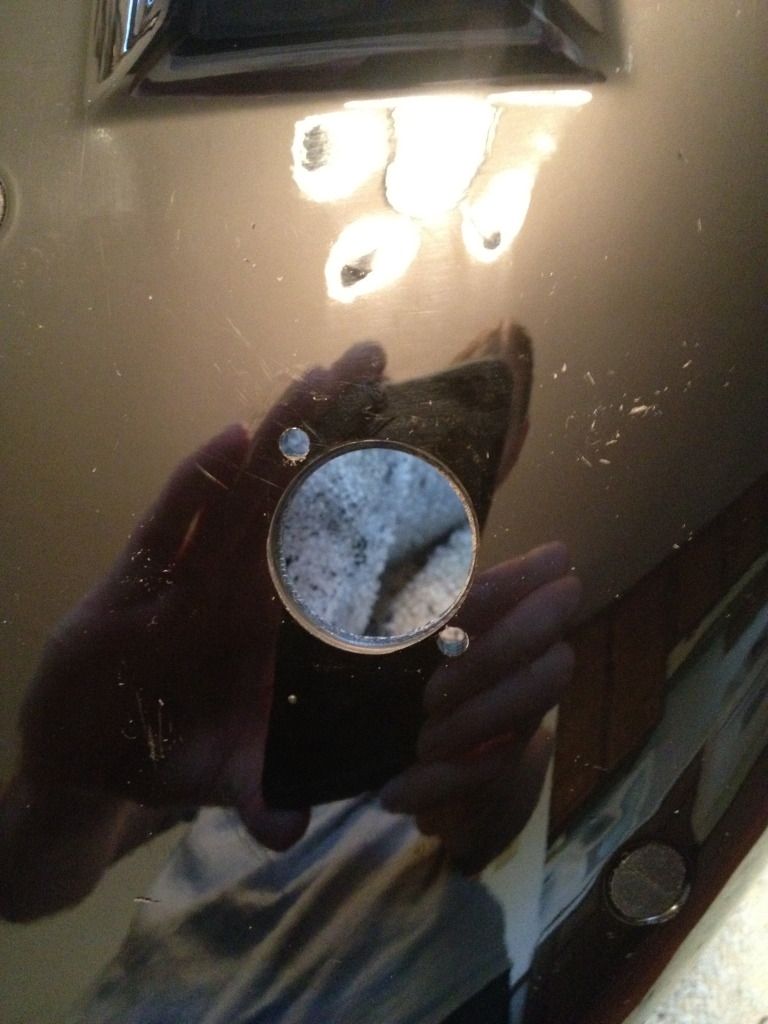
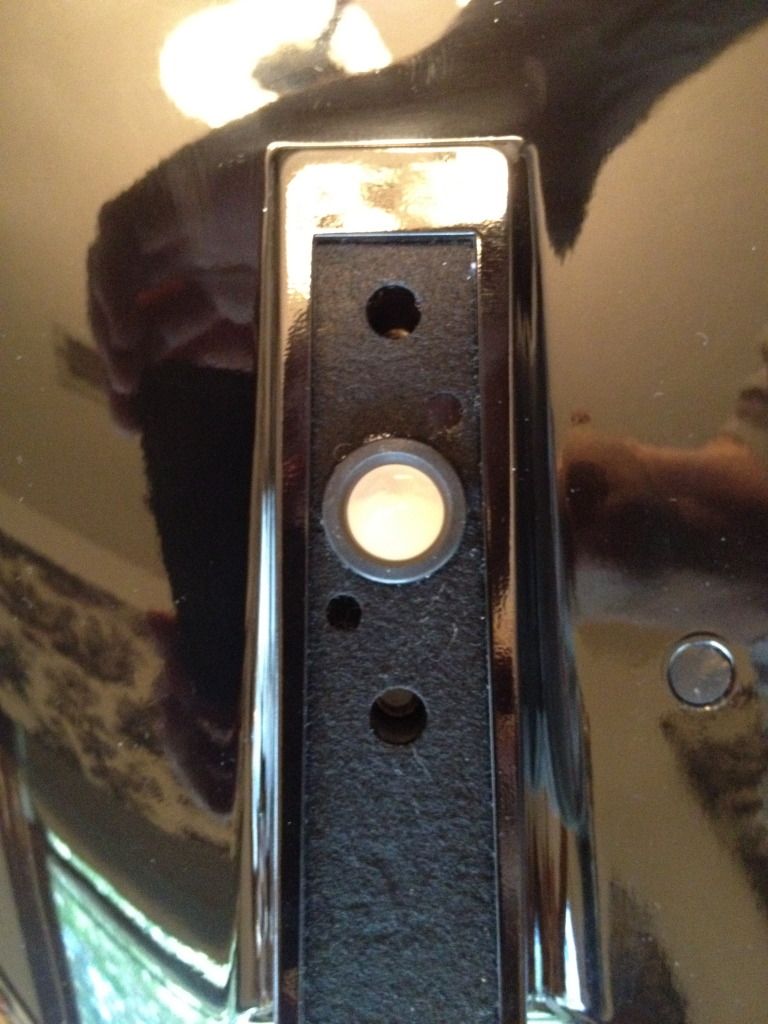
The inside of the tape lines mark the inner ribs inside the pod. I used them as reference for drilling the hole for the Neutrik connectors. Got to say cutting holes in brand new $1200 speakers is almost more pressure than cutting holes in a boat!
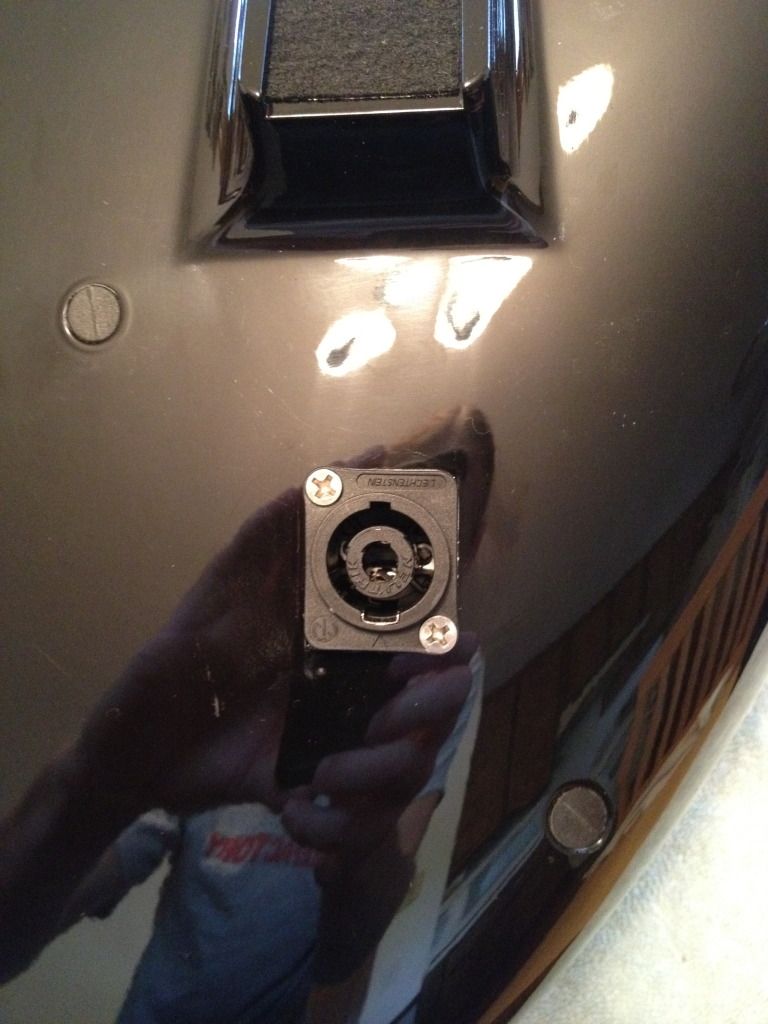
Connectors installed and wiring. I used some stainless 6x32 machine screws with nylock nuts, and sealed them up with some 3M 5200 sealant. I was going to make some aluminum plates to back-up the pod for strength, but these things are beefy. The pod thickness is about 1/4" so I didn't bother.
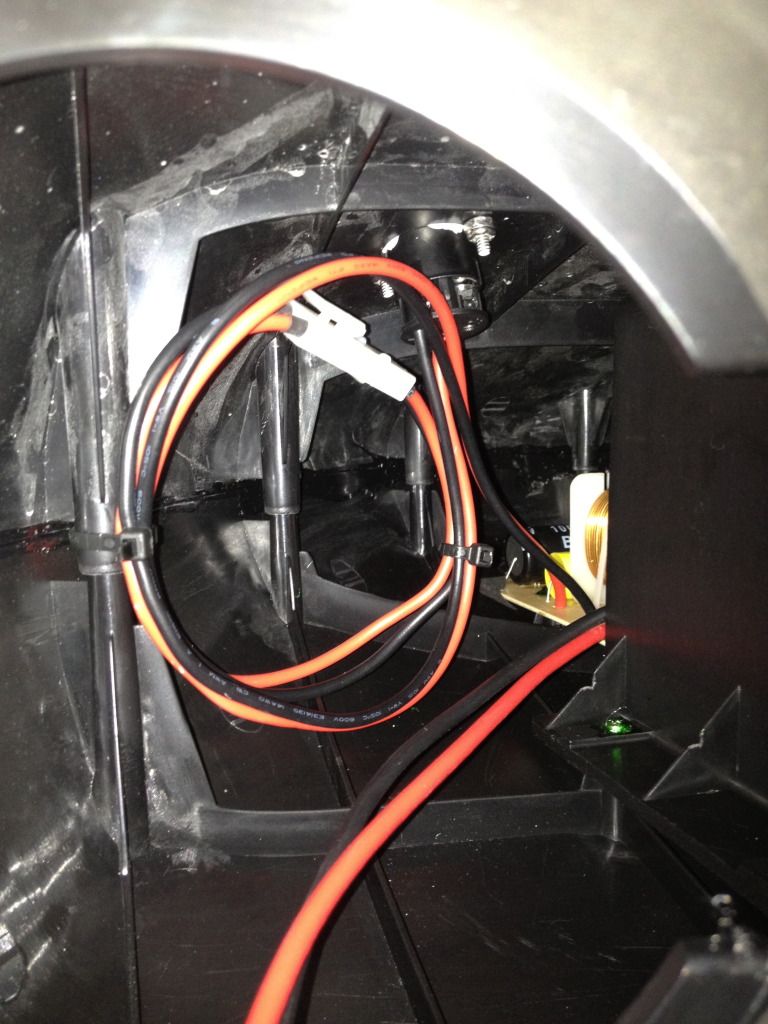
I sealed up the factory wiring hole with some more 3M 5200...
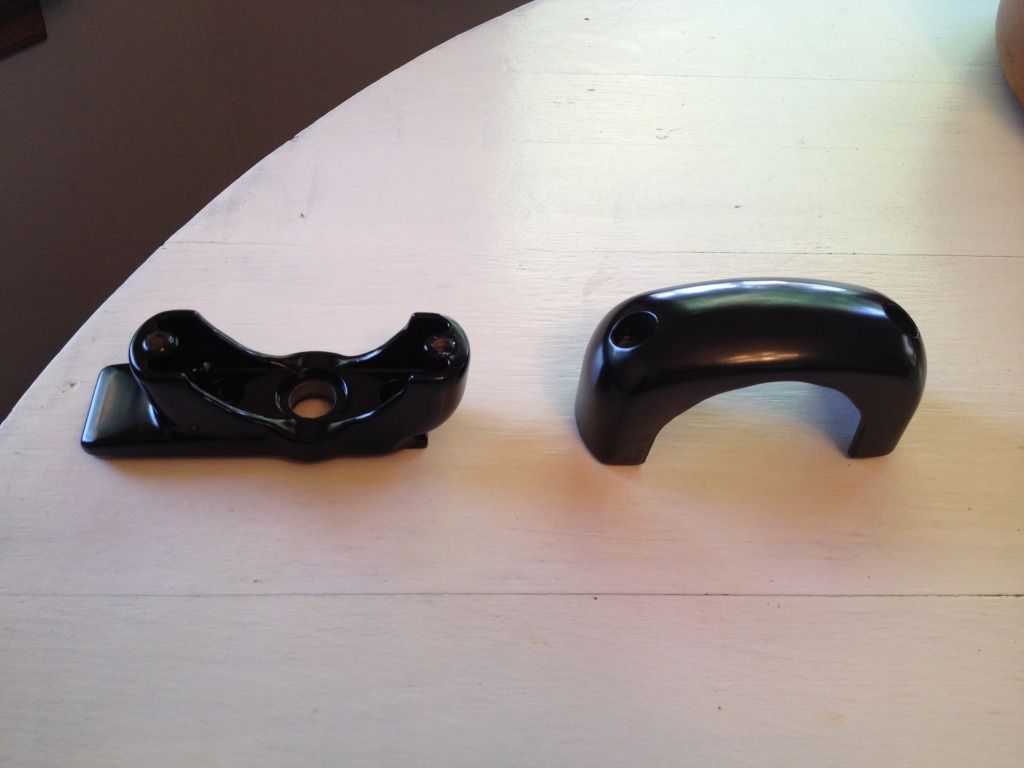
Powder coated mount brackets...
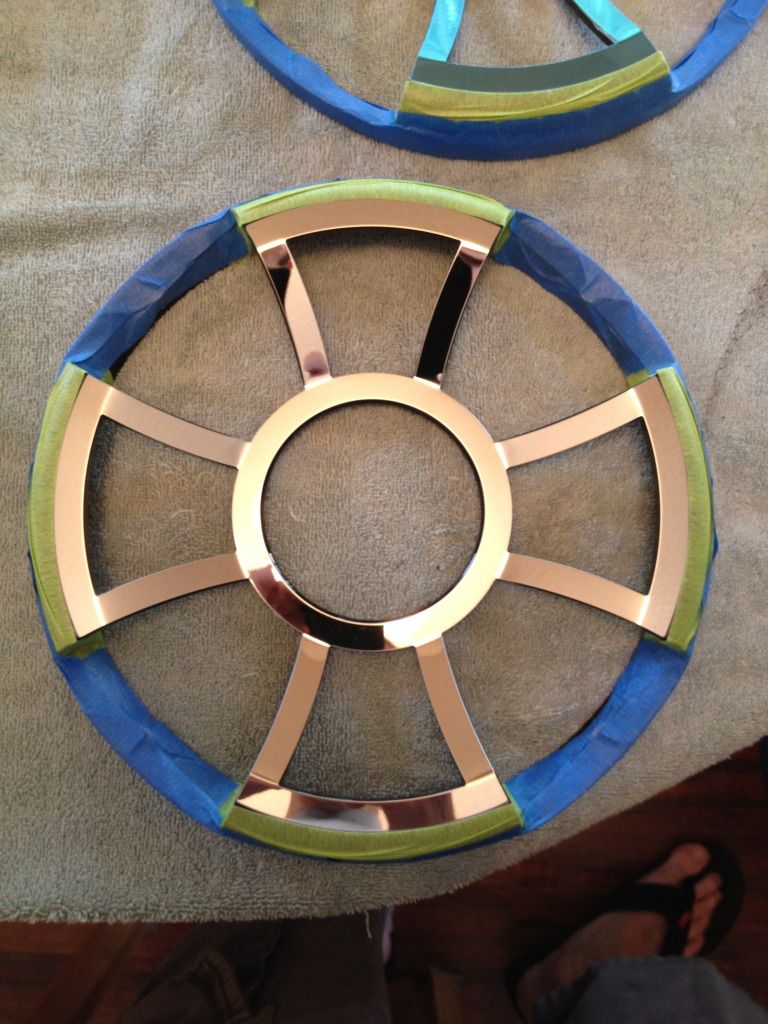
Grills masked off, just need to scuff and paint them...
Painted...
Grills installed and ready to mount speaker pods. I need to get some black touchup paint to paint the stainless screw heads on the grills and clean up some fine areas on the grills as well.
Those grills look WAY better! The grills were the main reason why I didn't go with wetsounds. Didn't even think to do this!
Did you ever consider drilling a hole from the new compartment into the hull empty space so you could cap off the compartments and have everything be 100% hidden? Similar to the drain hole but larger for wires.
Also I'm considering this on my 95 ss. Do you have any photos of the other side of the drain hole? If I do this I'll need to cut the entire compartment and add a drain pipe.
No I didnt... Im not completely sure how the stringer is constructed and how much could be cut out before causing issues with its strength. The drain is just a piece of 1/2 PVC. They just drilled a hole large enough to fit the PCV and then glassed it in.
I like your idea... Im just not completely sure how many or how large a hole you can go before compromising the structure. After all the interior is back in place it’s all hidden anyway so not sure the extra work is worth the effort and possible damage down the road.
More than happy! The work has held up well over the years. I�ve made a few small tweaks to some wiring on the house side over the years, but overall it�s just as I began.
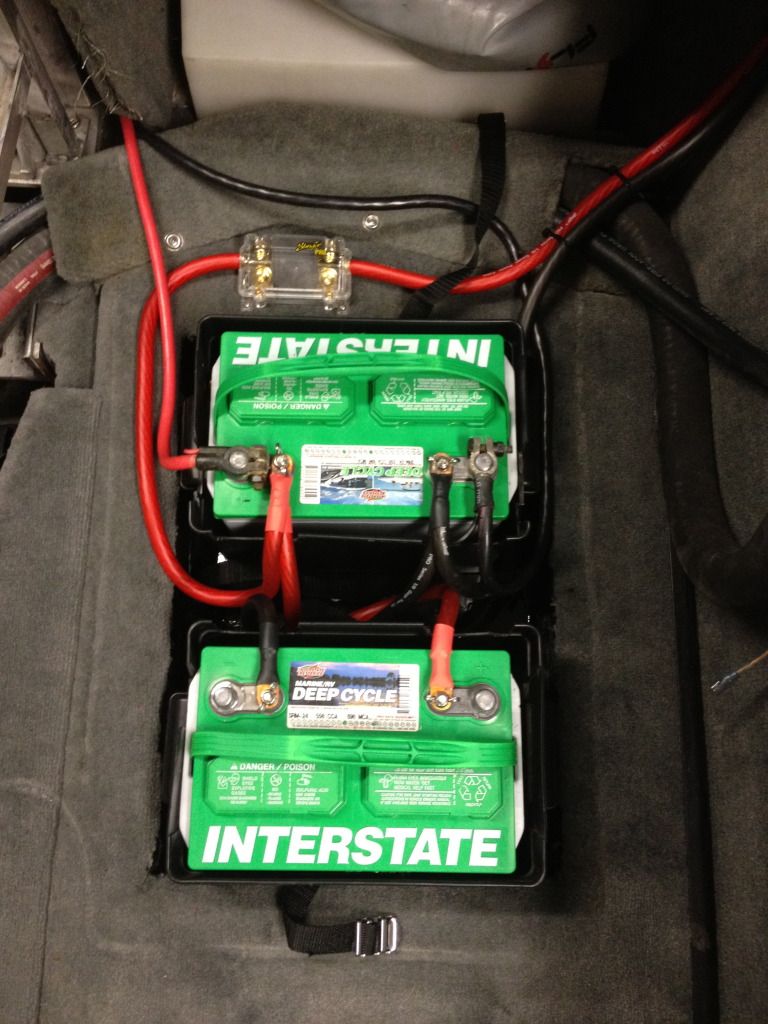
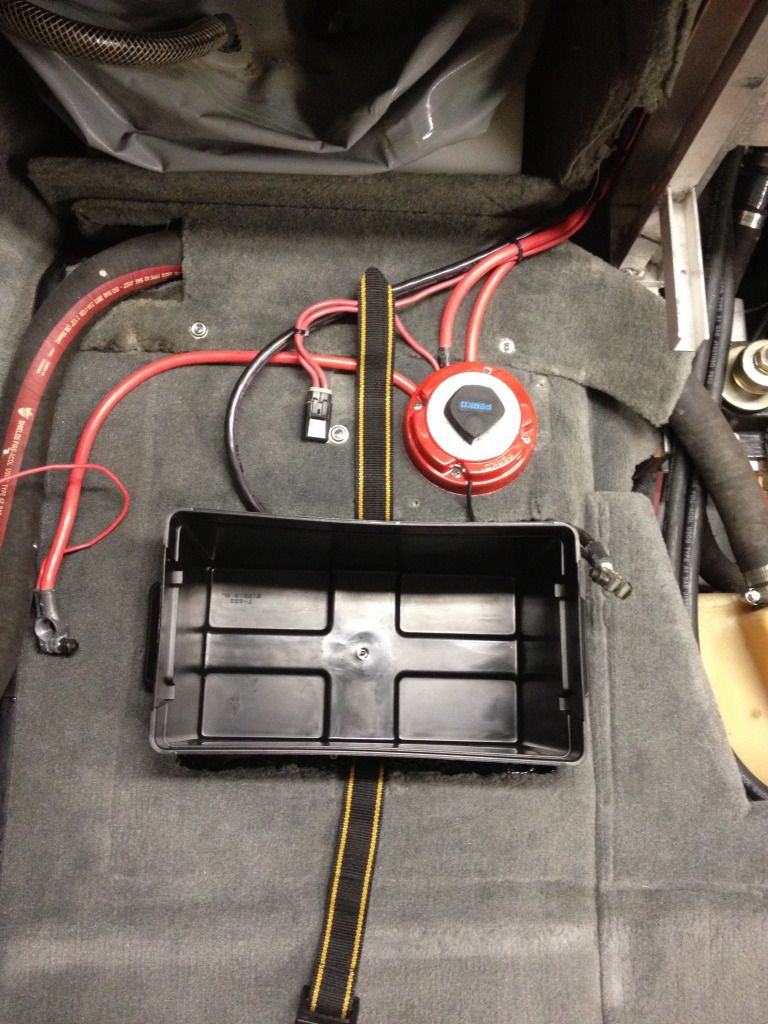
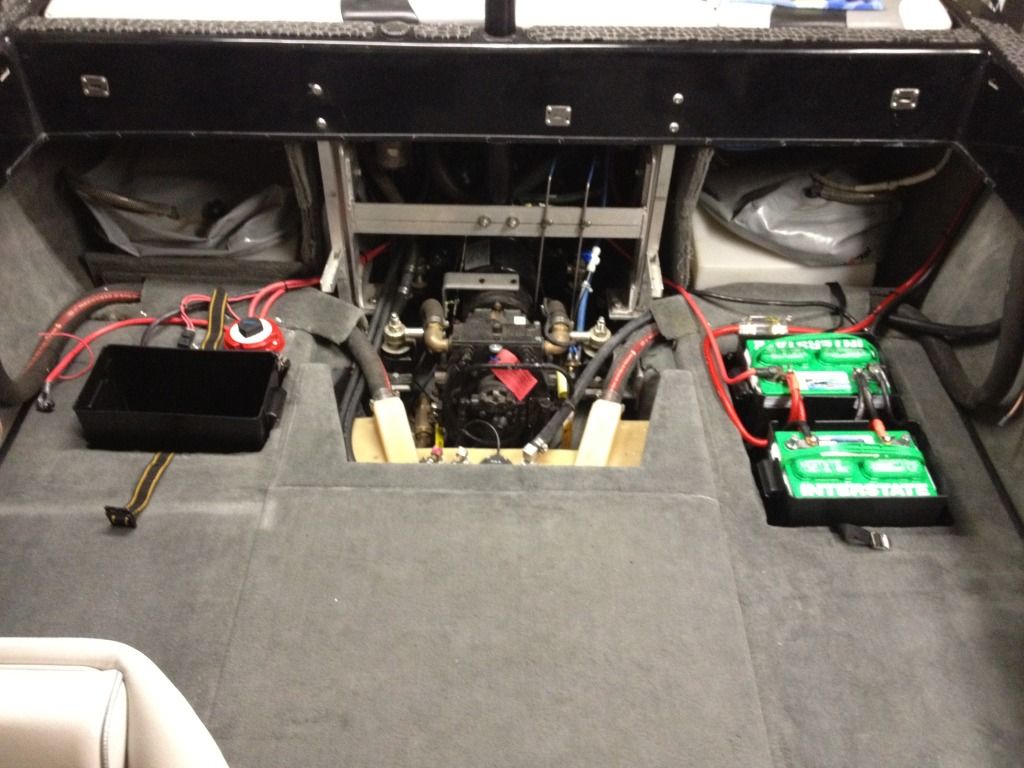
Got the "house batteries" in place and wired tonight, mounted the Perko switch, all I just need to buy a third battery and the power side of the system will be done.
2 - Group 24 batteries wired in parallel. Once these go bad I will replace them with Group 27's.
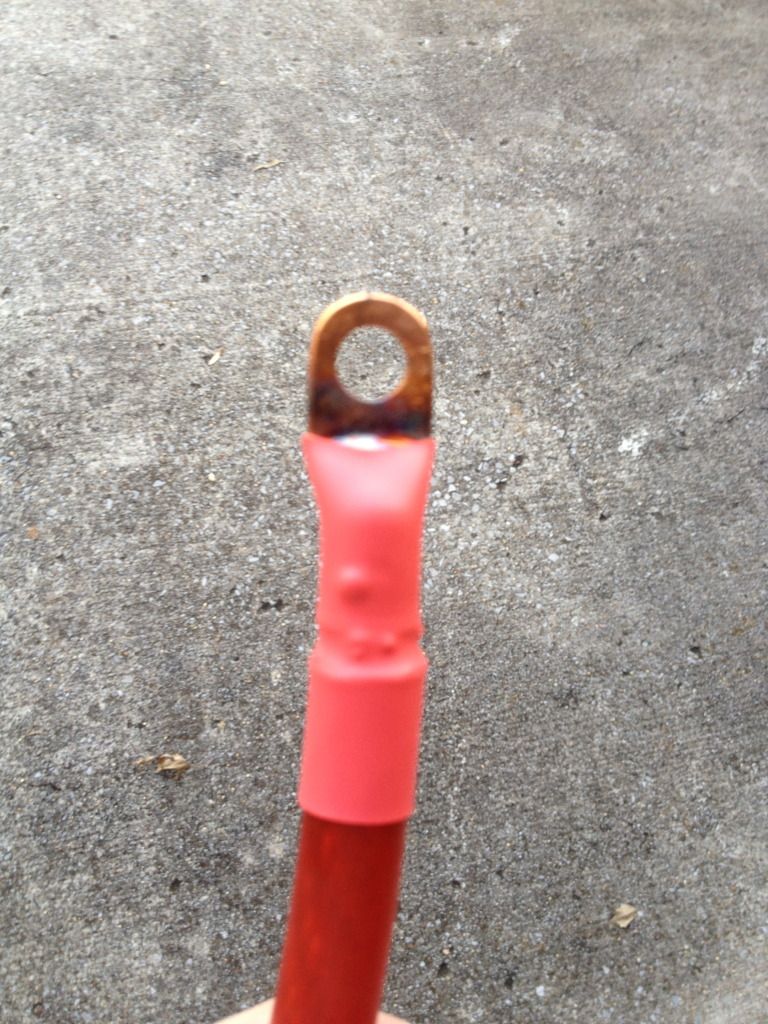
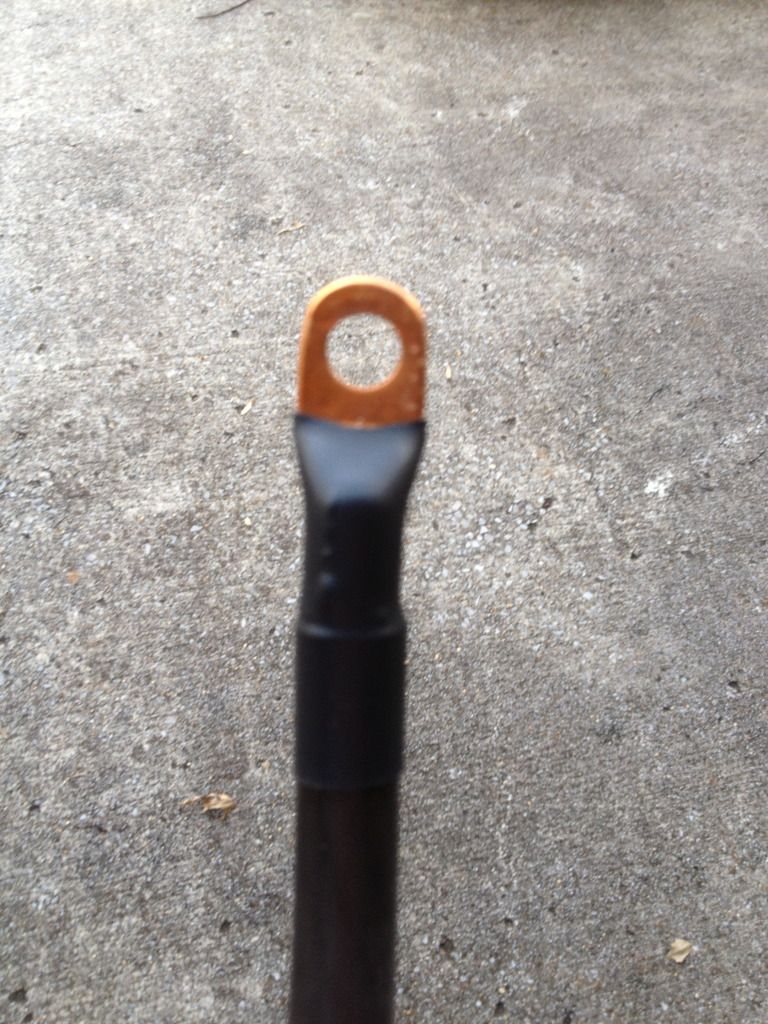
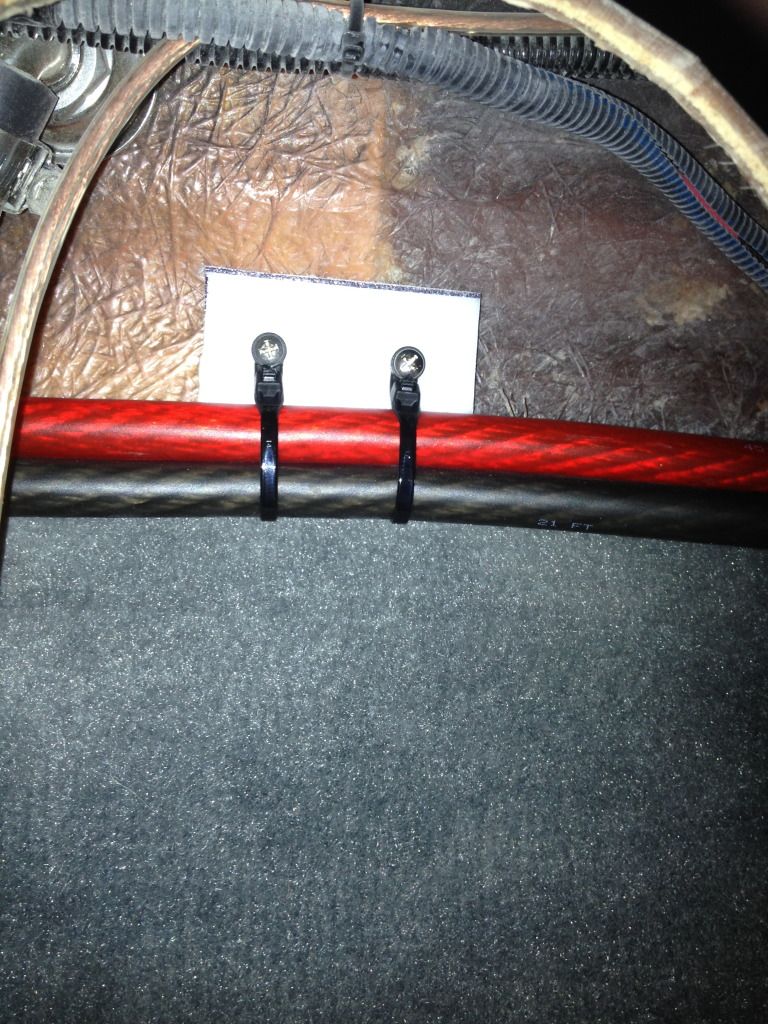
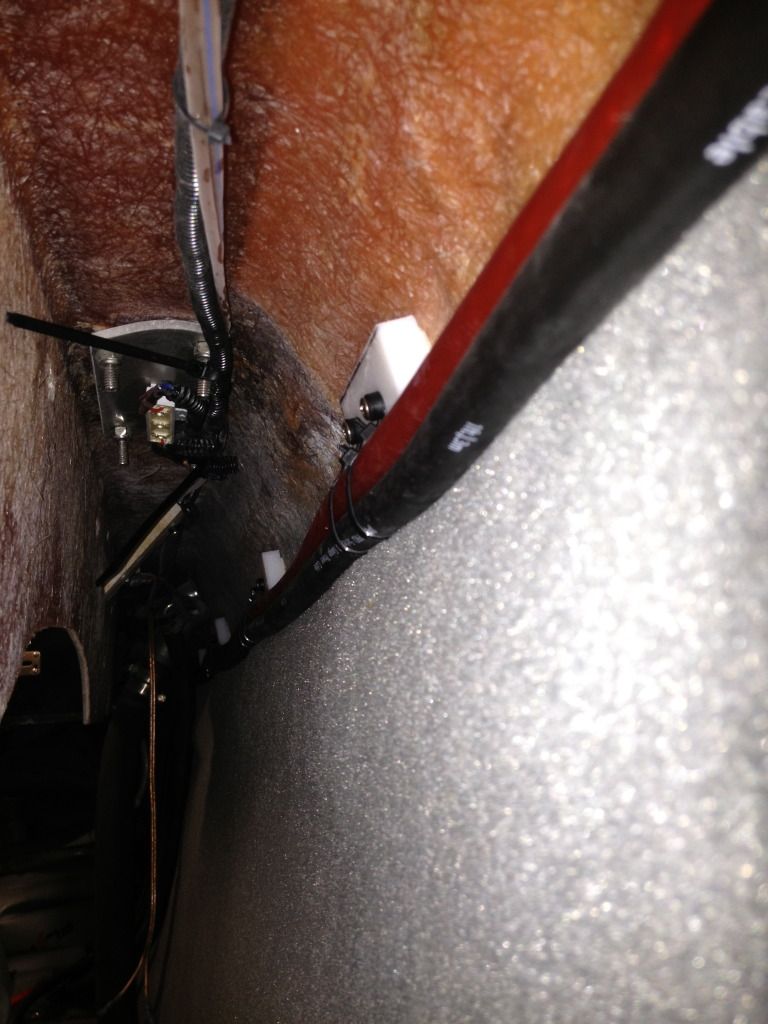
Used some scrap pieces of HDPE from my amp rack to attach the 1/0 gauge cables running from bow to stern...
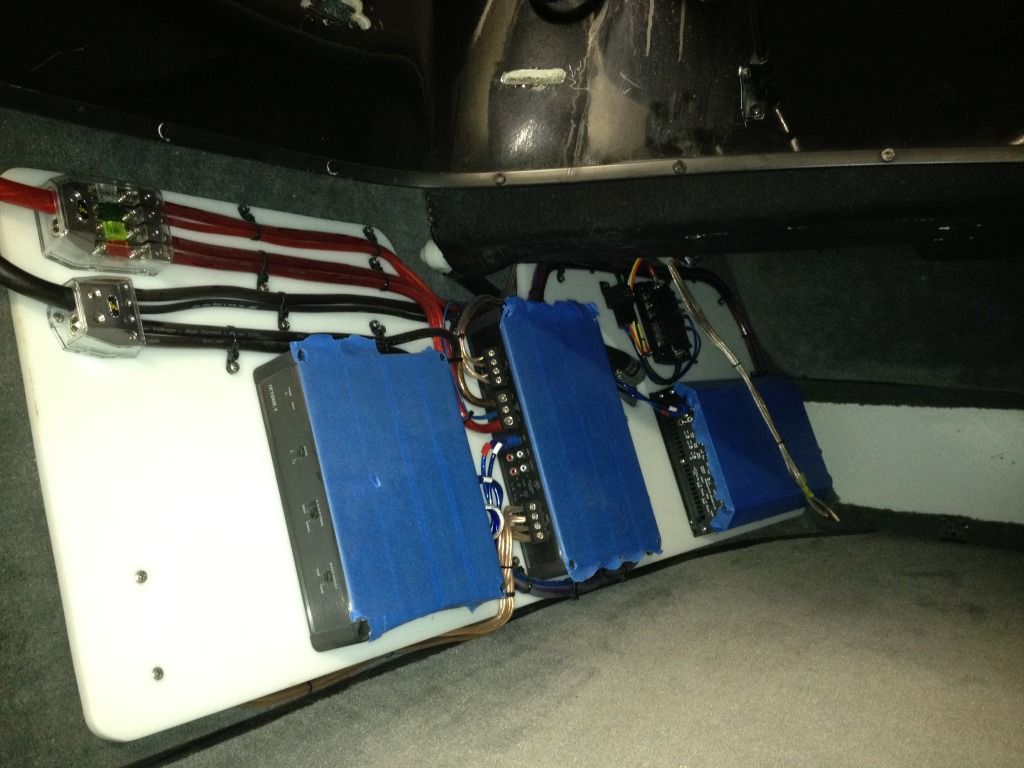
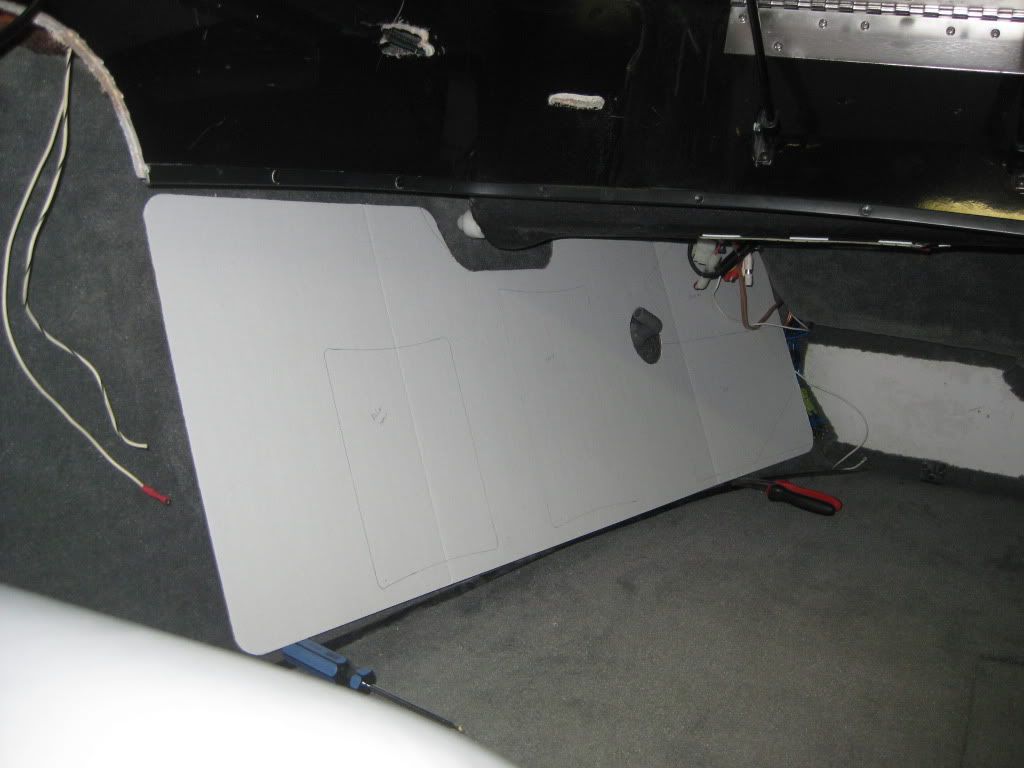
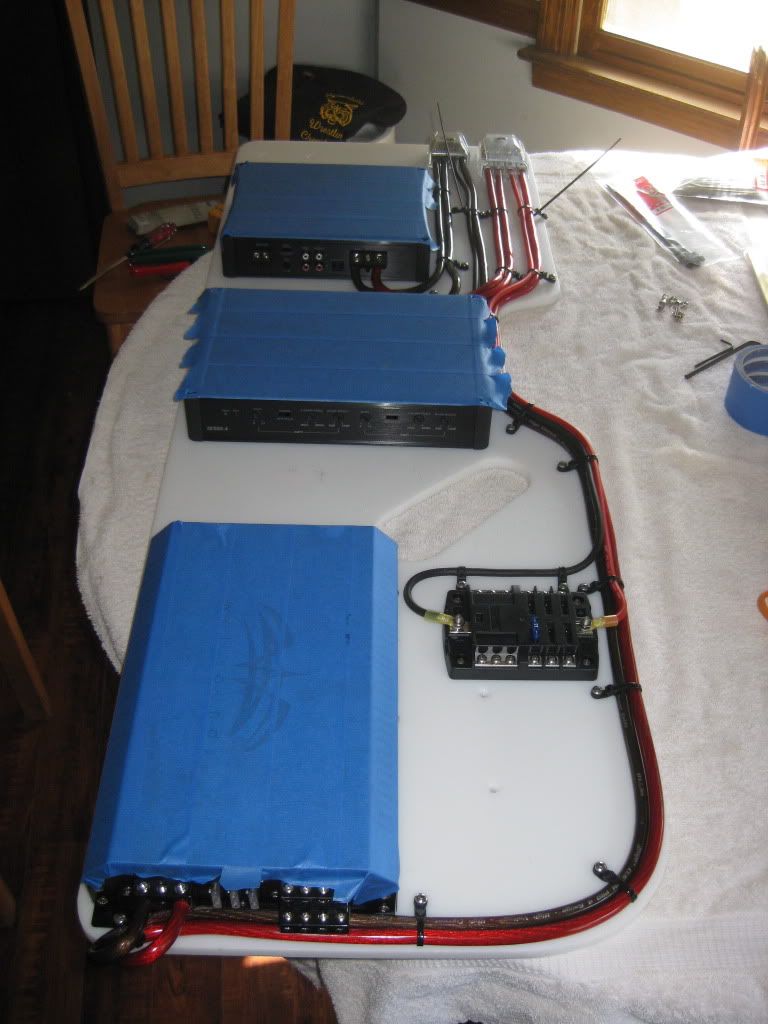
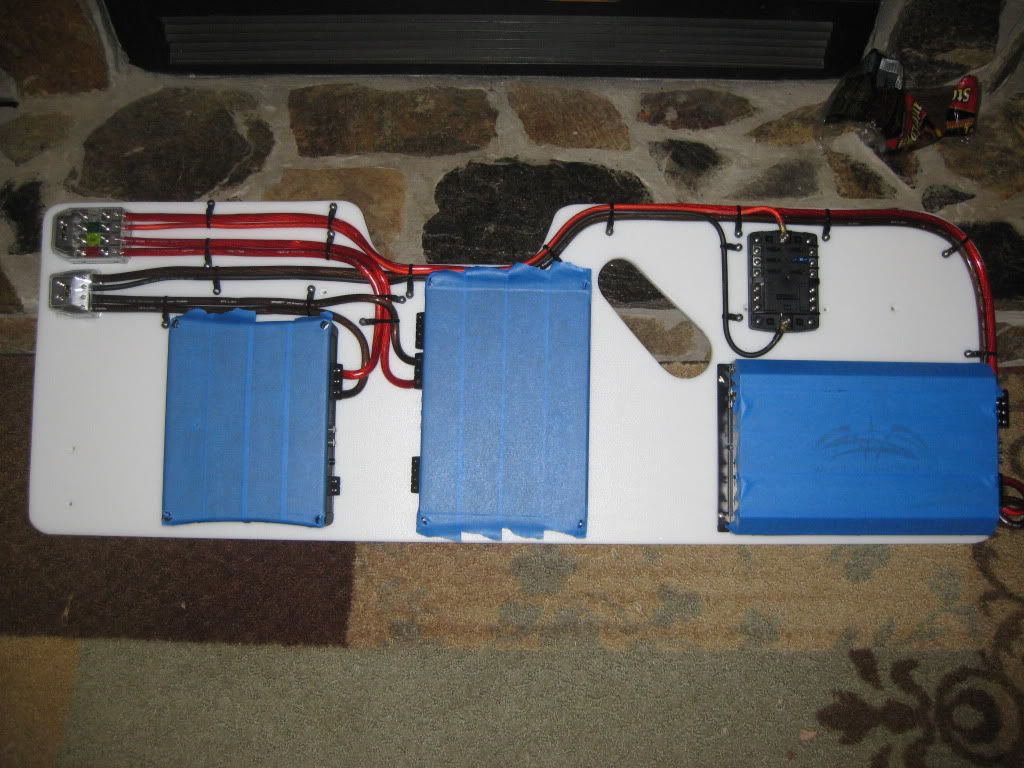
Here are some pics of my amp rack which is the whole reason I took on this little project. I used HDPE (Starboard) for the rack. It holds a WS Syn4 for the tower speakers, Kicker IX1000.1 for the subs, and Kicker 500.4 for the in-boat speakers. I have the taped up right now for protection until I'm done working.
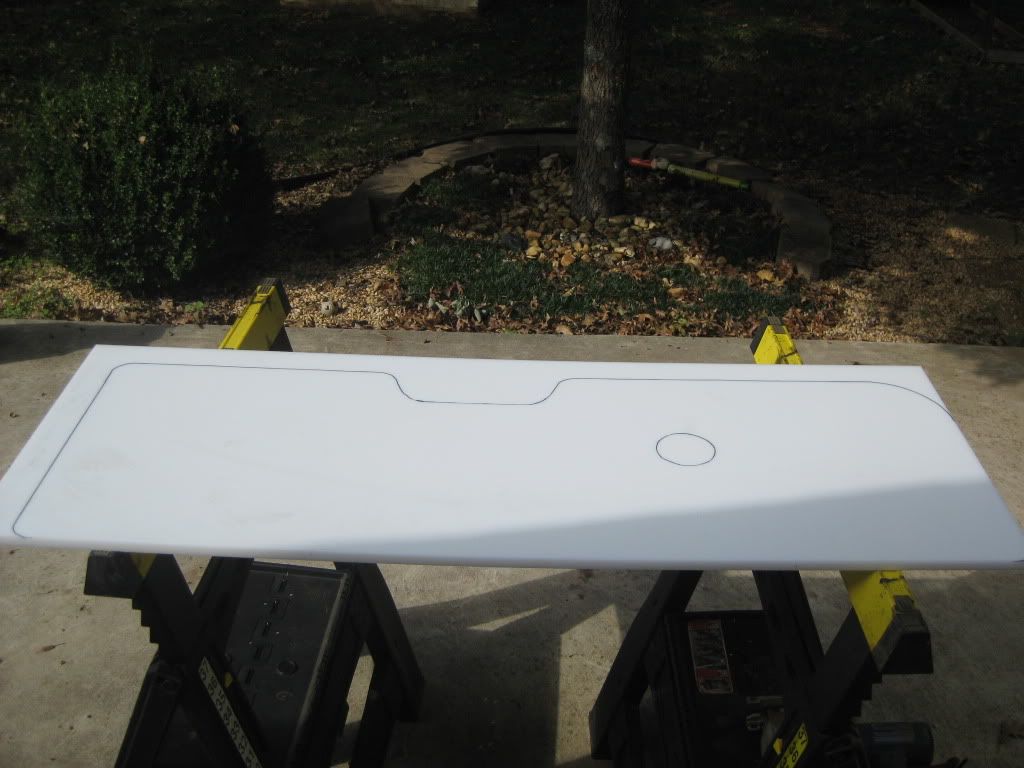
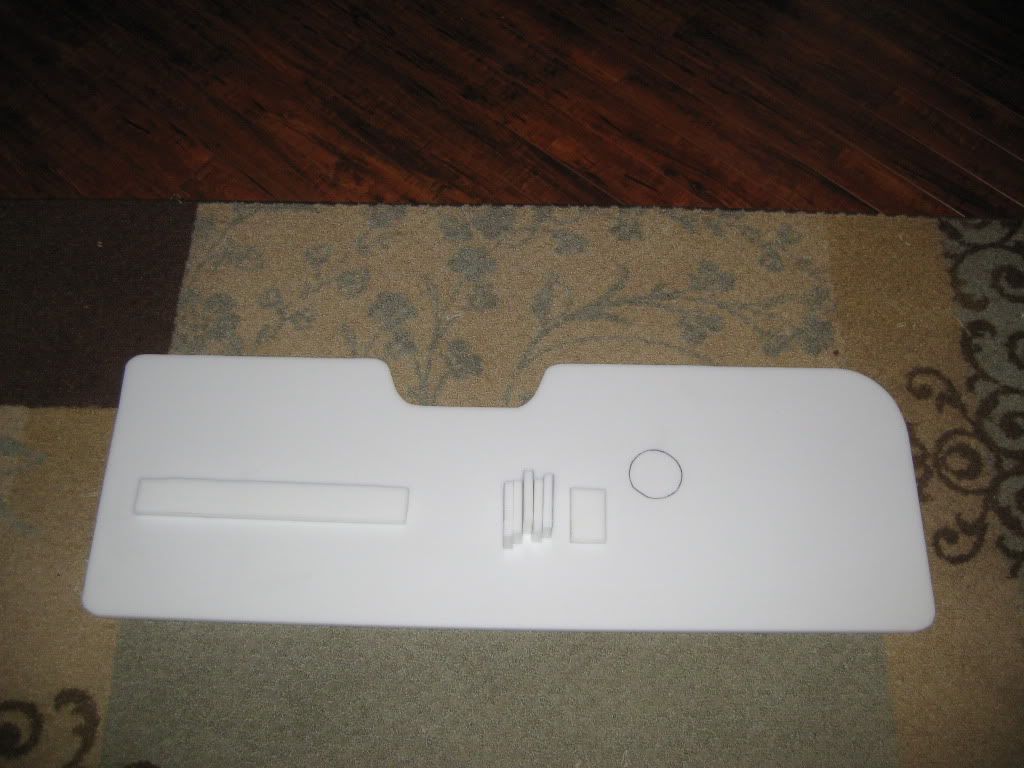
Template for the amp rack...
HDPE sheet before and after cutting. The circle in the middle marks a hole that I have not cut yet of the thru-hull fitting the glove box drain has to go through.
Pre-wired as much as I could before installation. Some people like to hide all the wiring, but I like the looks as long as it is neat. I wish I could have done a better job of the power cables crossing over one another, but it couldn't be avoided. The smaller black box above the Syn4 is for an auxiliary power source. It has 6 separate fused circuits. I'm using it for the remote turn-on relay for the amps. It will eventually power LEDs of whatever I need in the future.
How dis you mount the hdpe amp rack to the inside edge of the boat? What secures it?
 Tweet
Tweet


Comment