


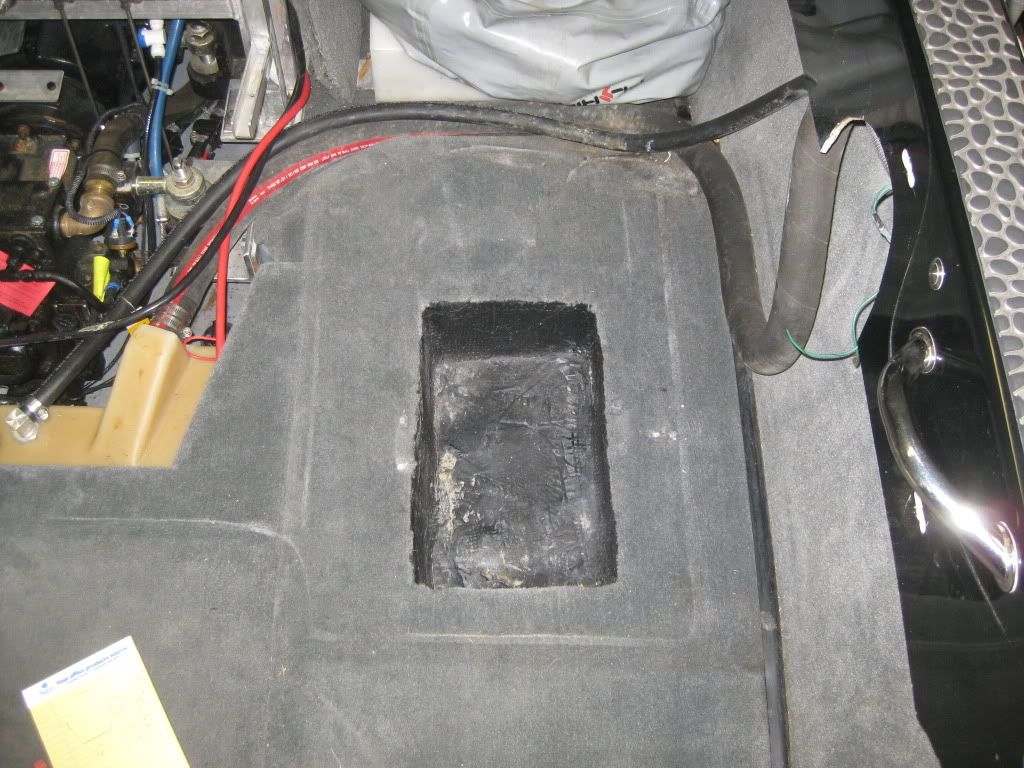
So against everyone's better judgement I went ahead and started my battery compartment enlargement project in my 2003 SANTE. A little background, this is to install 2 batteries in the port side compartment for stereo power and enlarge the starboard side so a Group 27 will fit for the house side. I made the port side large enough to fit Group 27's as well. After making some careful measurements before and after I removed the carpet all that was left to do was start cutting.
PSA - For those of you that are squeamish turn away now!!! What you are about to see my disturb you...
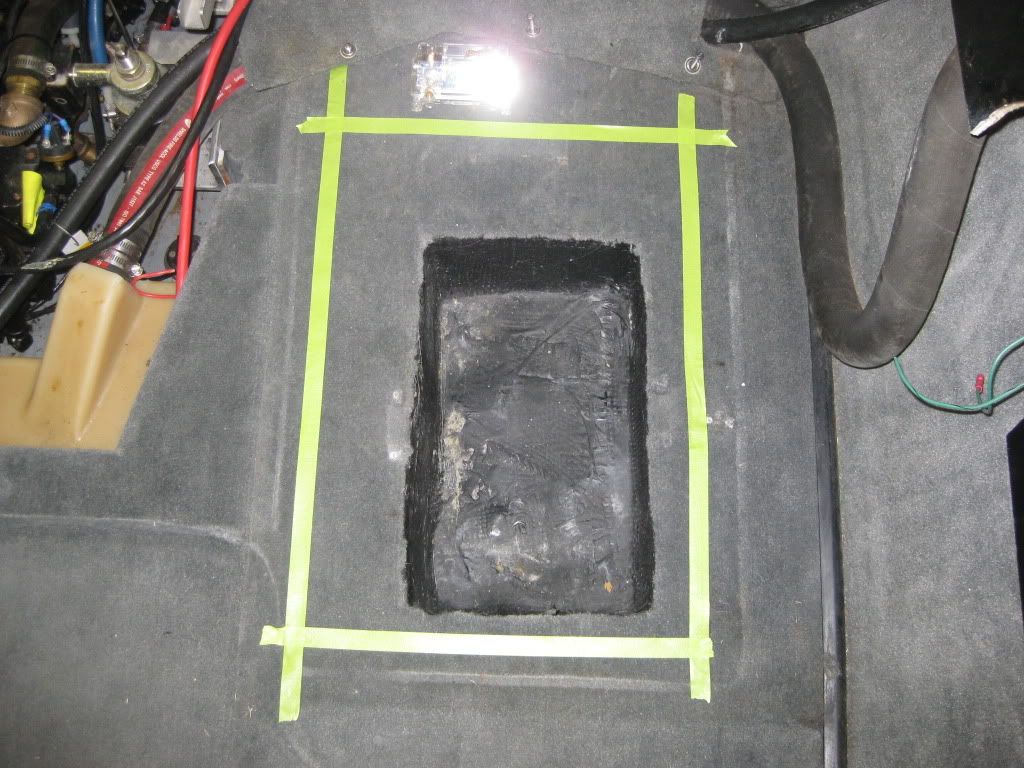
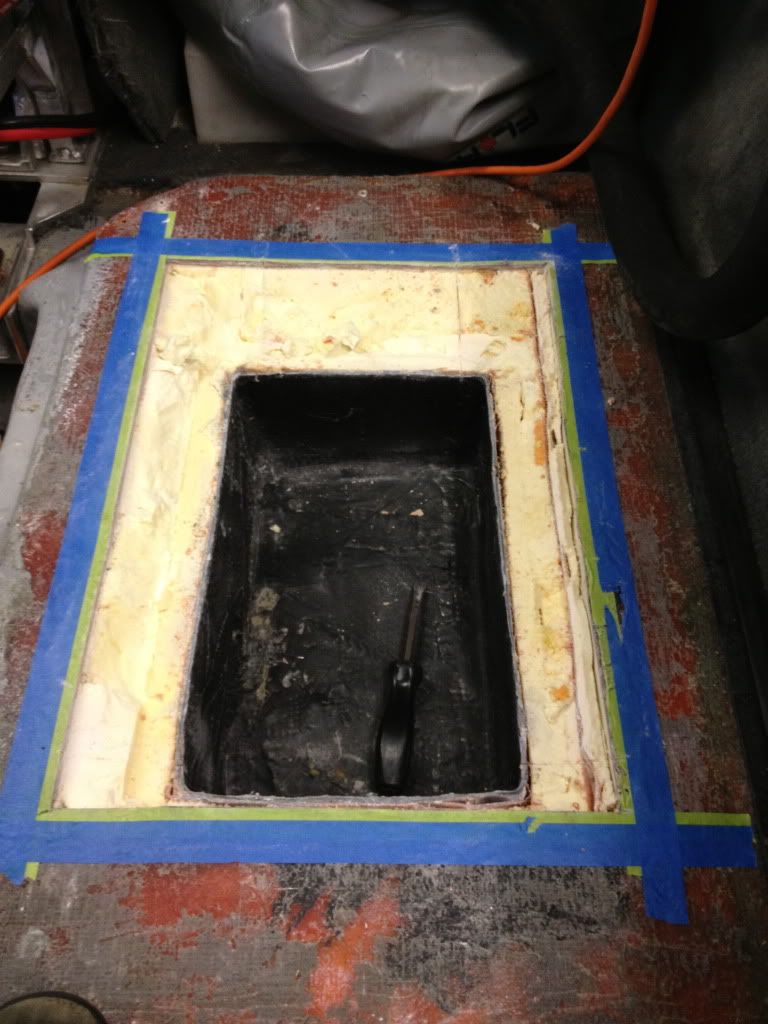
Measuring and taping off cut lines...
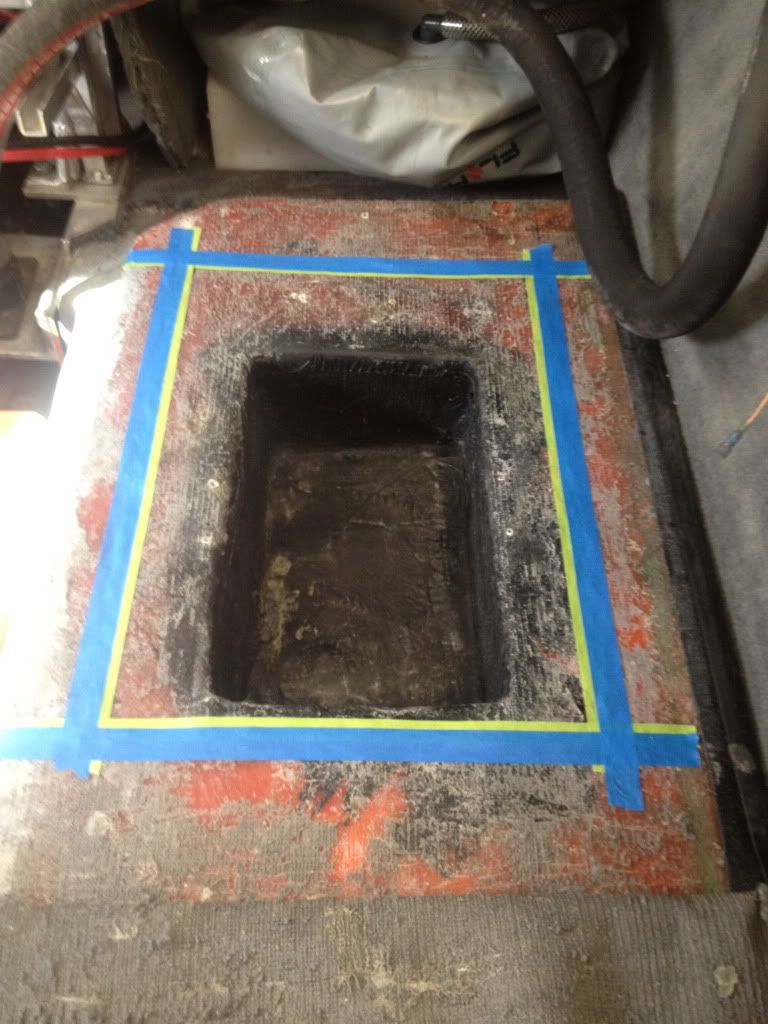
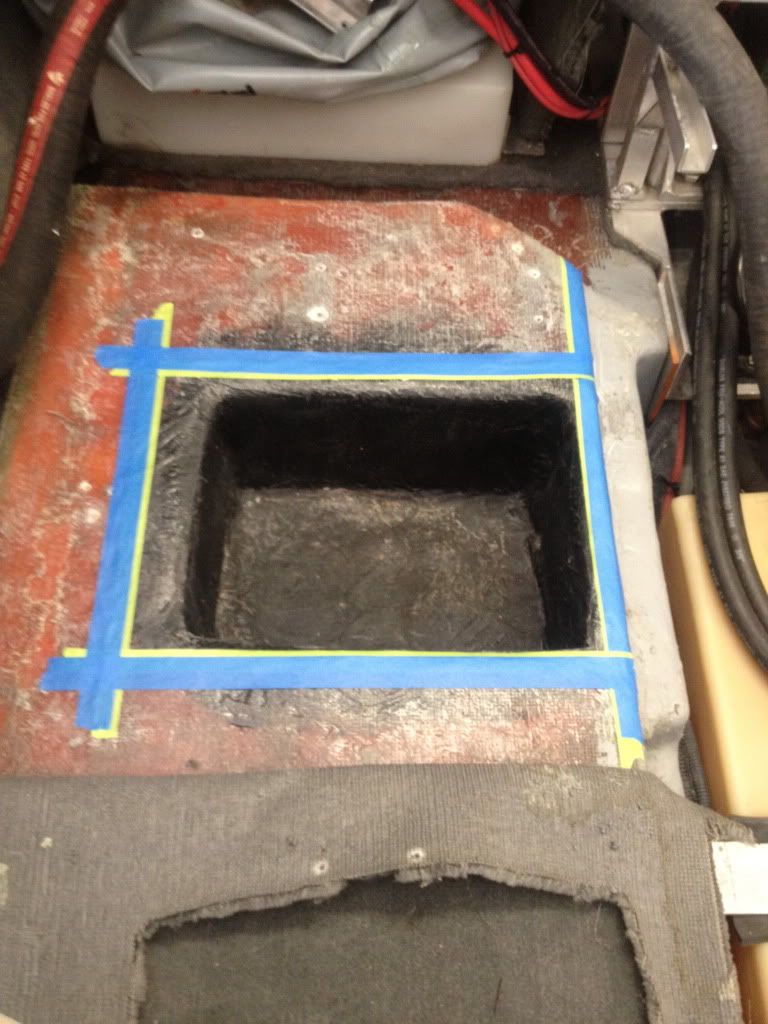
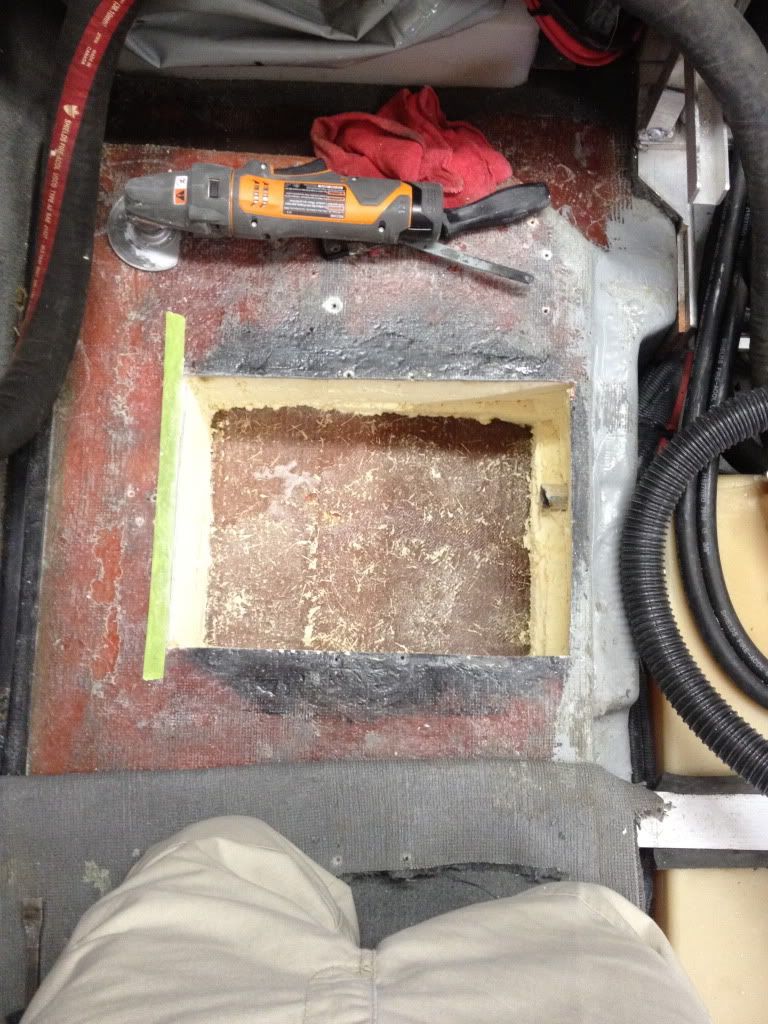
First cuts... I used a Ridgid "Jobmax" to make the cuts with. It did a great job but goes through batteries every 30 minutes so 2 are a must! I tried a jigsaw at one point but this fiberglass ate through blades like crazy. 6" of cutting and the blades was useless.
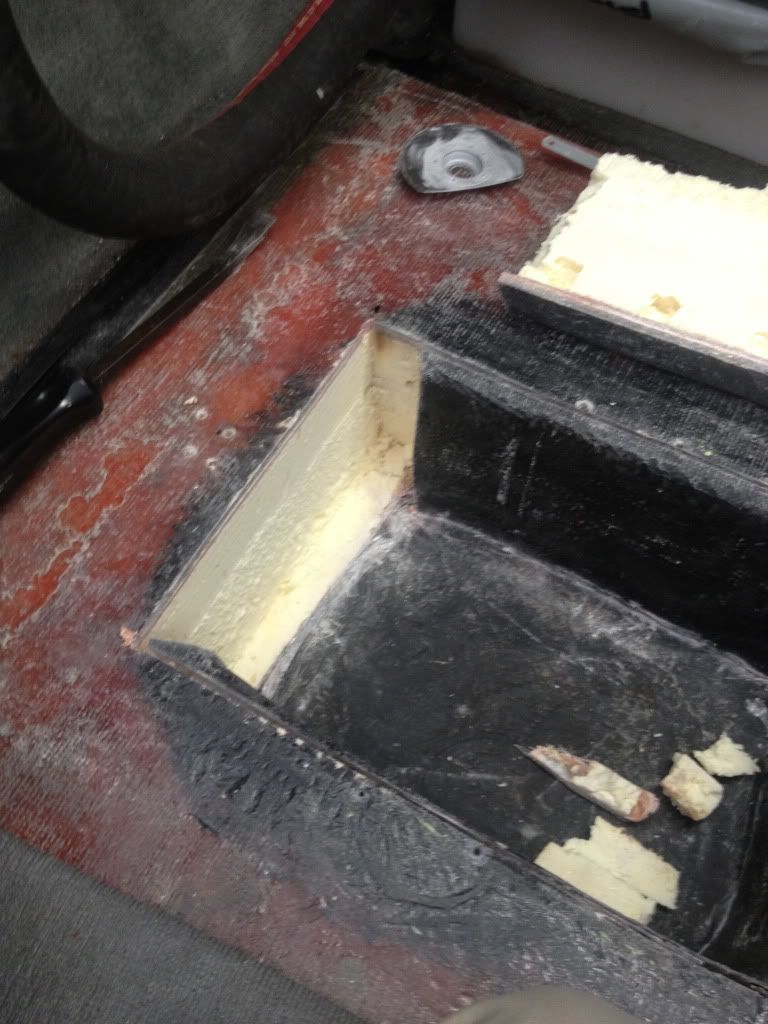
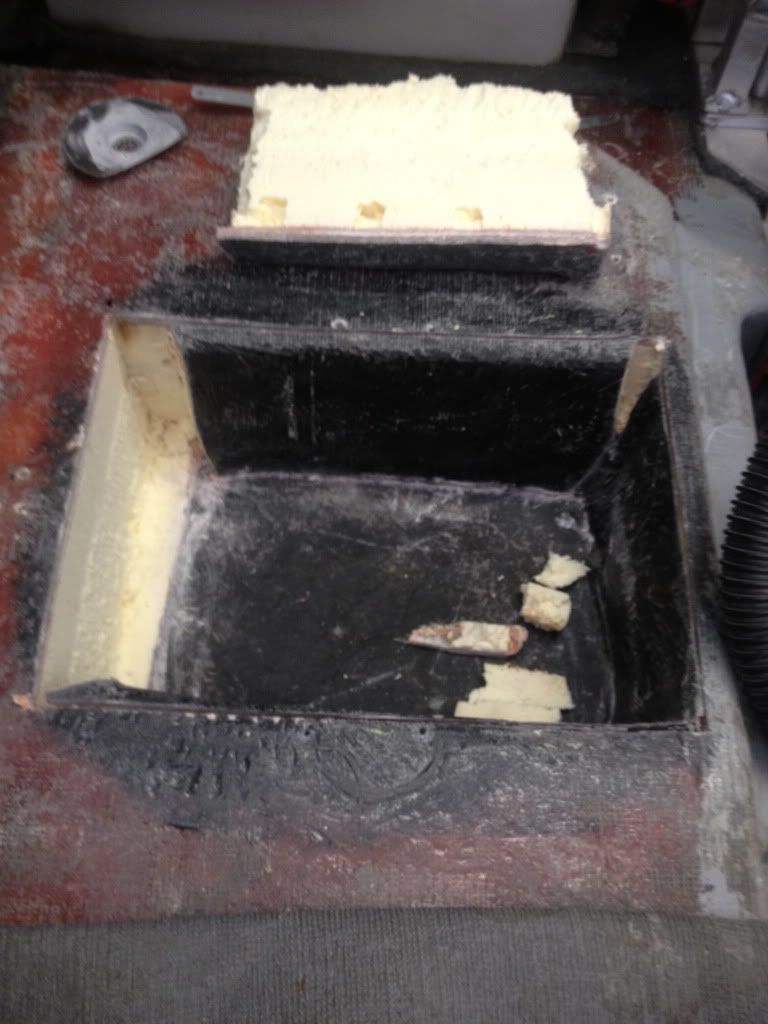
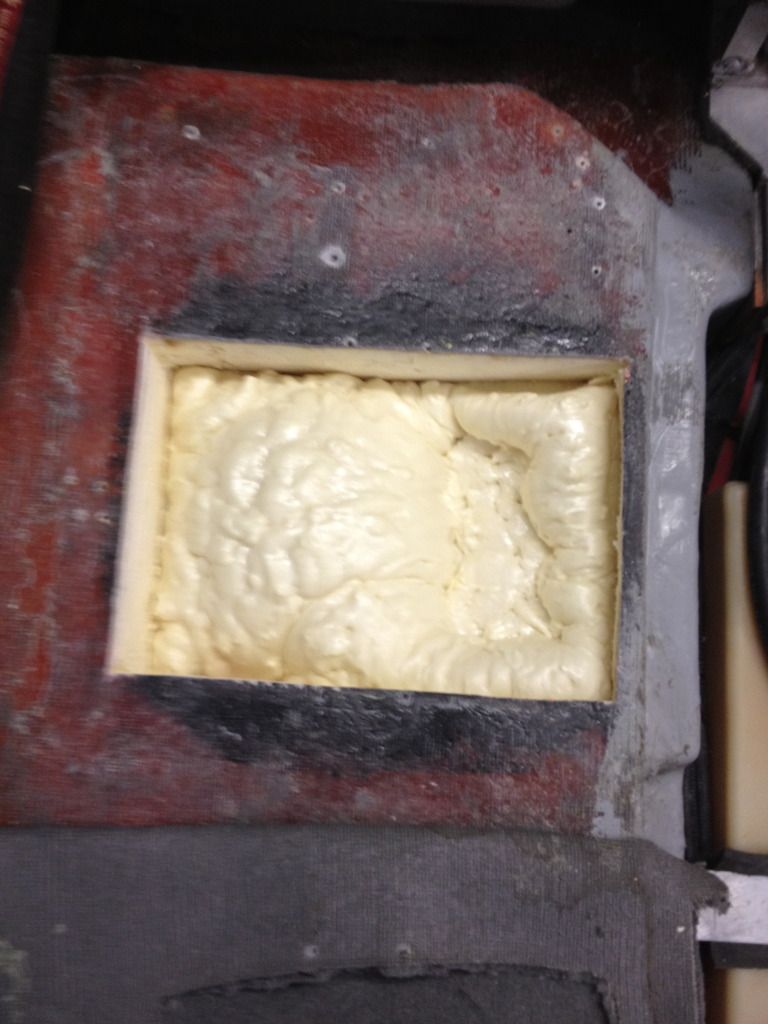
First few pieces removed... I used a hacksaw blade to cut the foam by hand, but later mover to a drywall saw...
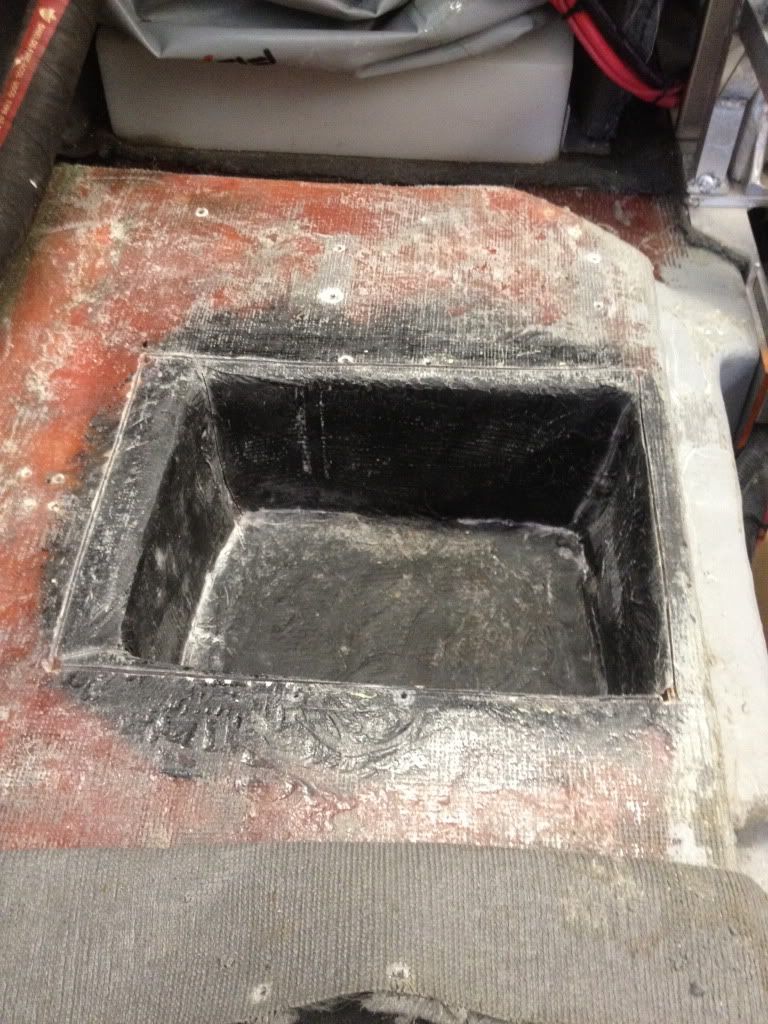
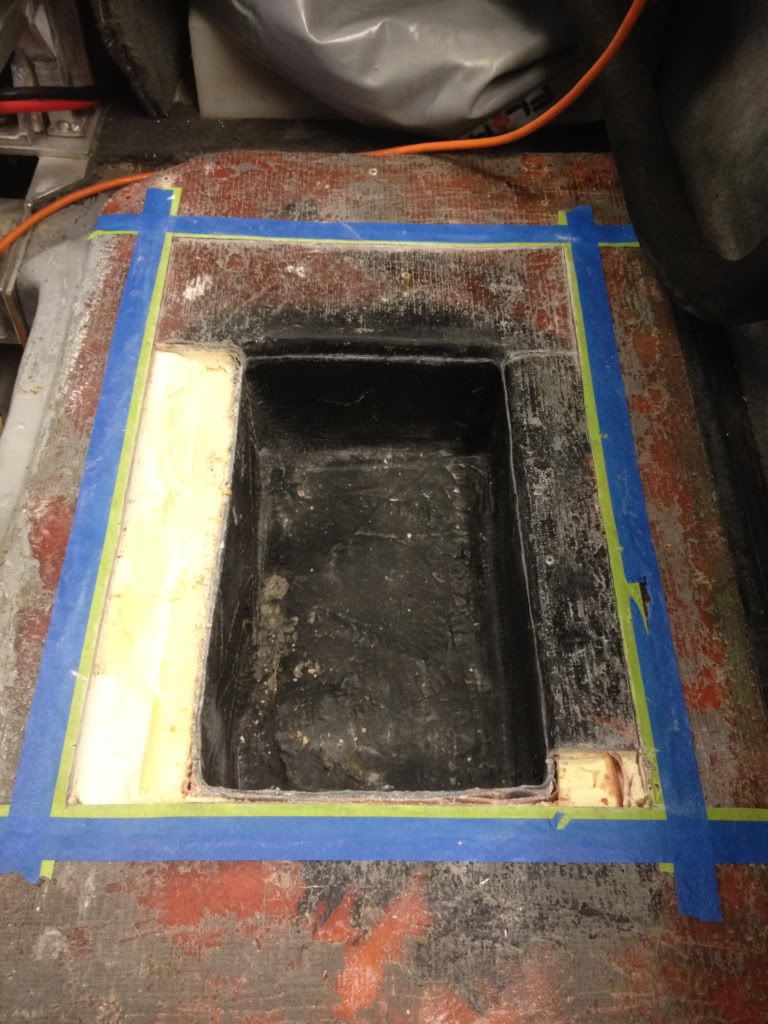
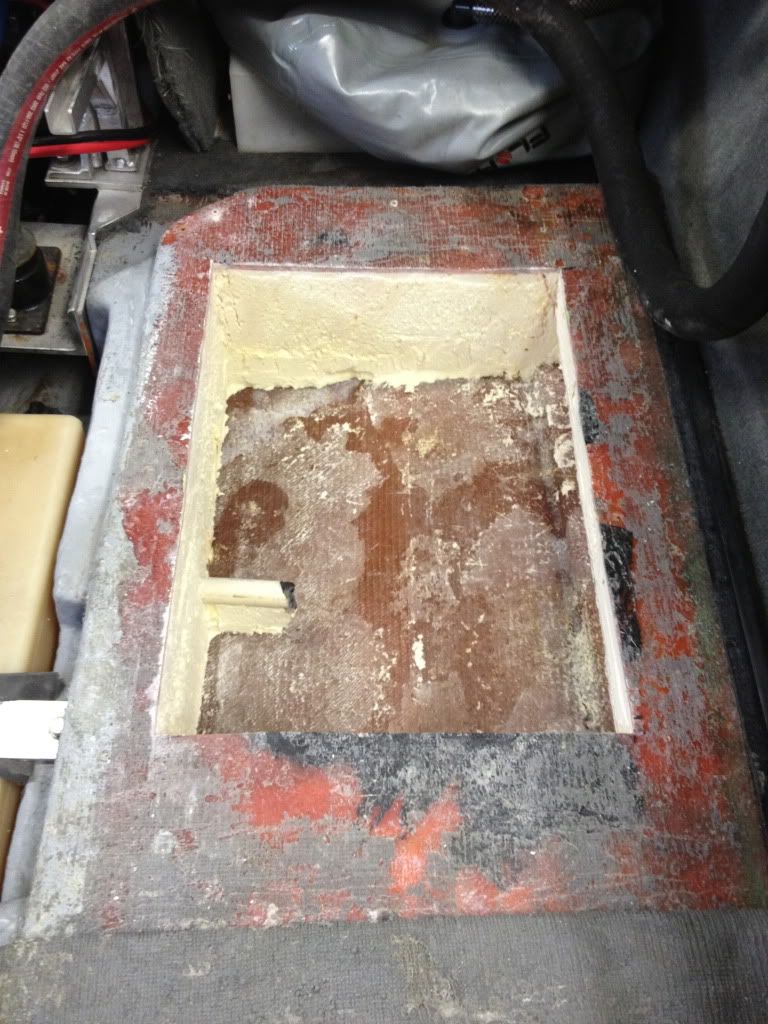
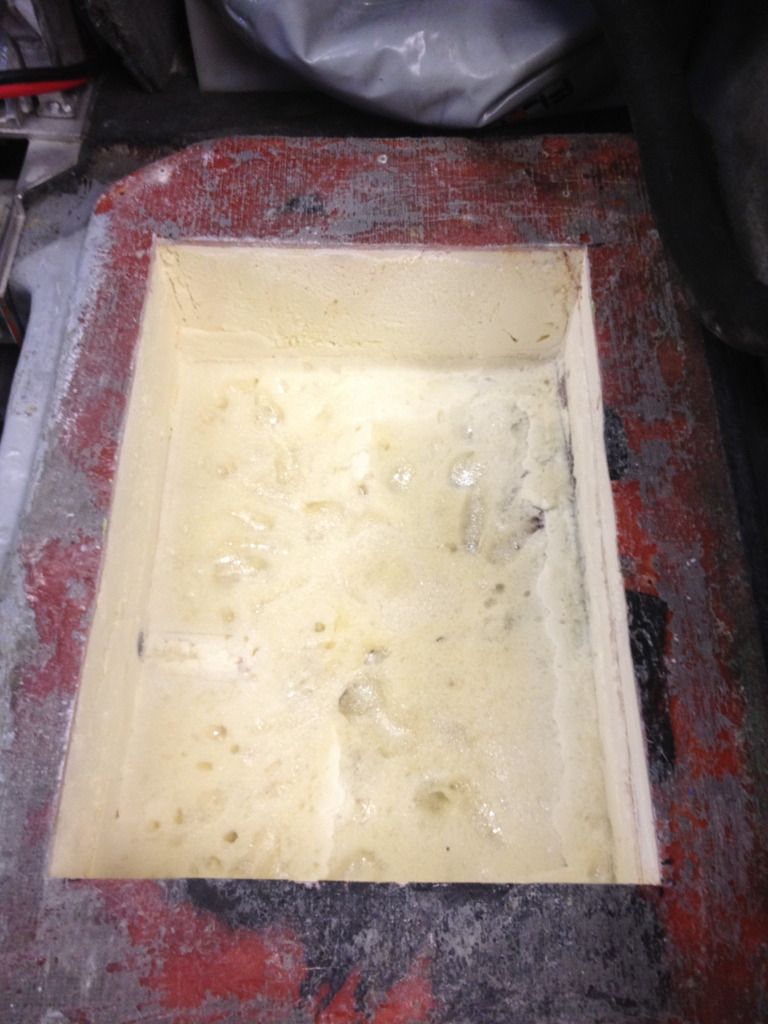
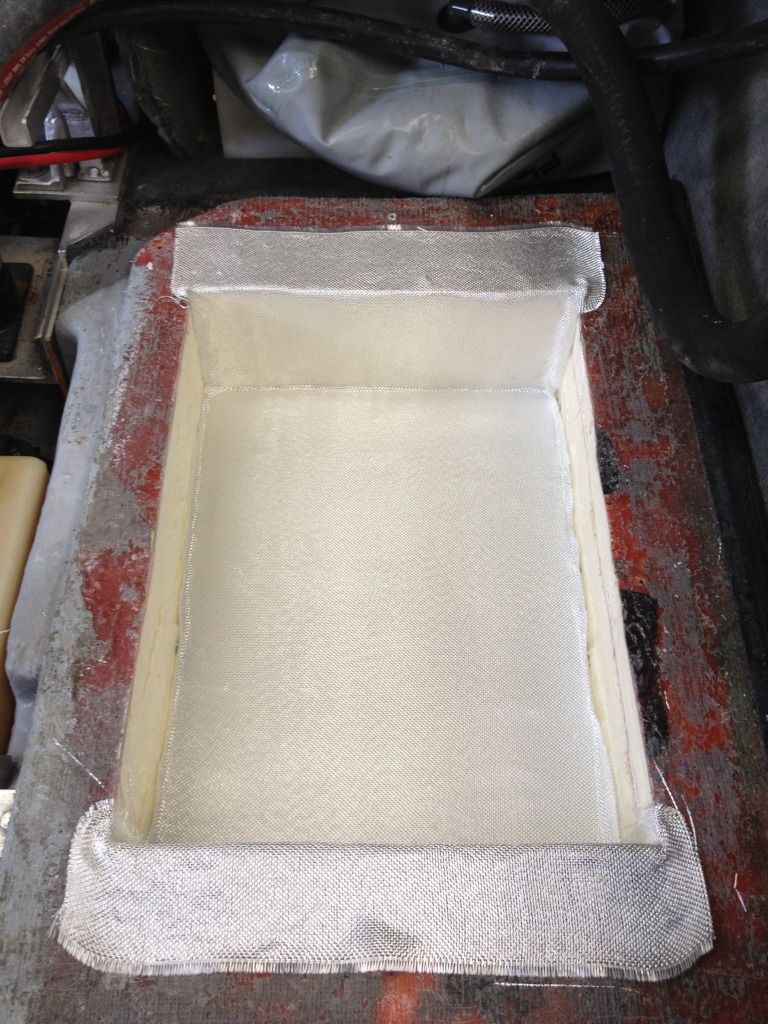
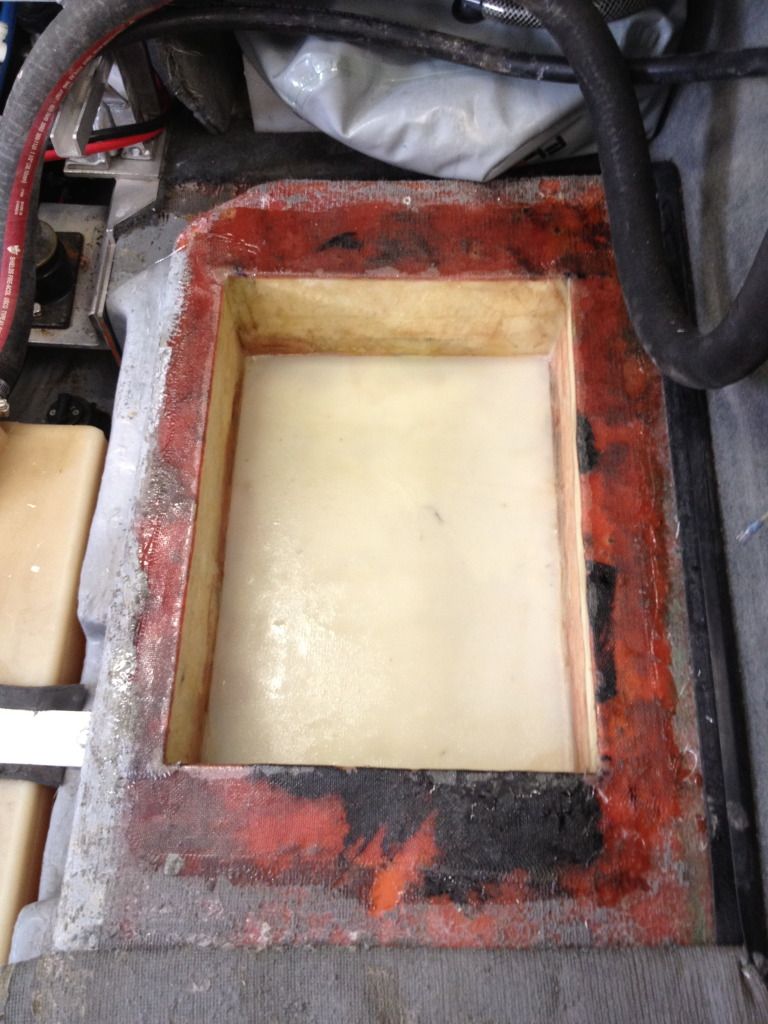
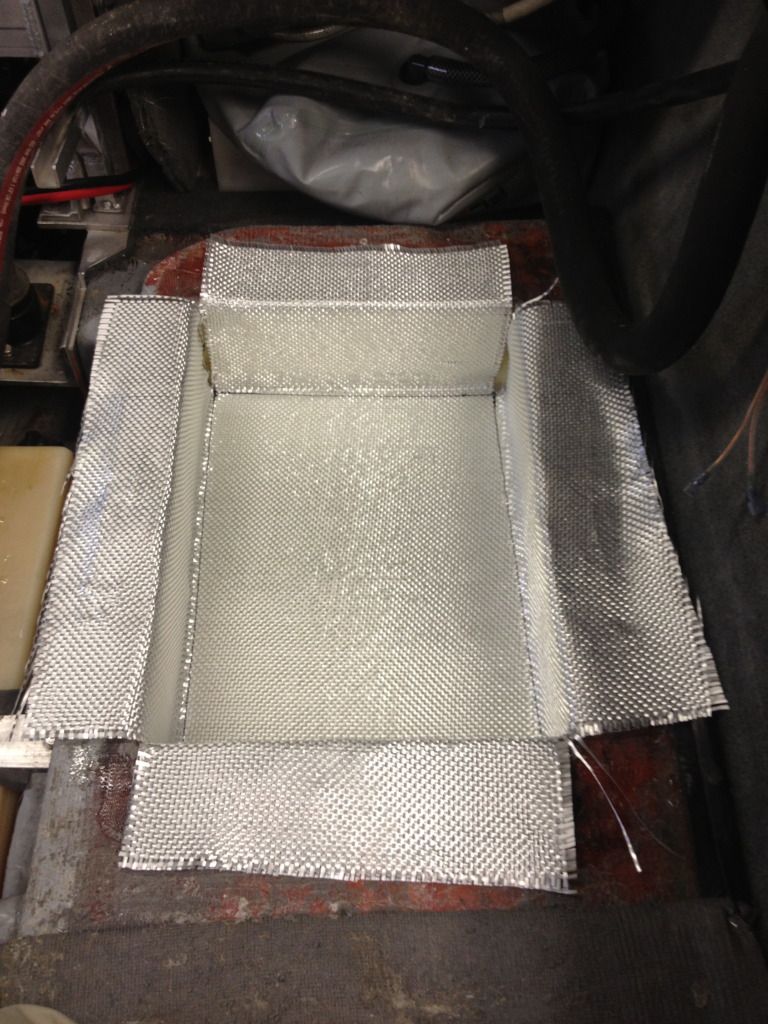
All the sides gone on the starboard box...
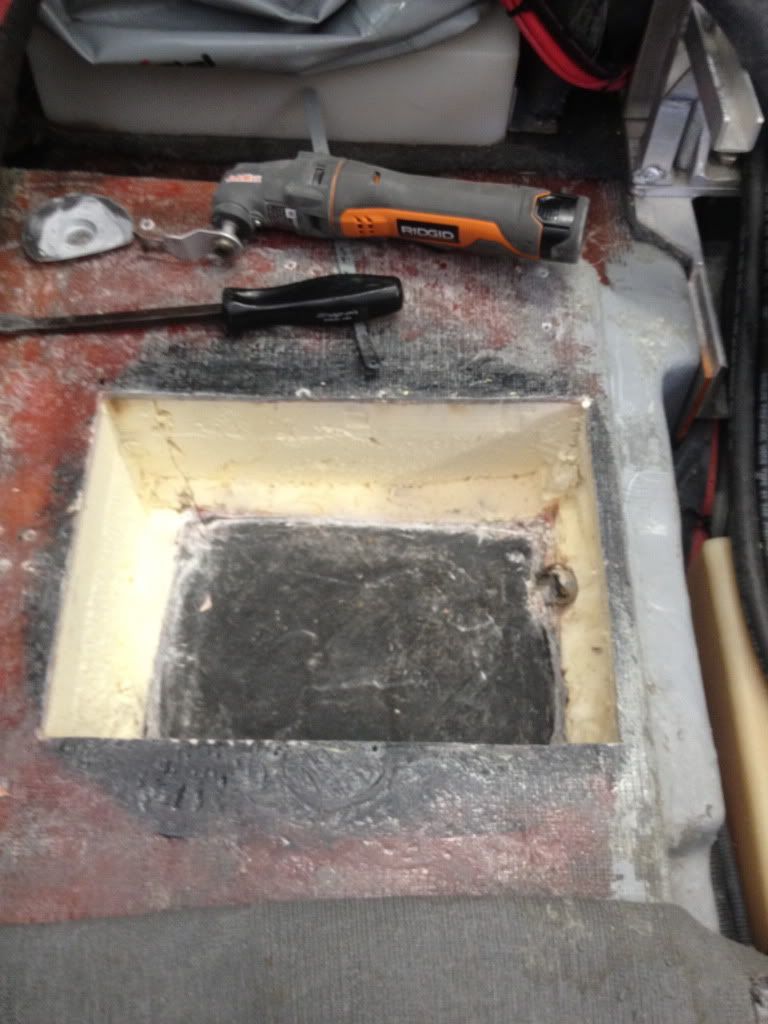
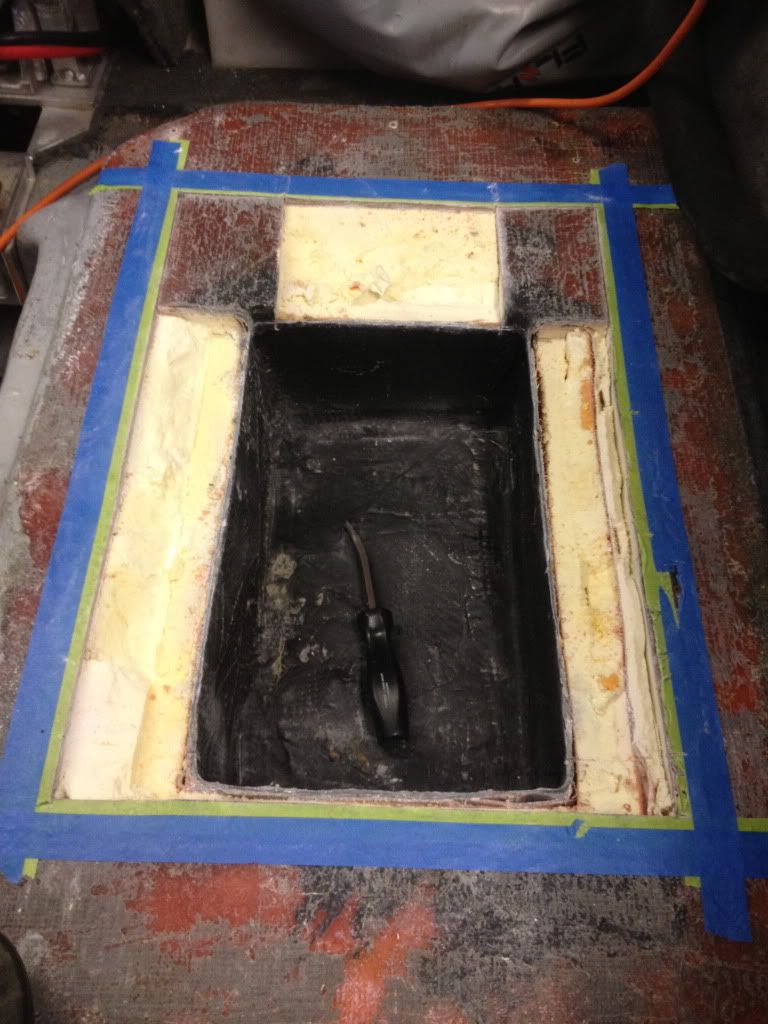
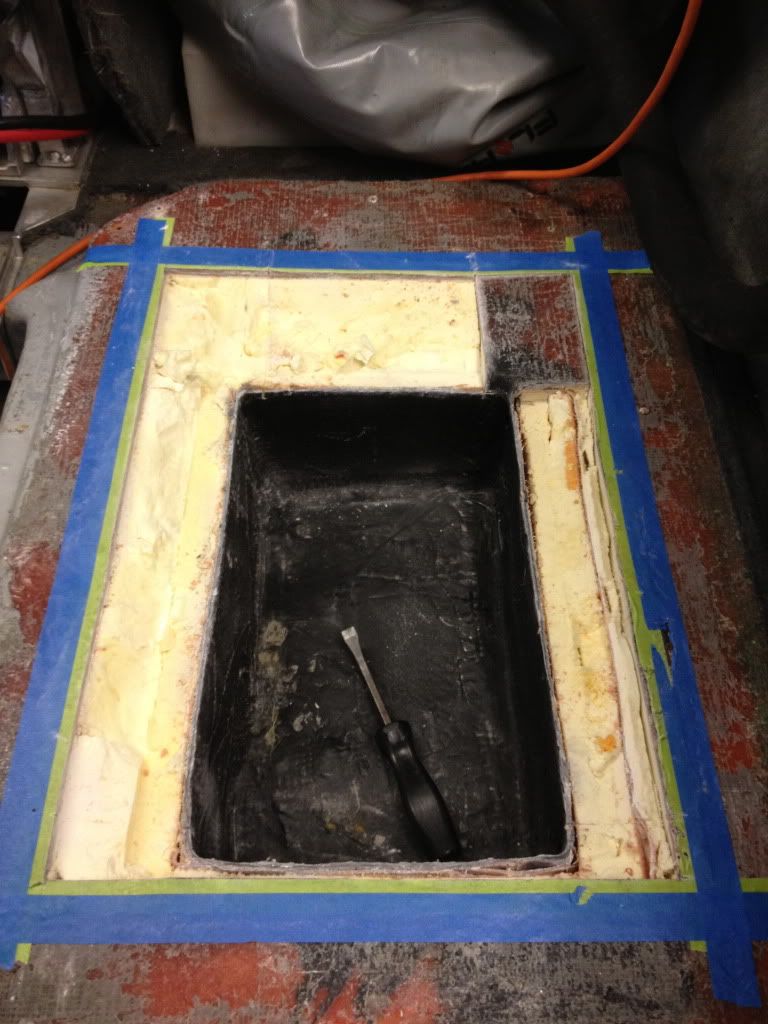
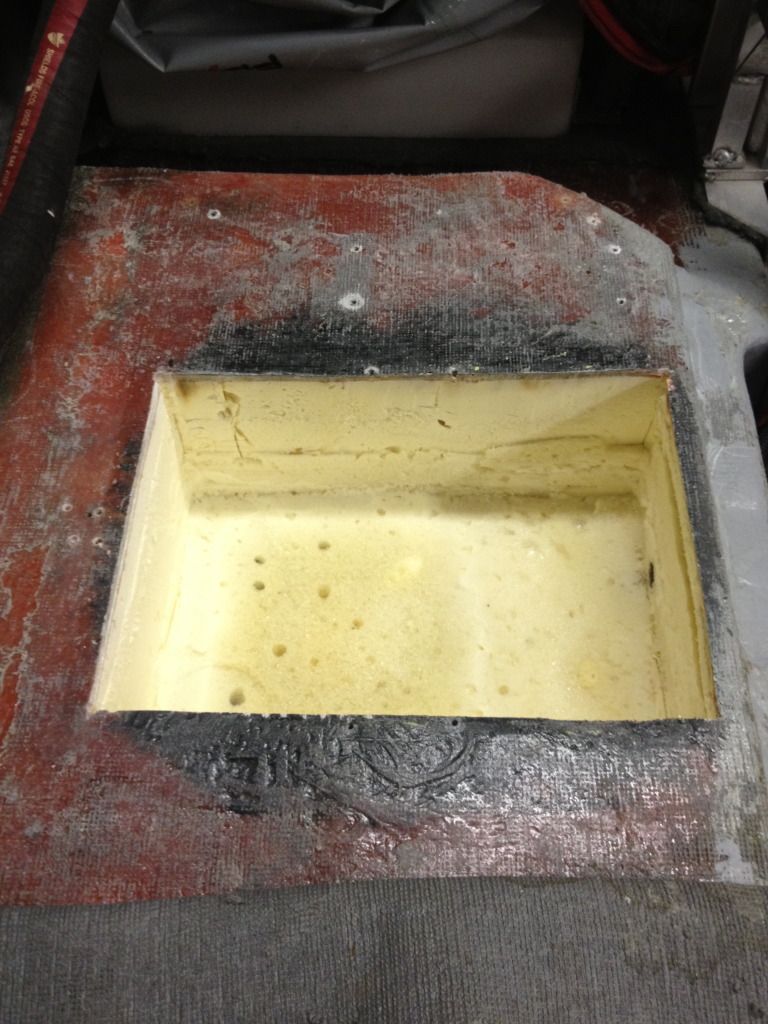
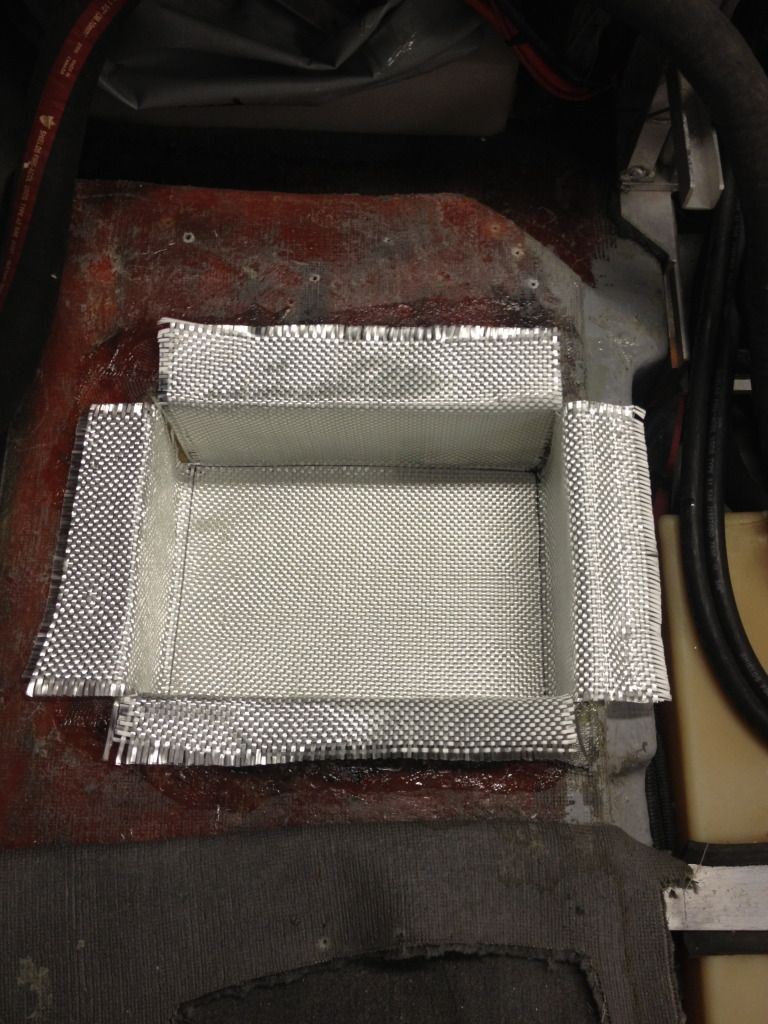
All the foam removed on the starboard battery box. I wasn't originally going to remove all the foam to the hull, but I ran into some moist foam at the very bottom and wanted to investigate more. Never figured out where the moisture came from, but the further back toward aft I went the more I found.
Now to start on the port side...
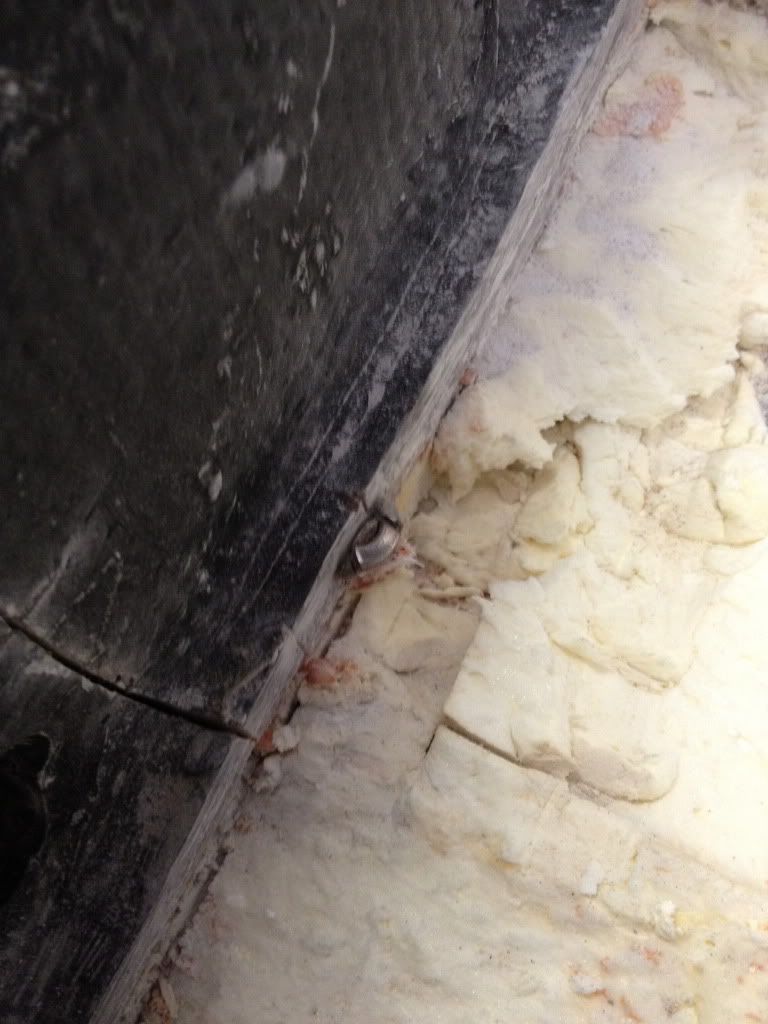
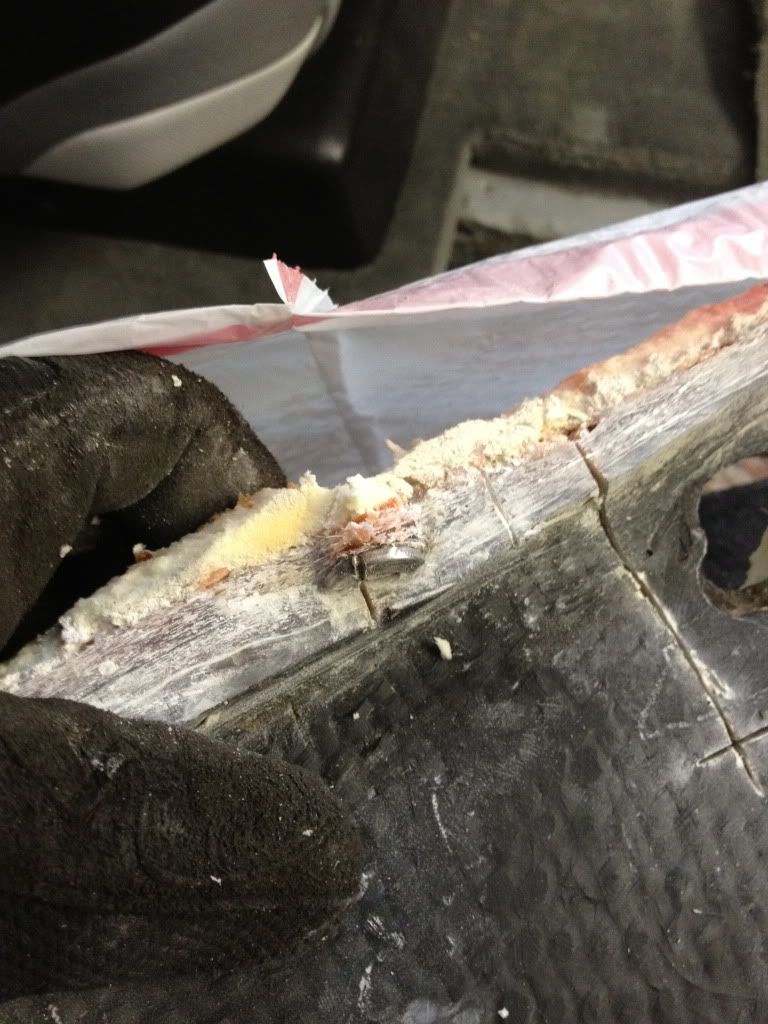
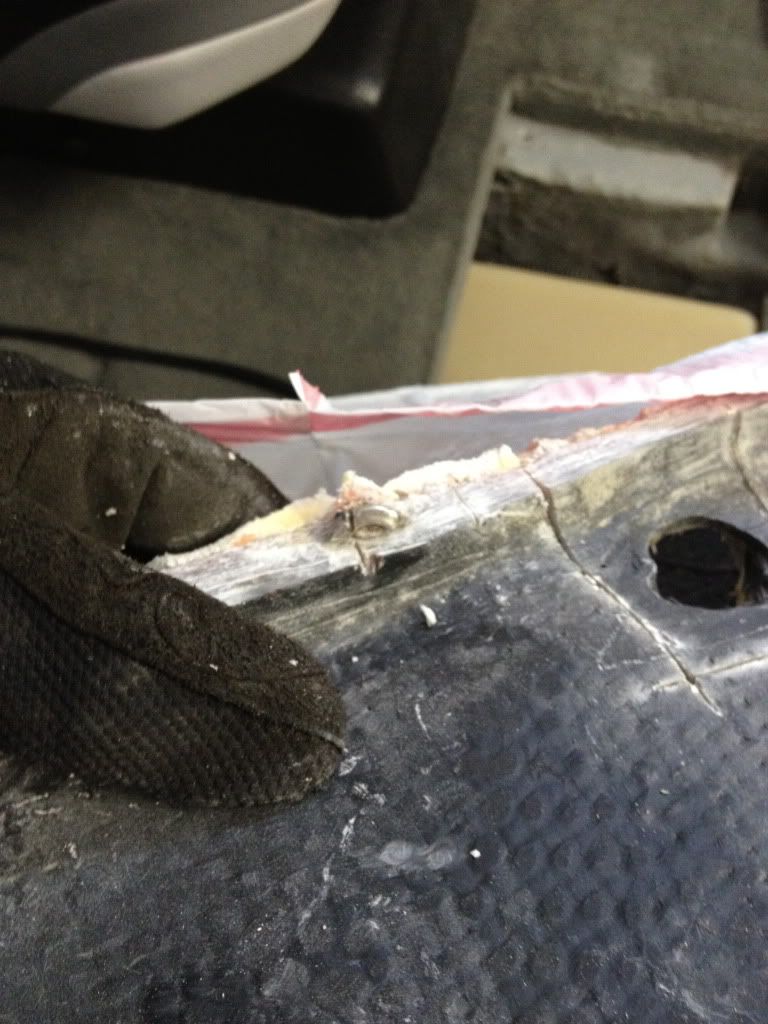
I ran into a surprise on the port side that gave me a bit of a scare, but I was too far gone to stop now. A lock washer made its way into the laminating process somehow and just happened to be right in the middle of one of my cuts. My heart sank a little when I heard the multi-tool change pitch at first.
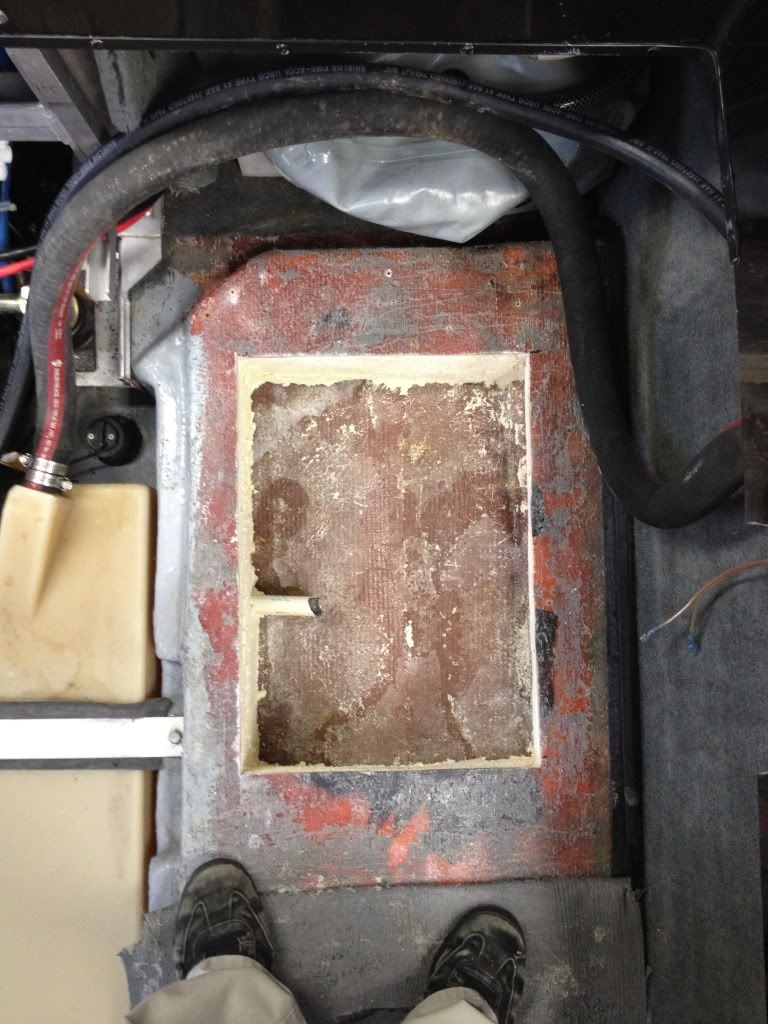
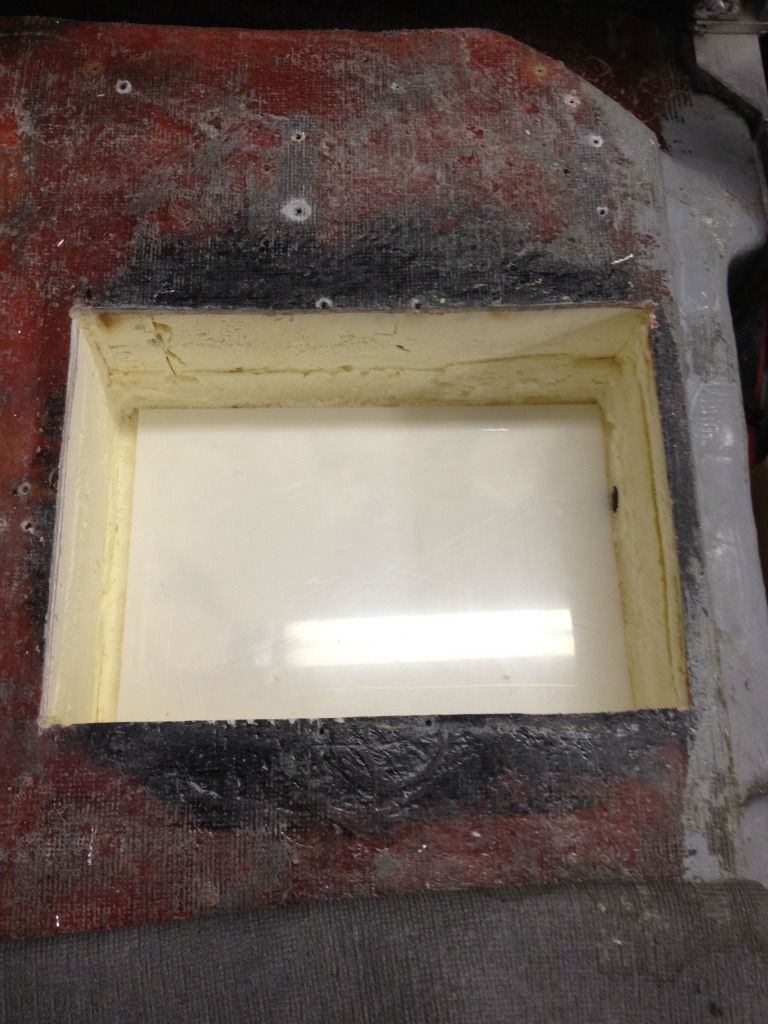
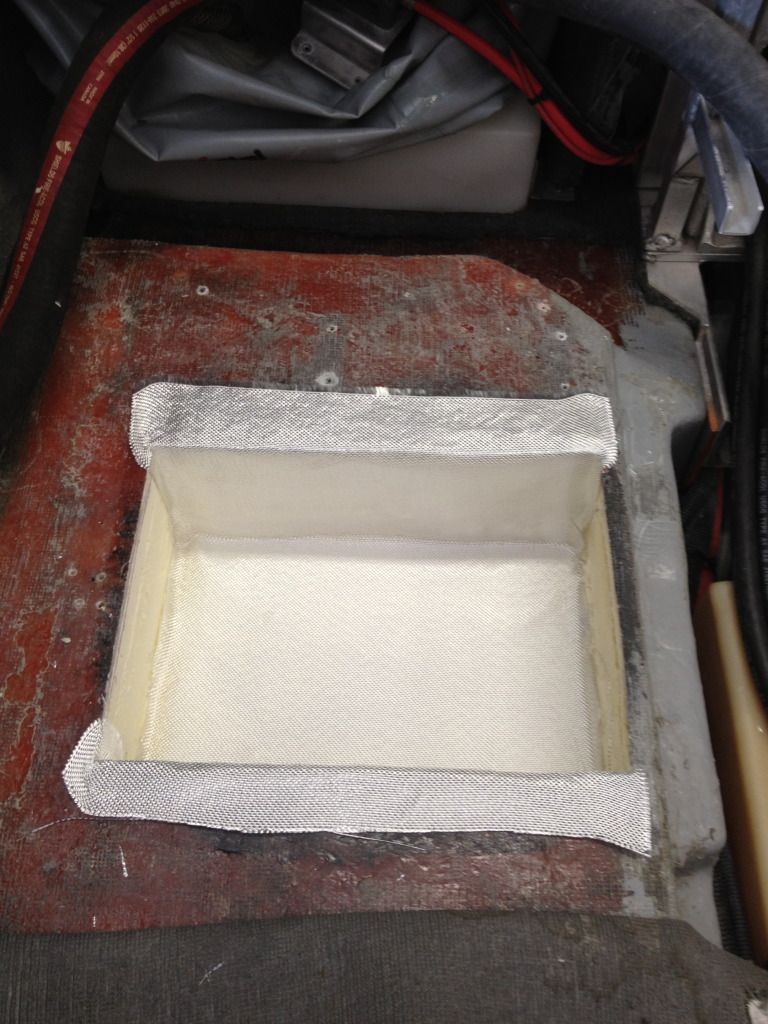
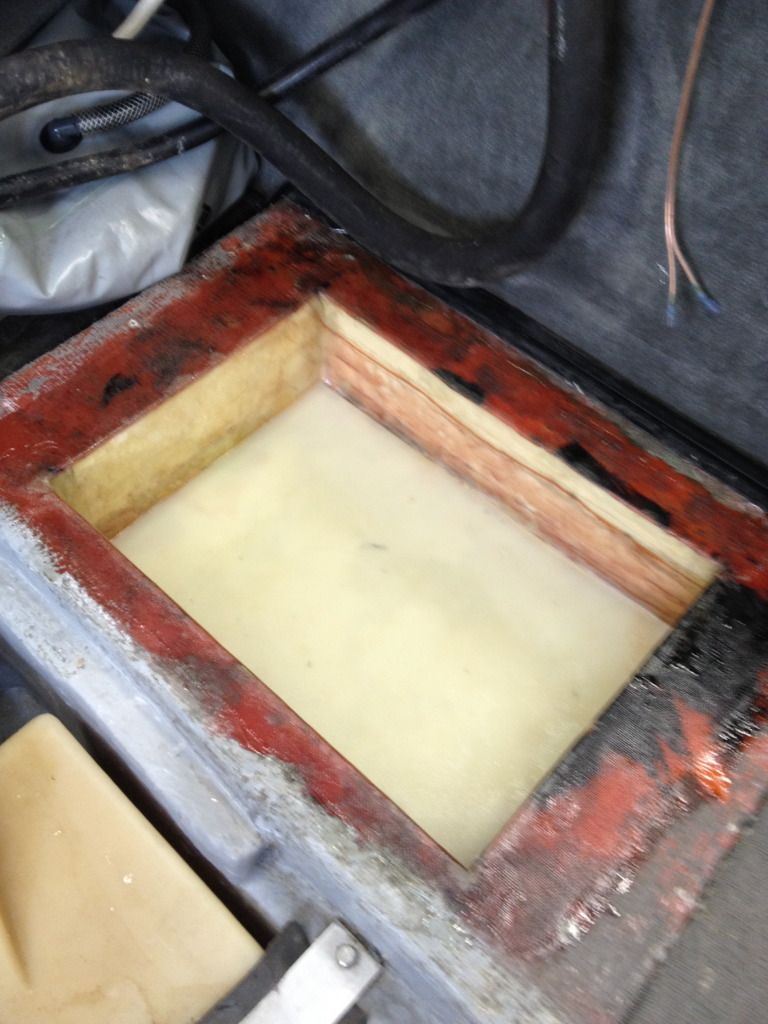
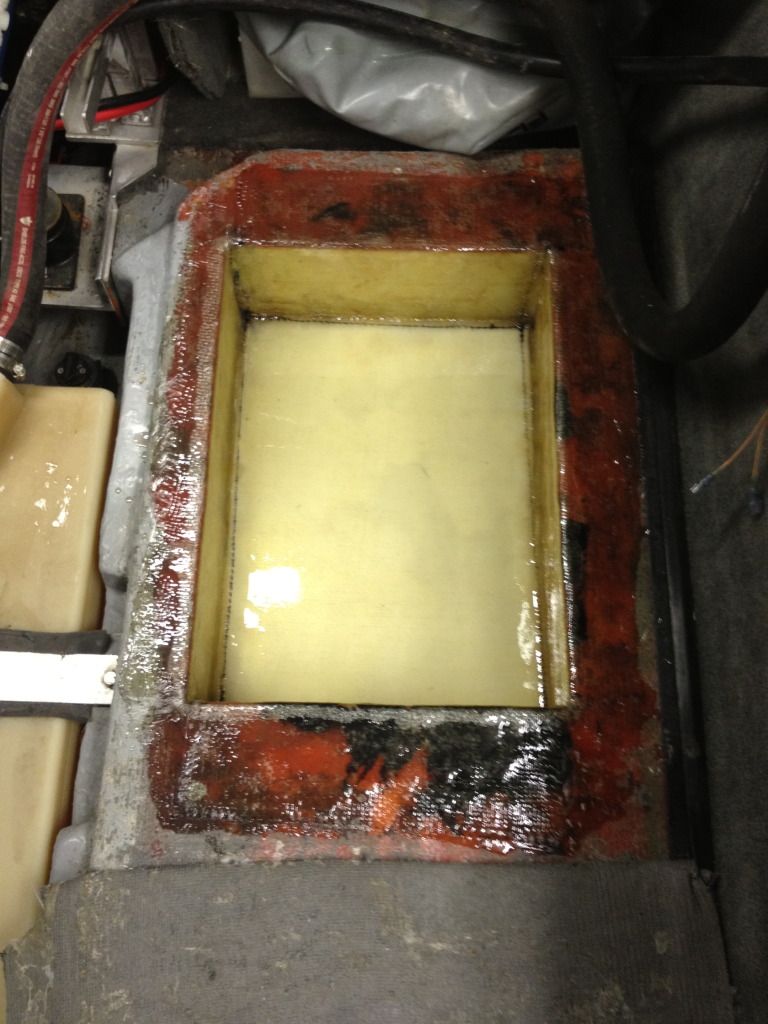
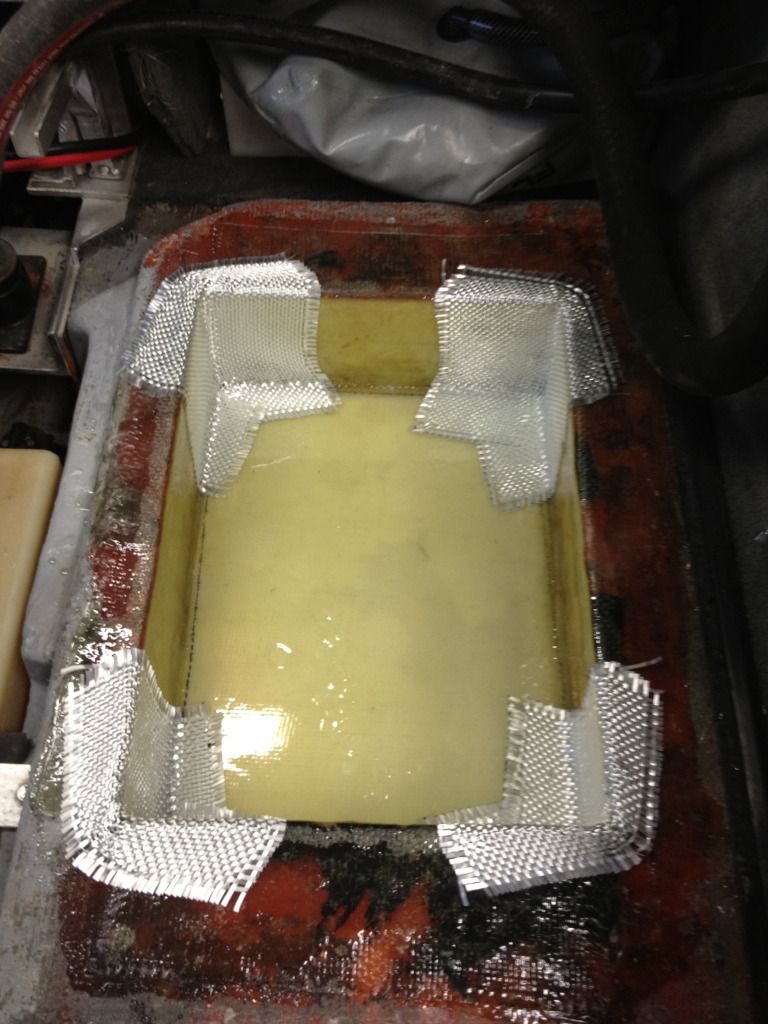
All the fiberglass and foam now gone on the port side as well... The tube is a piece of PVC that goes through the stringer into the bilge to allow water to drain. I will cut it back during the laminate process.
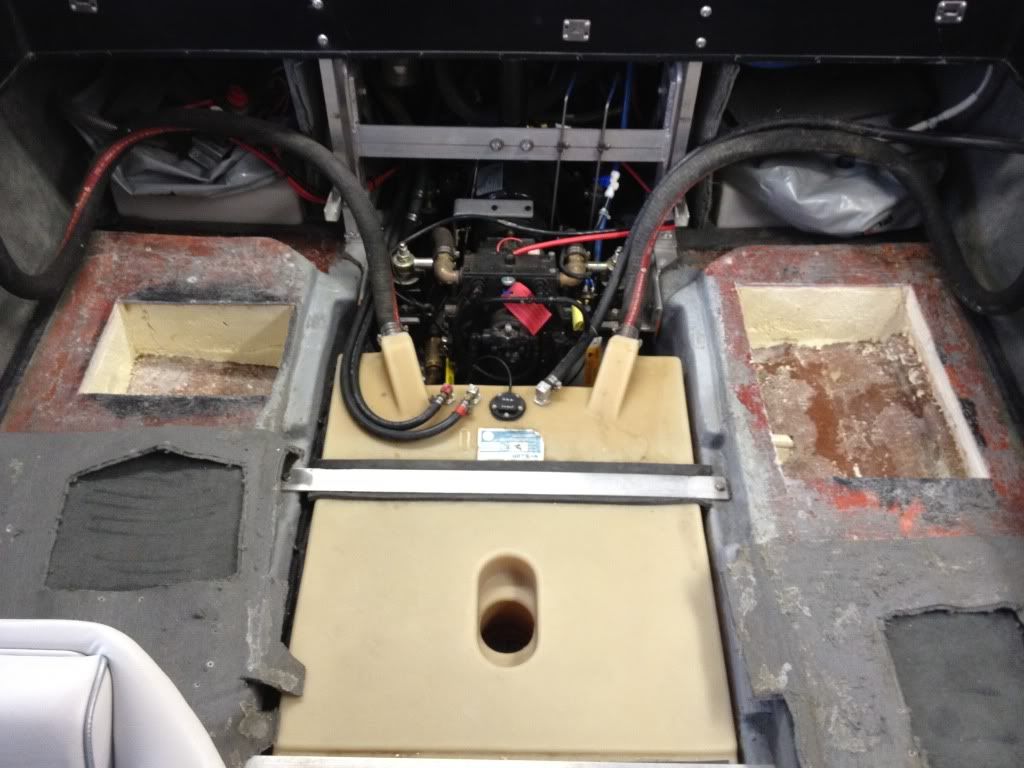
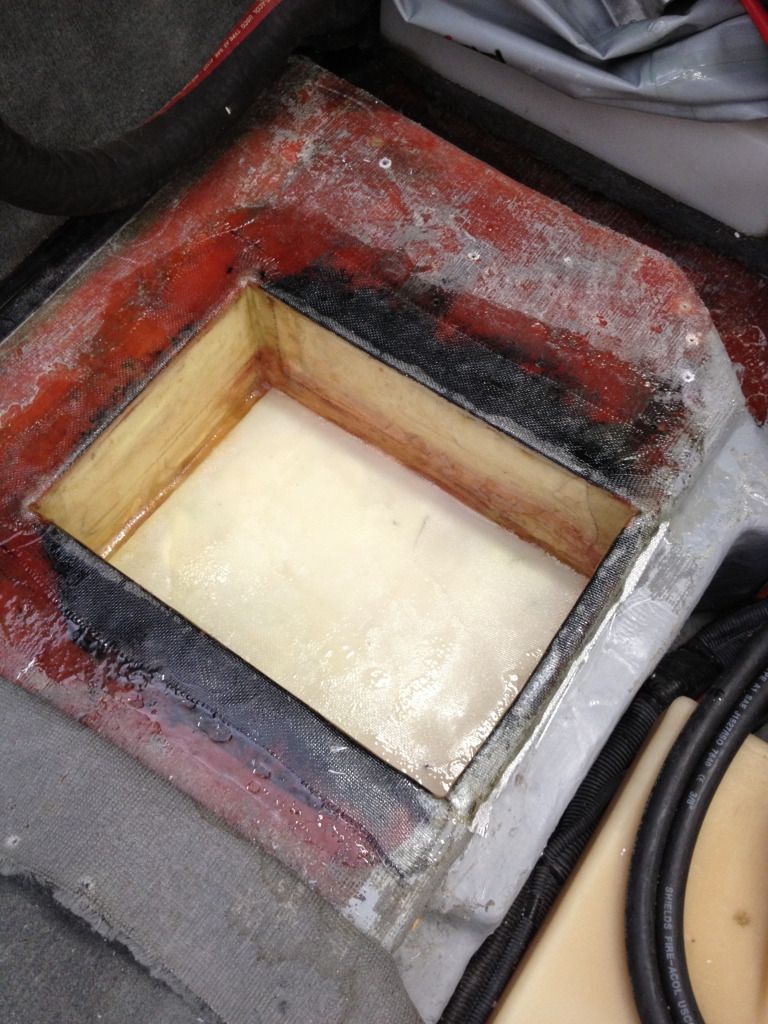
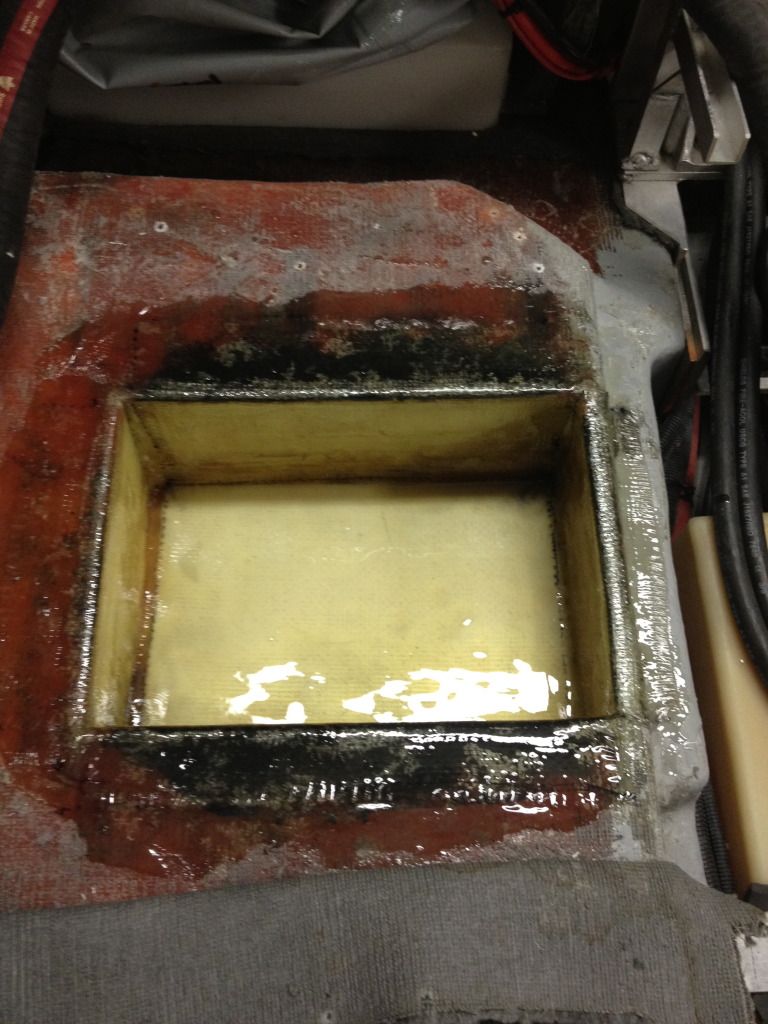
At this pint all the cutting was done, foam removed, and I took a step back to see what I had accomplished. That's when the feeling that a person gets in any project hit me... "What have I done?!?!"
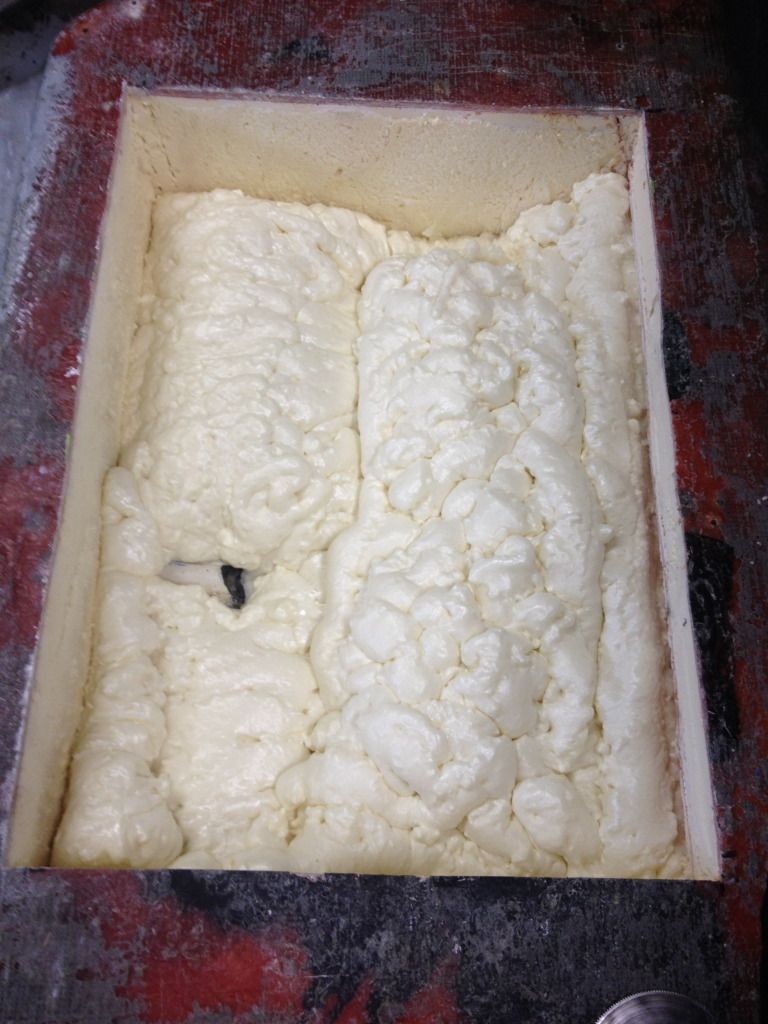
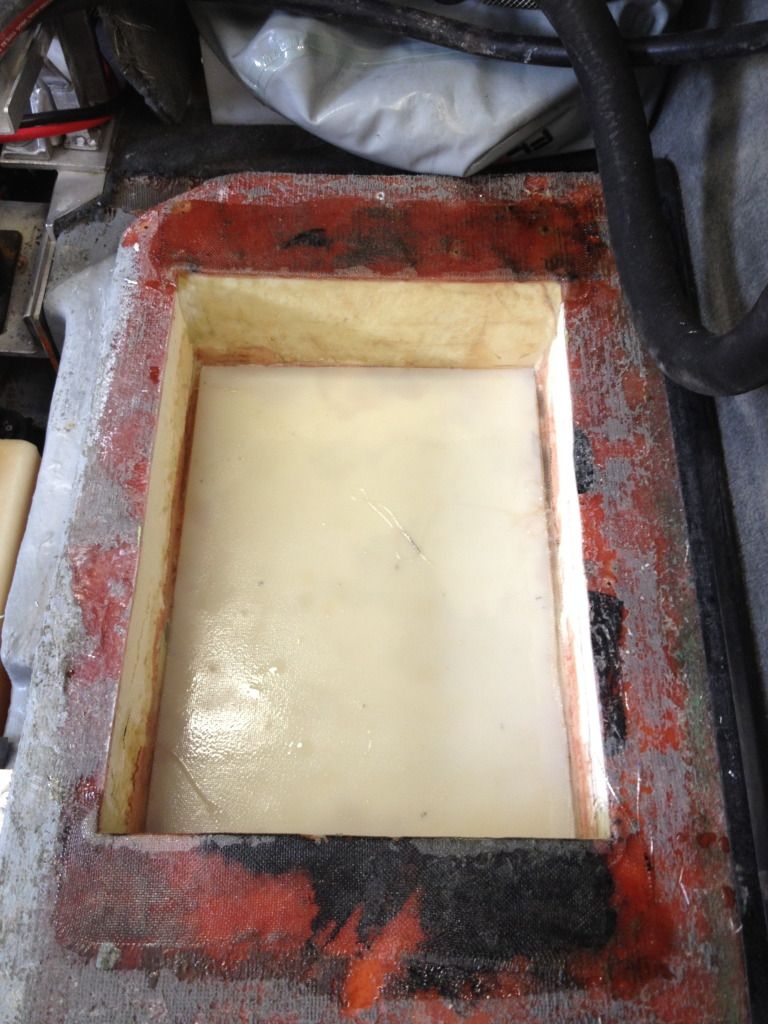
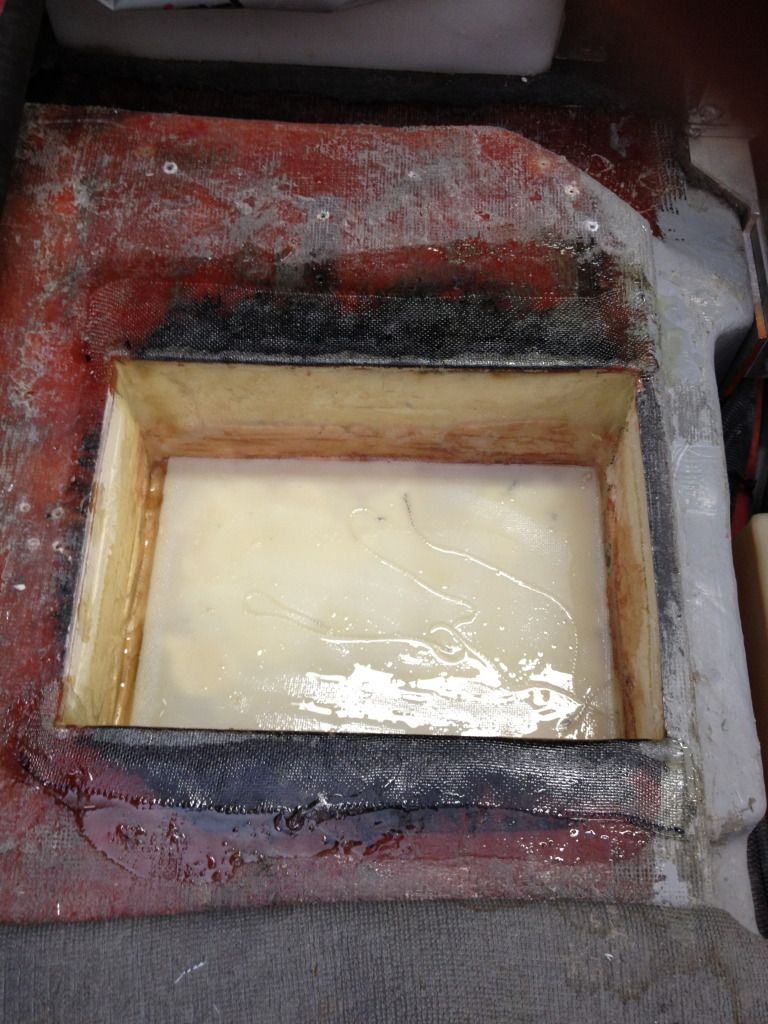
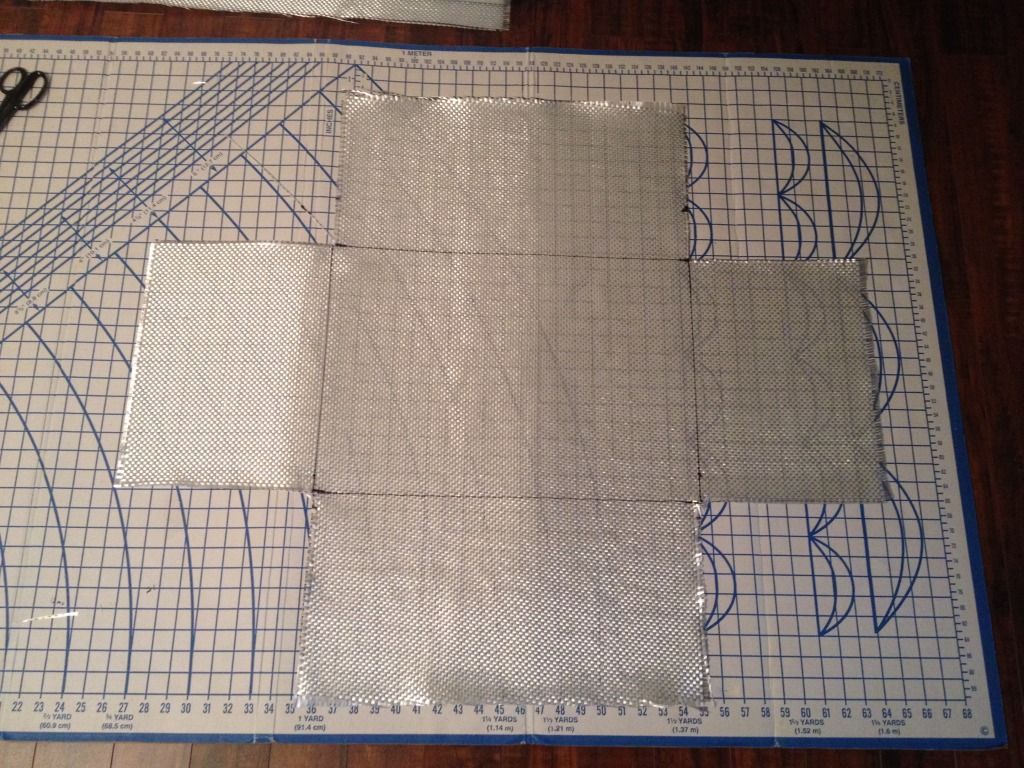
More pics to come as the laminating process begins... Time to ring in the New Year and have a drink... or a dozen!
PSA - For those of you that are squeamish turn away now!!! What you are about to see my disturb you...
Measuring and taping off cut lines...
First cuts... I used a Ridgid "Jobmax" to make the cuts with. It did a great job but goes through batteries every 30 minutes so 2 are a must! I tried a jigsaw at one point but this fiberglass ate through blades like crazy. 6" of cutting and the blades was useless.
First few pieces removed... I used a hacksaw blade to cut the foam by hand, but later mover to a drywall saw...
All the sides gone on the starboard box...
All the foam removed on the starboard battery box. I wasn't originally going to remove all the foam to the hull, but I ran into some moist foam at the very bottom and wanted to investigate more. Never figured out where the moisture came from, but the further back toward aft I went the more I found.
Now to start on the port side...
I ran into a surprise on the port side that gave me a bit of a scare, but I was too far gone to stop now. A lock washer made its way into the laminating process somehow and just happened to be right in the middle of one of my cuts. My heart sank a little when I heard the multi-tool change pitch at first.
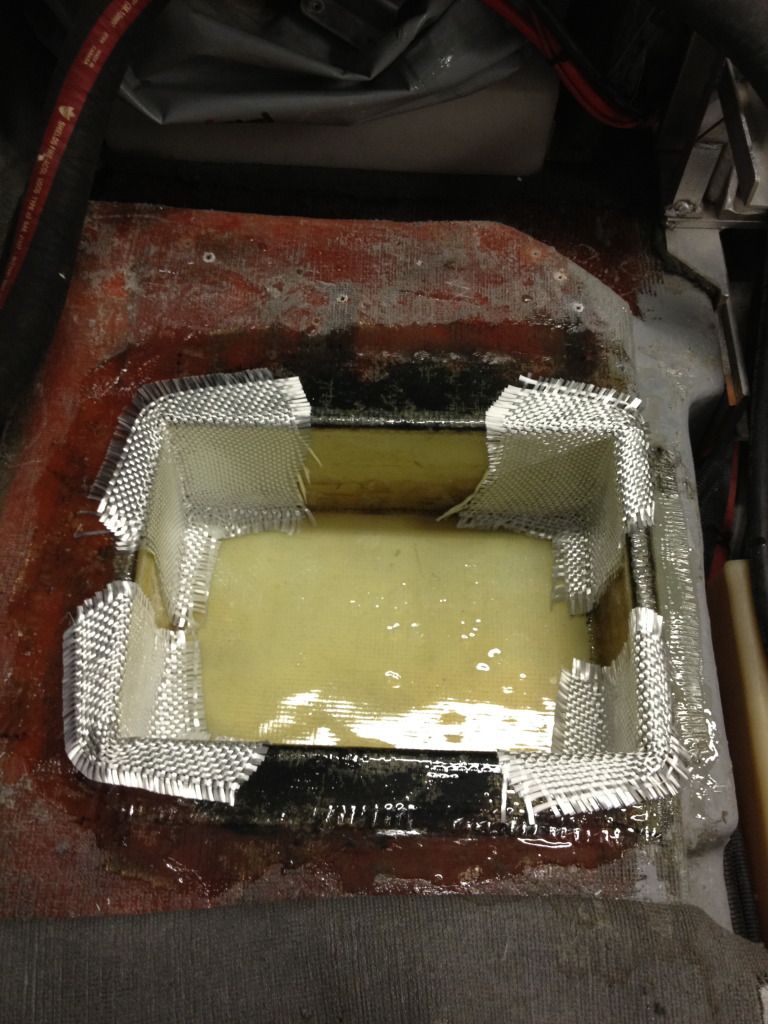
All the fiberglass and foam now gone on the port side as well... The tube is a piece of PVC that goes through the stringer into the bilge to allow water to drain. I will cut it back during the laminate process.
At this pint all the cutting was done, foam removed, and I took a step back to see what I had accomplished. That's when the feeling that a person gets in any project hit me... "What have I done?!?!"
More pics to come as the laminating process begins... Time to ring in the New Year and have a drink... or a dozen!


Comment